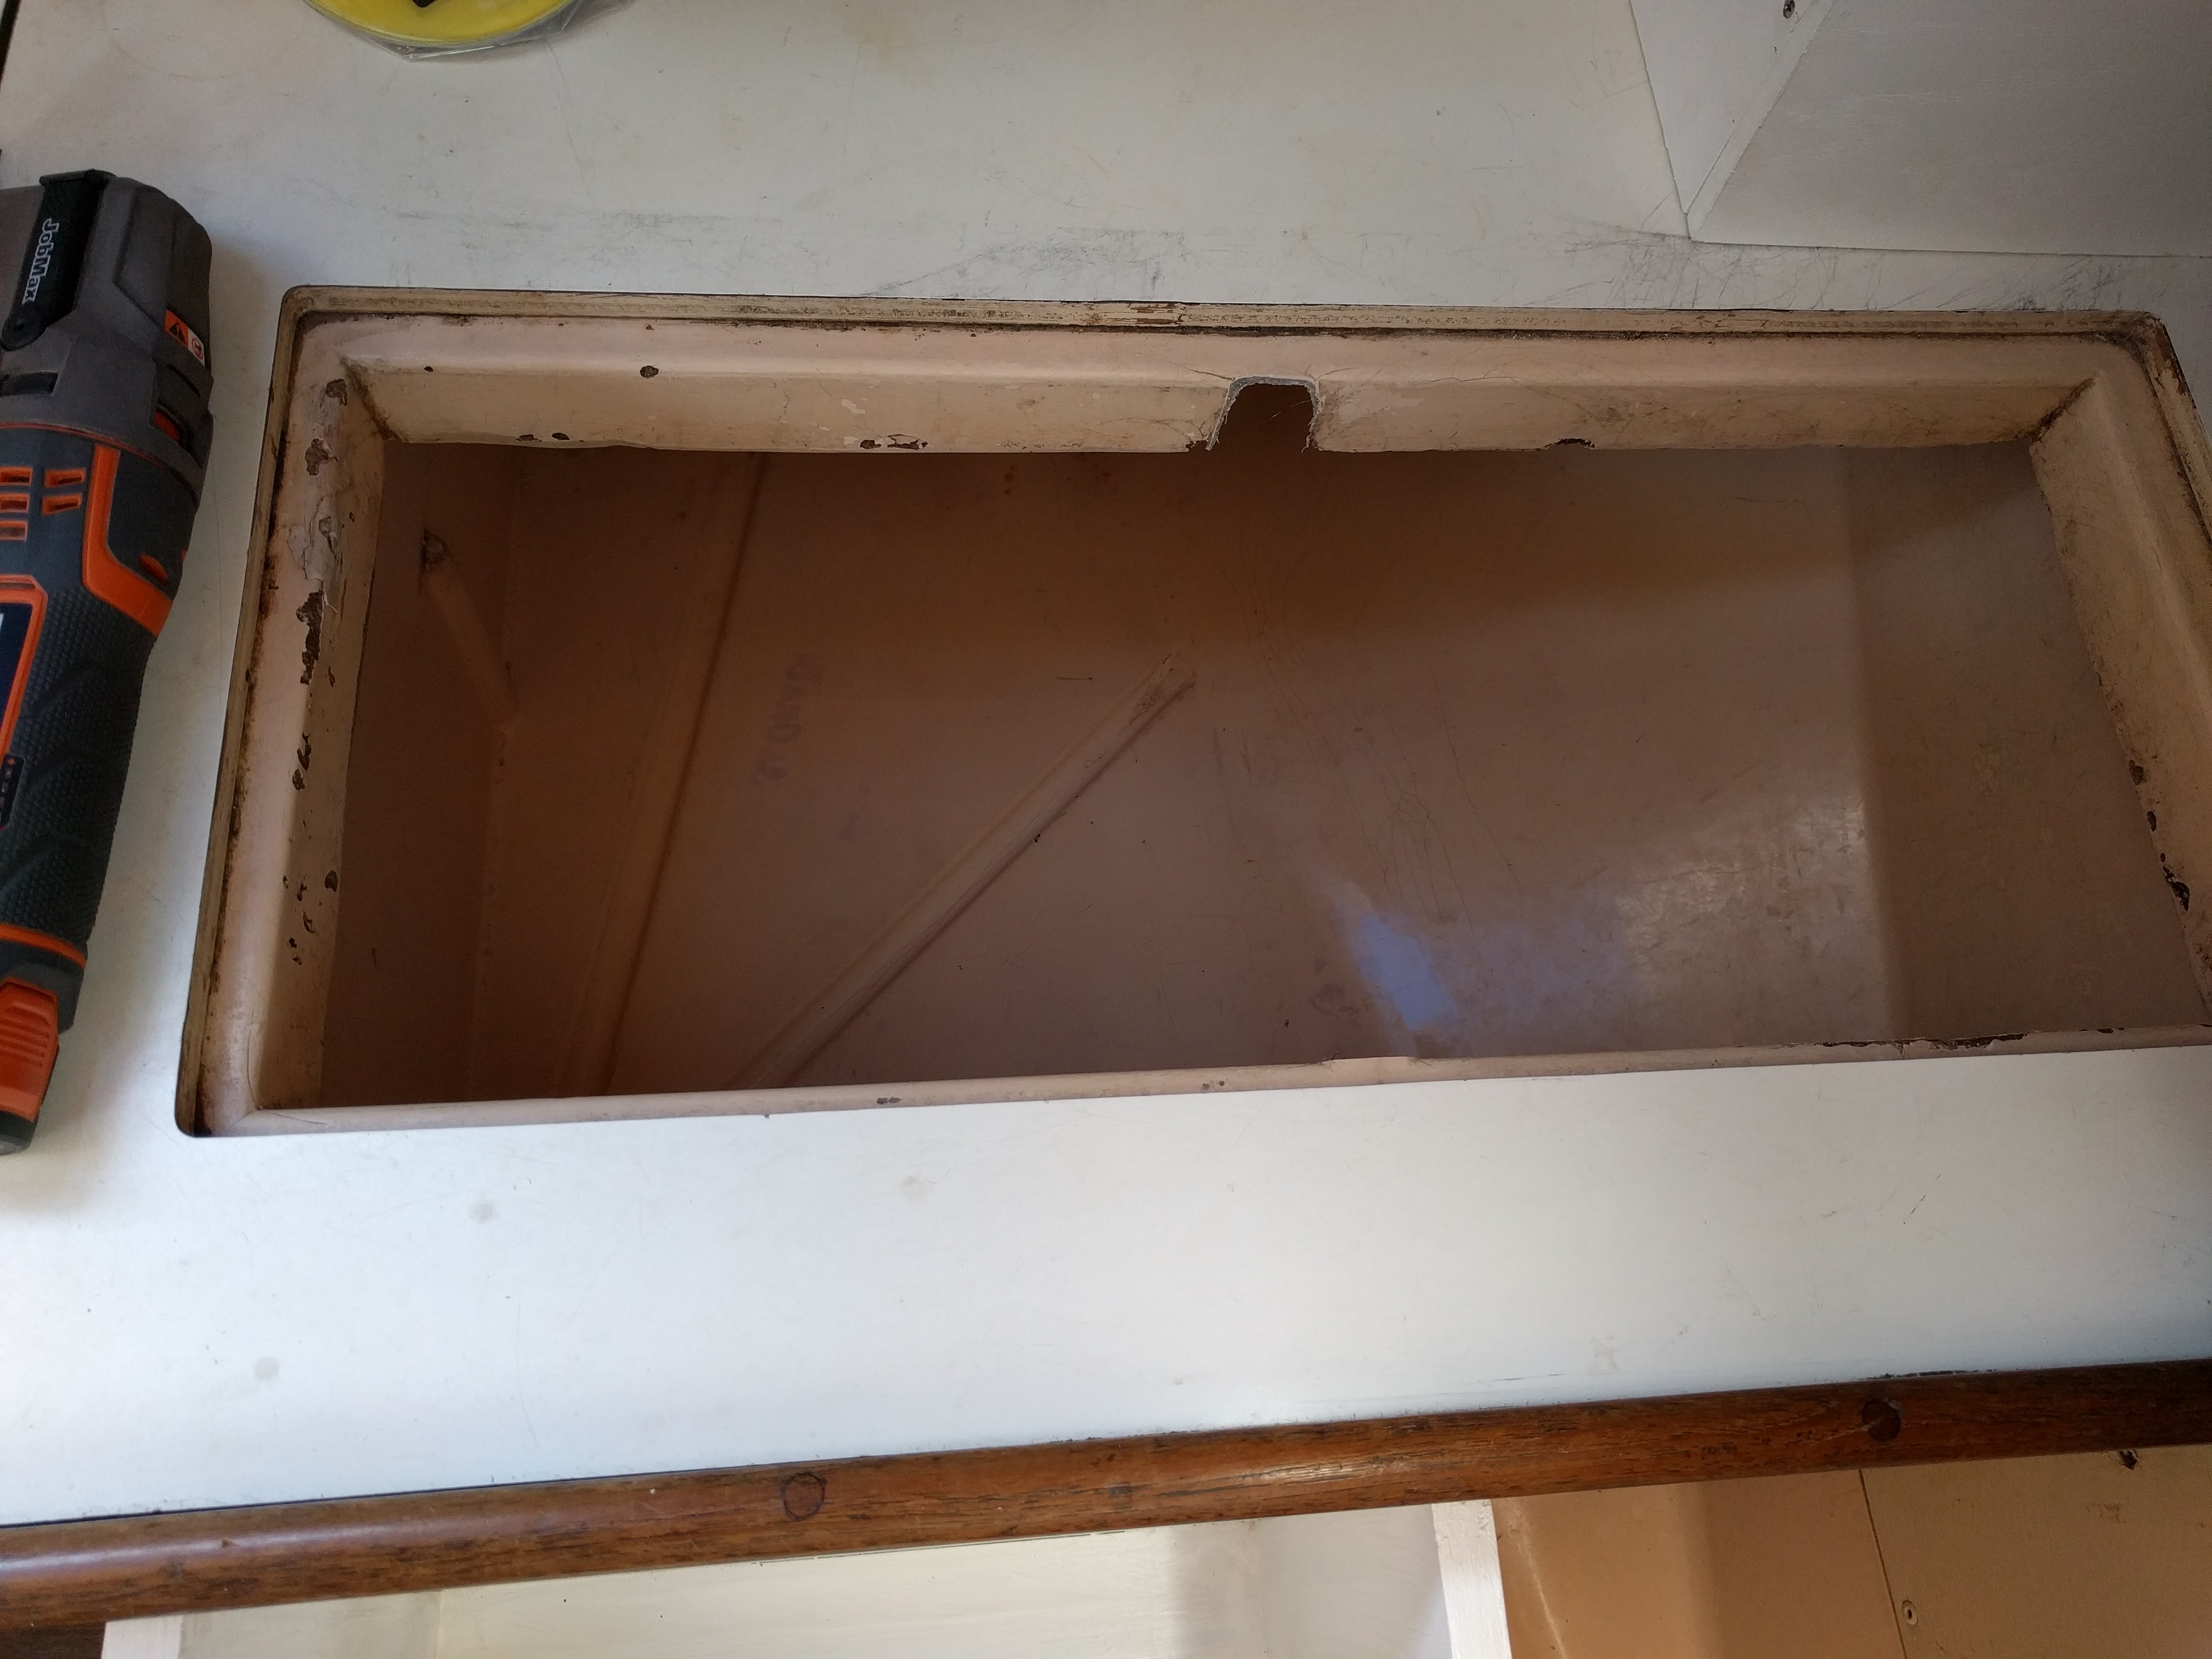
Where were we? Ah yes, installing the insulation.
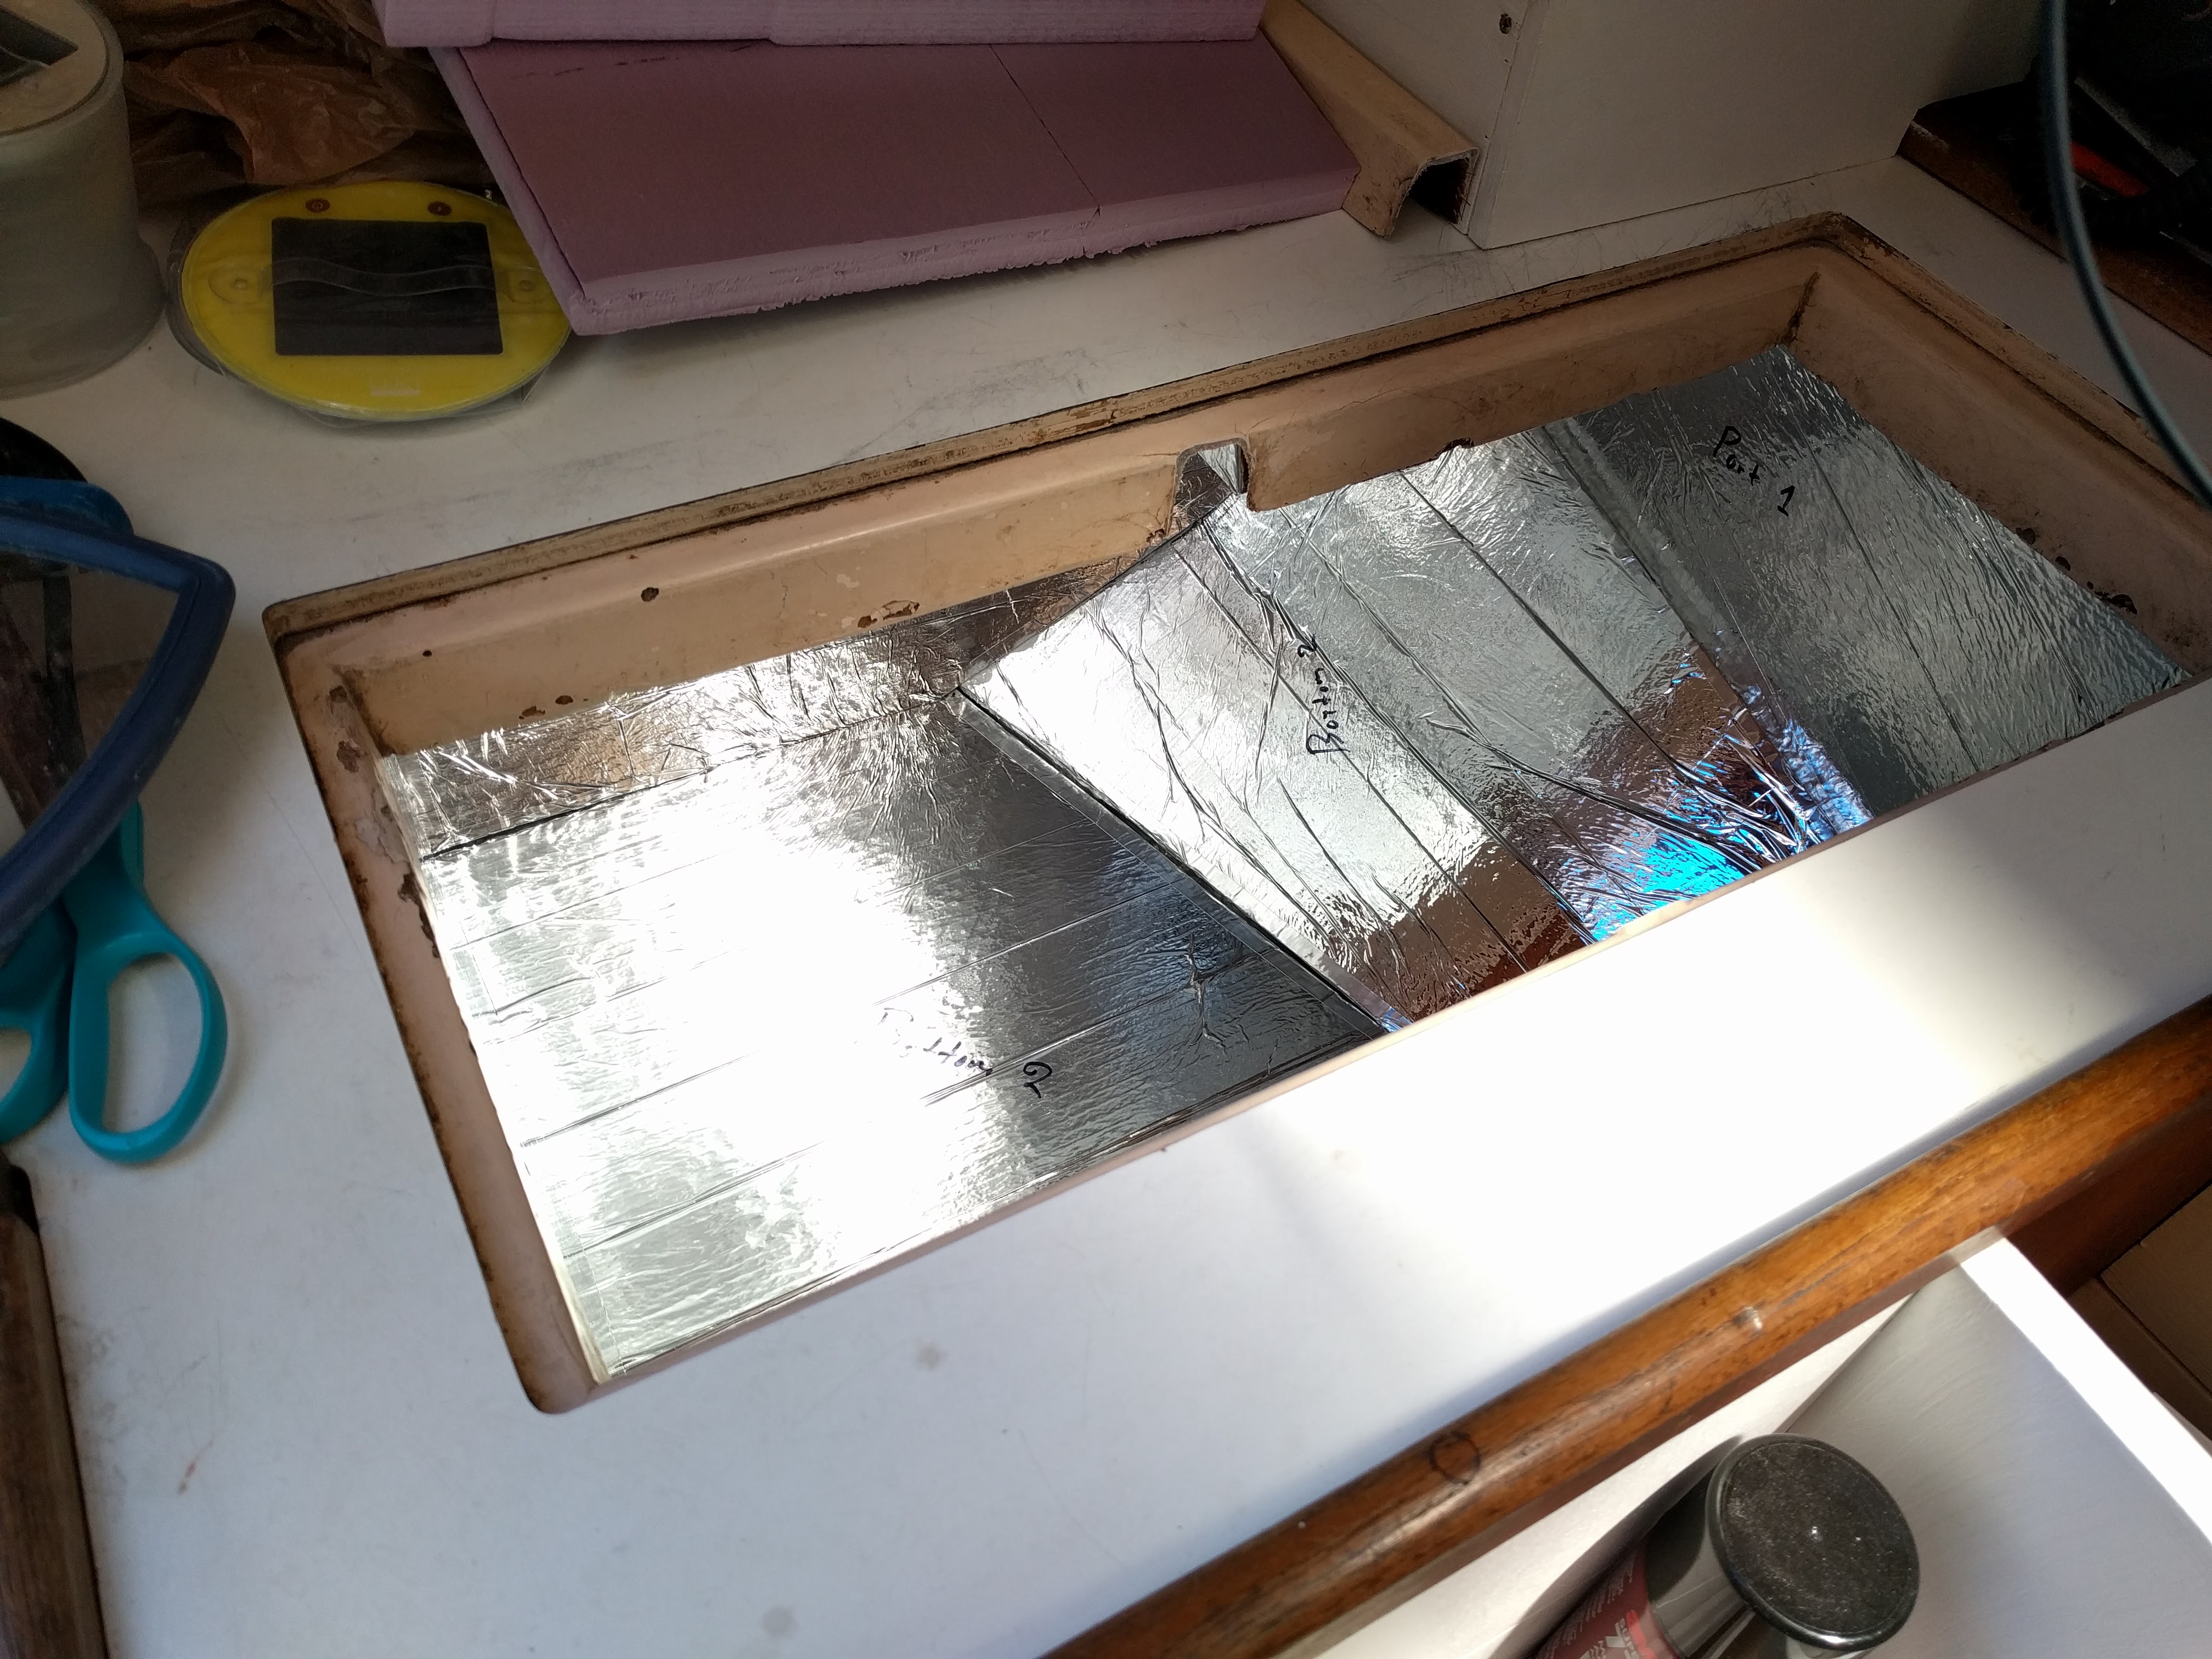
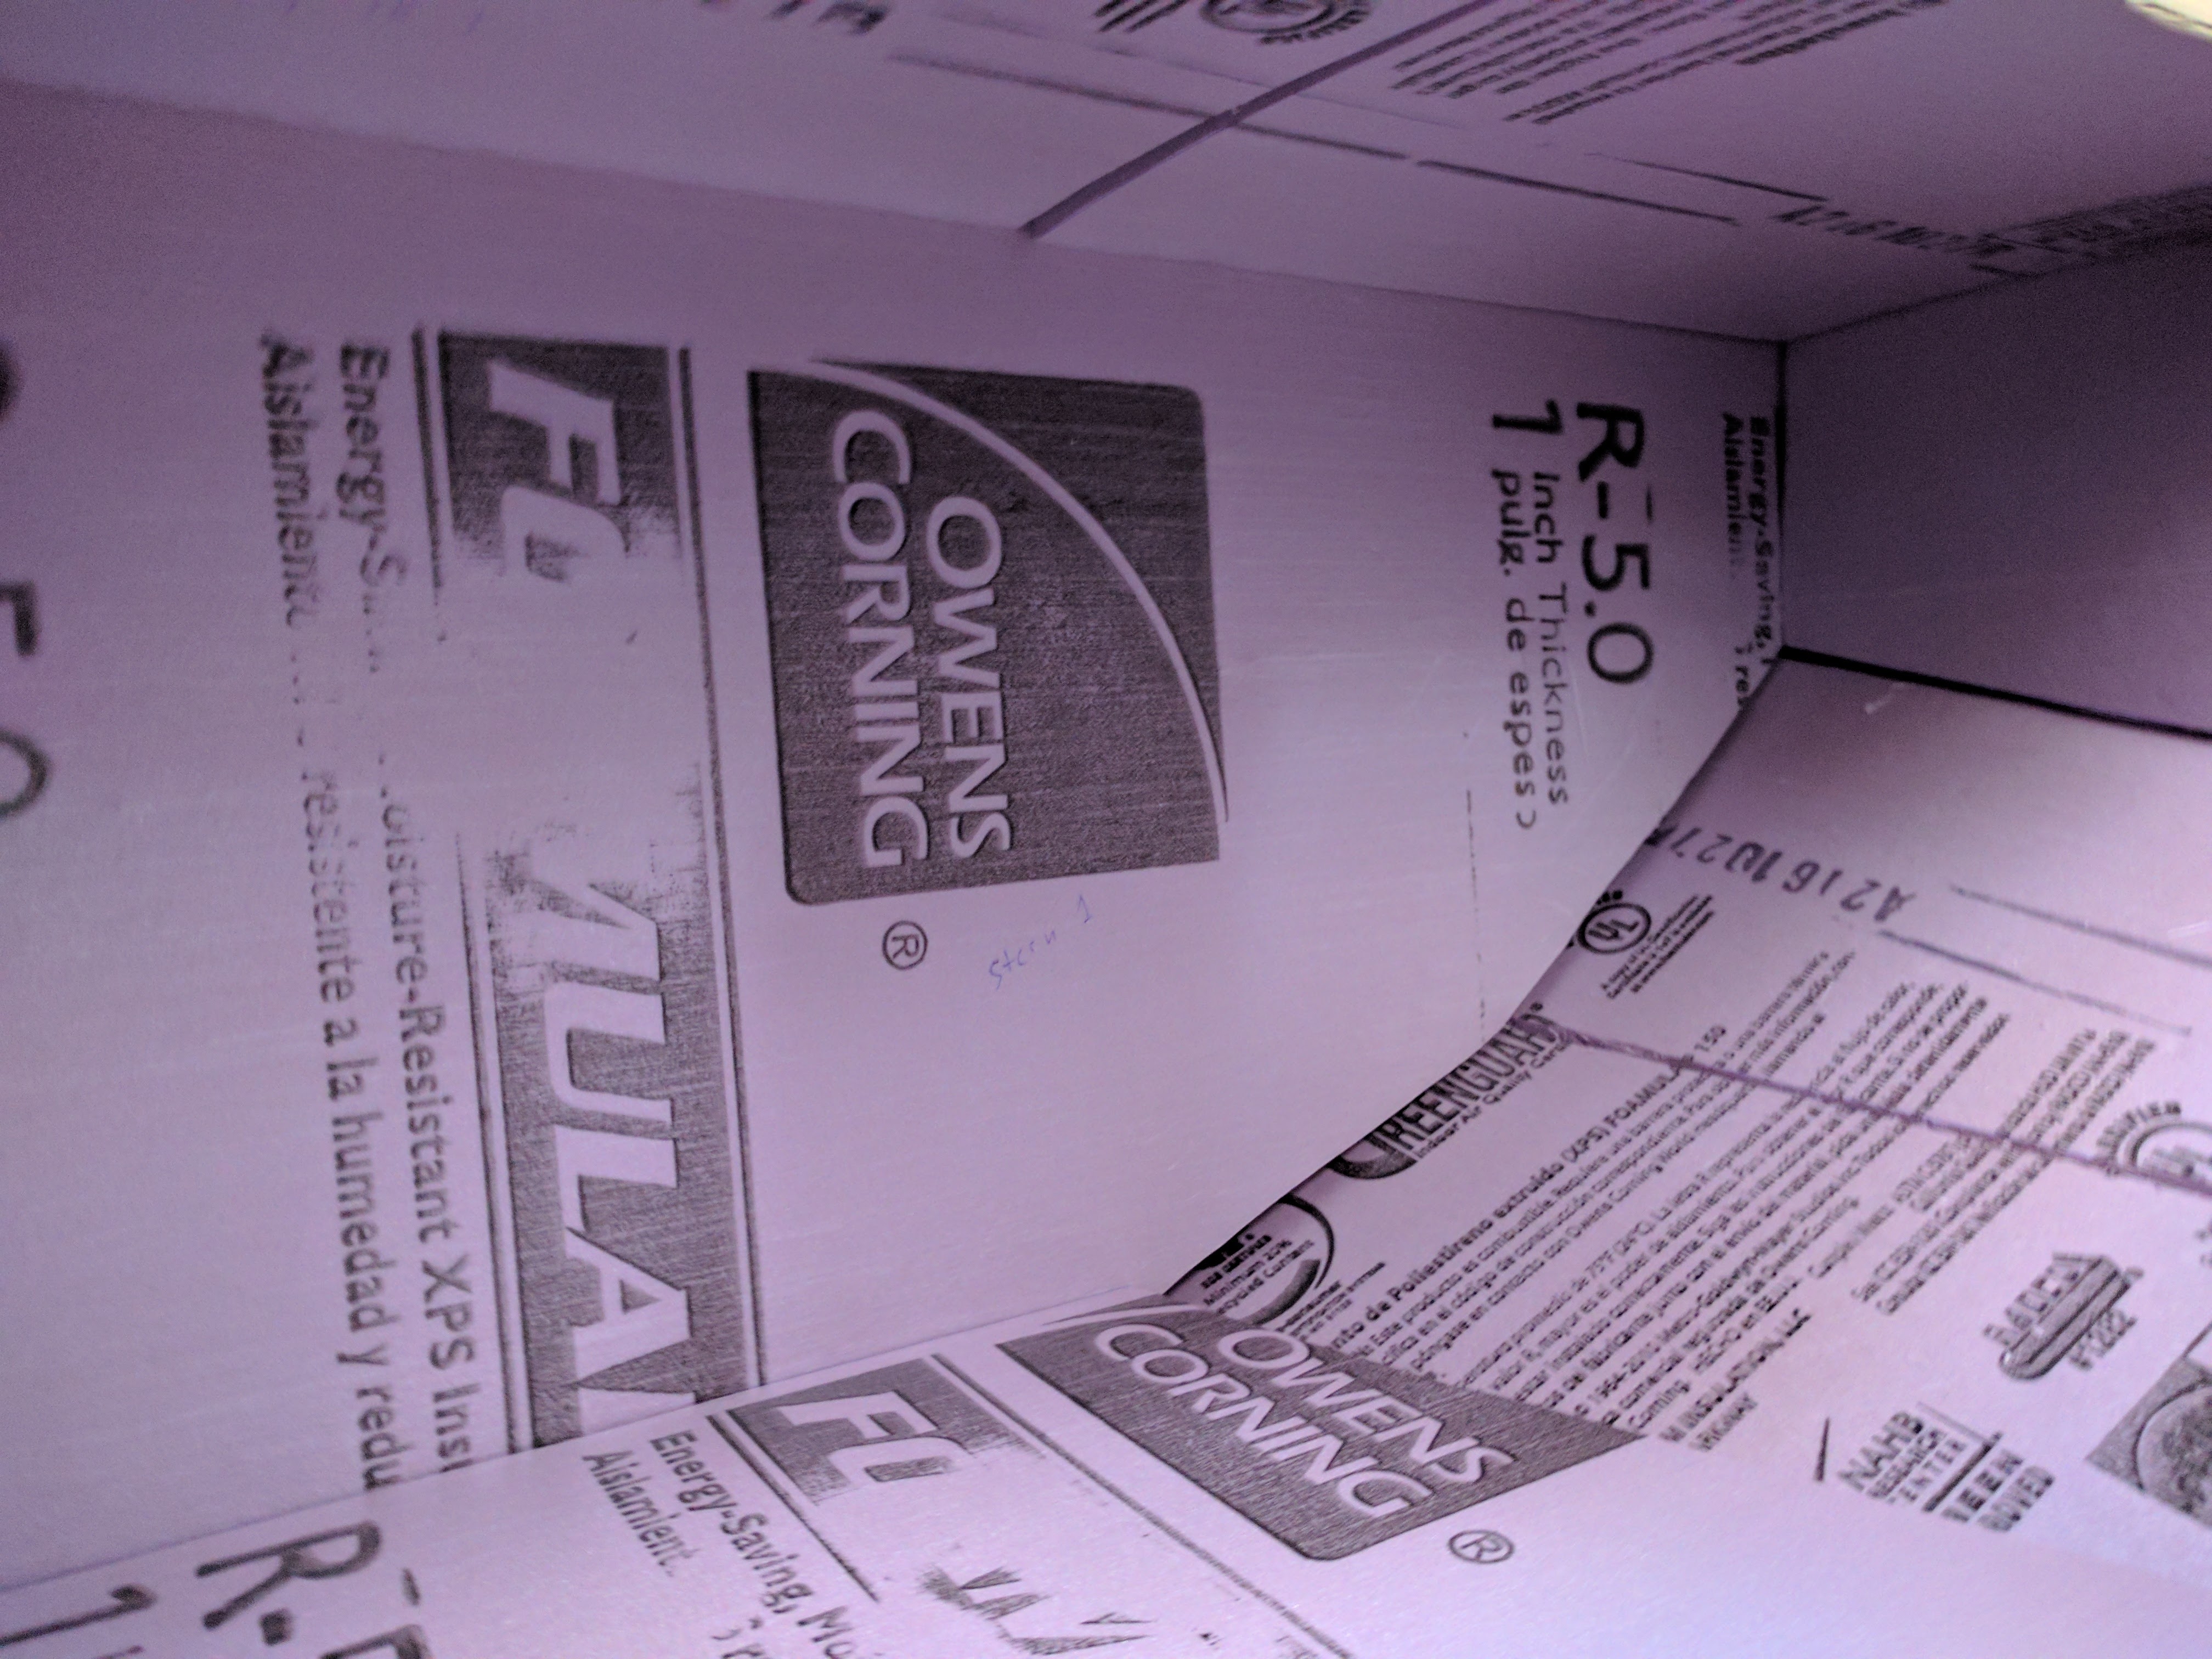
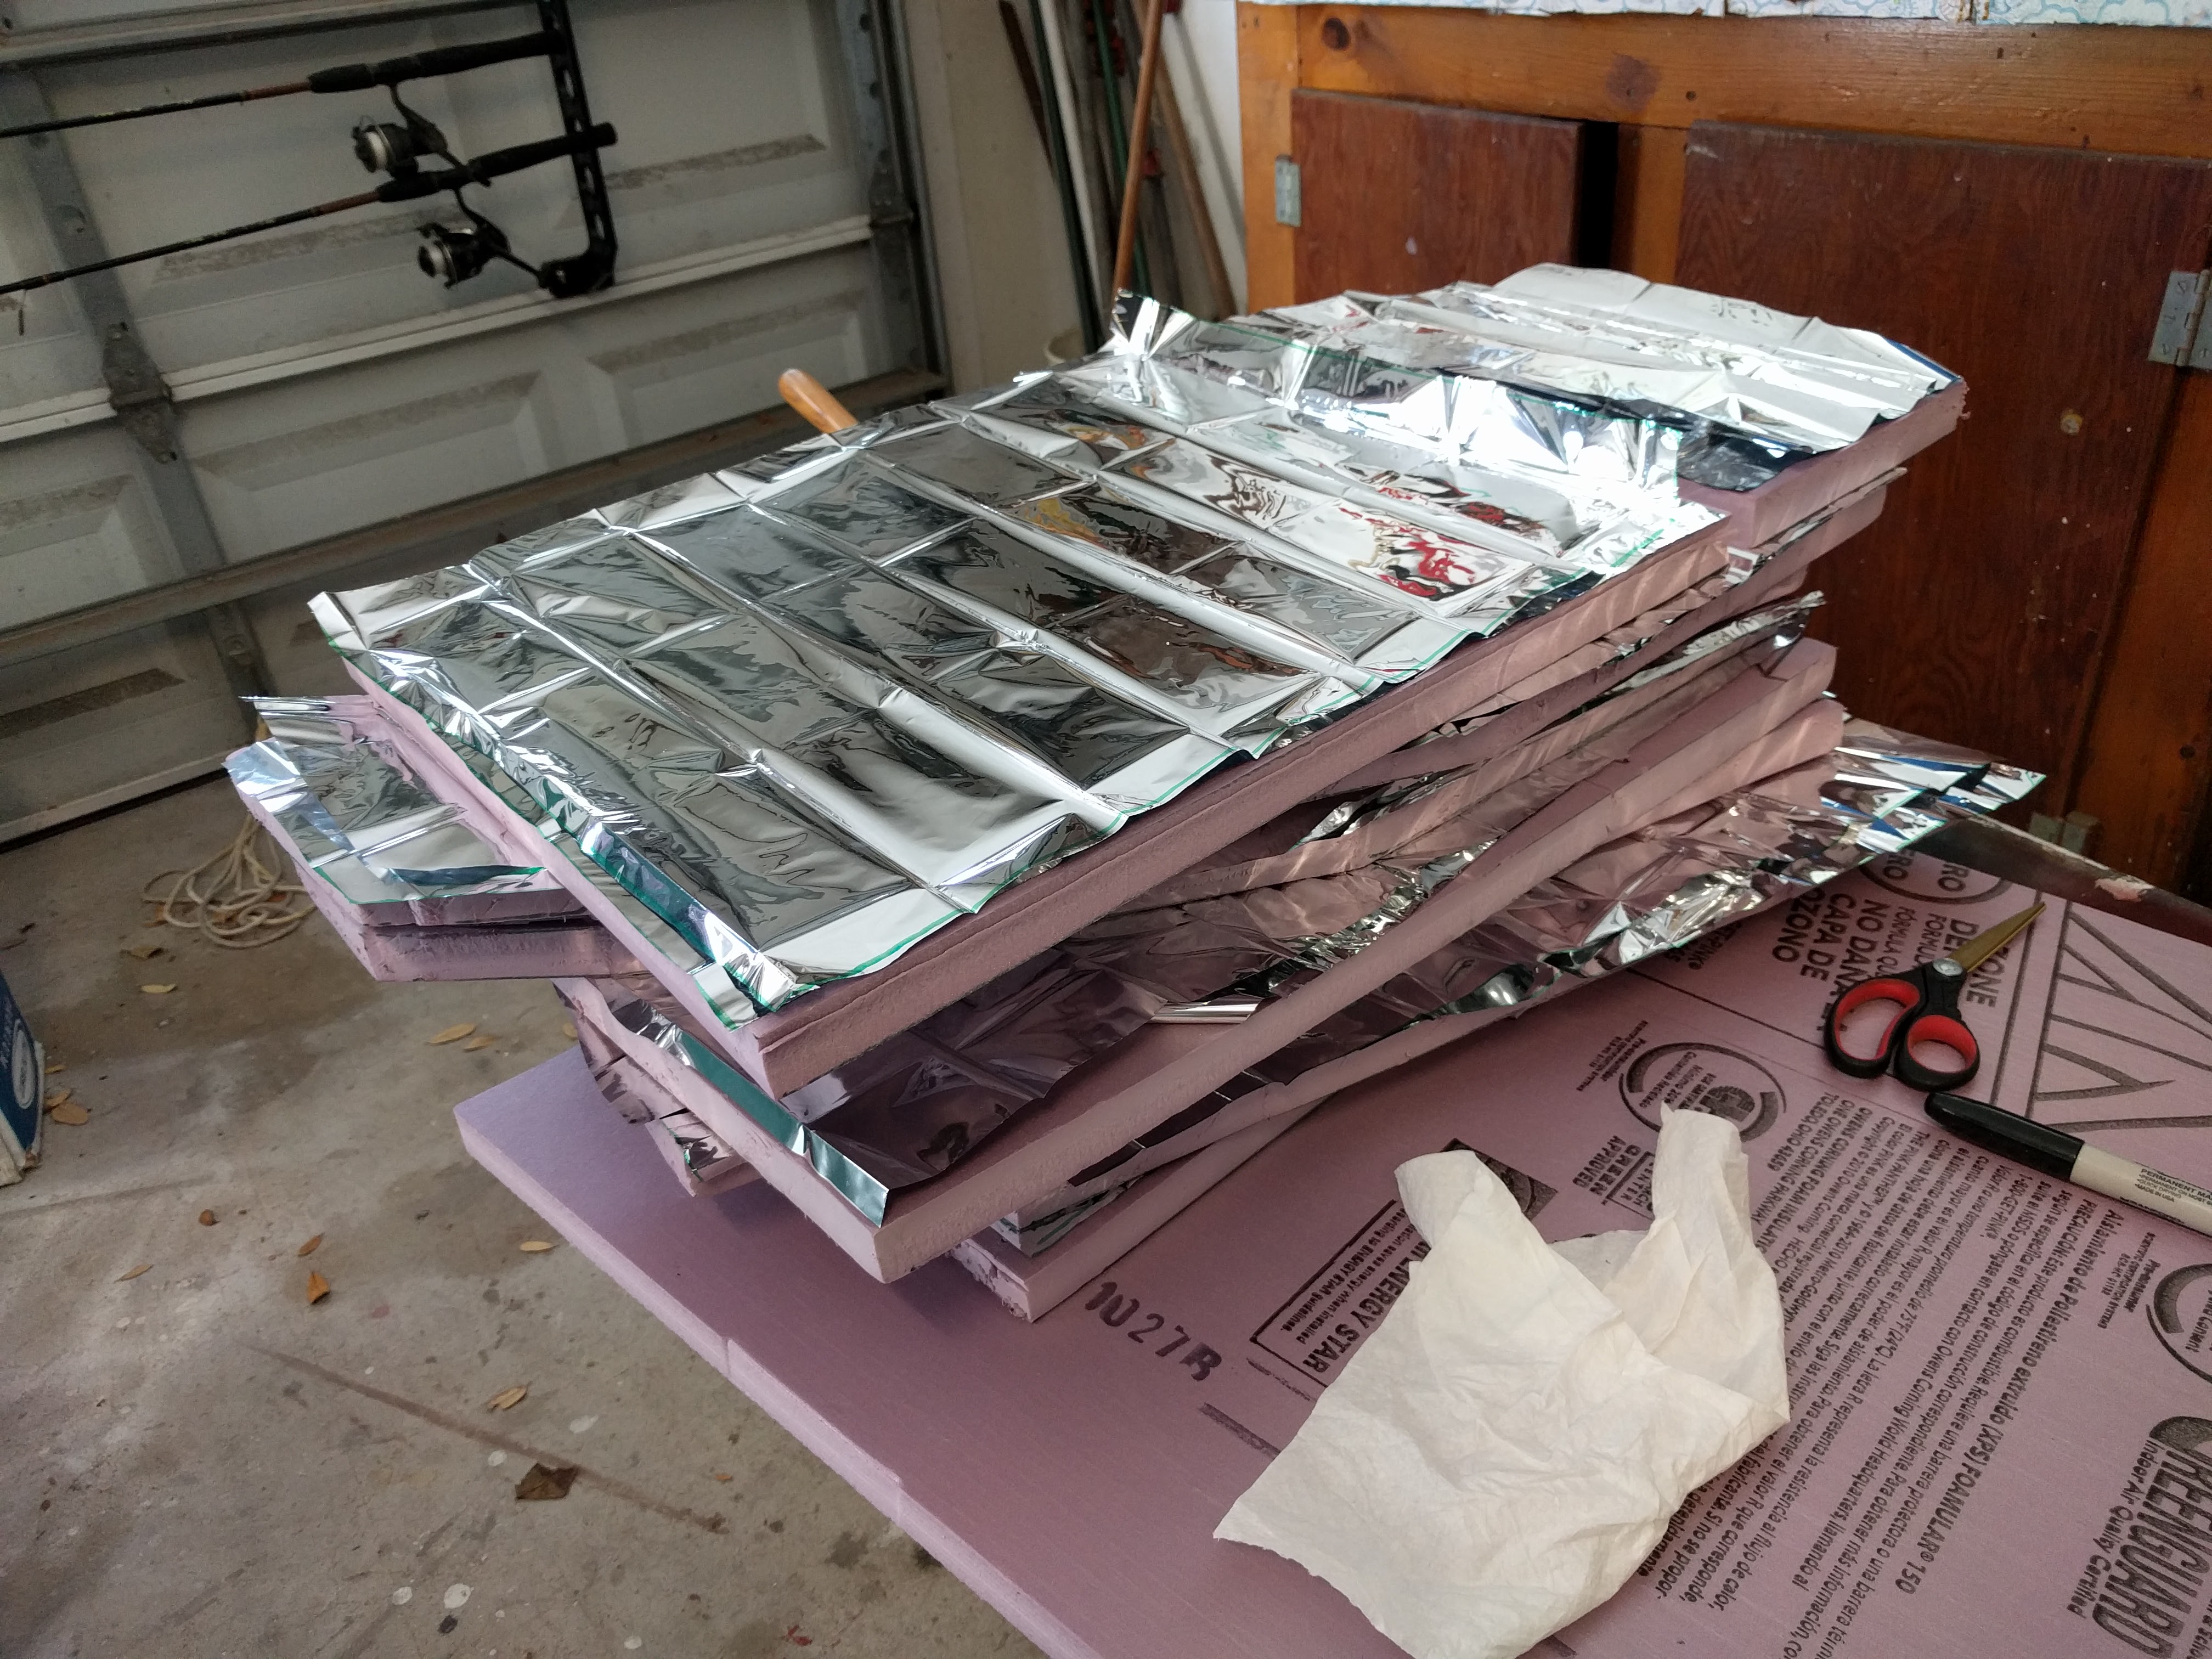
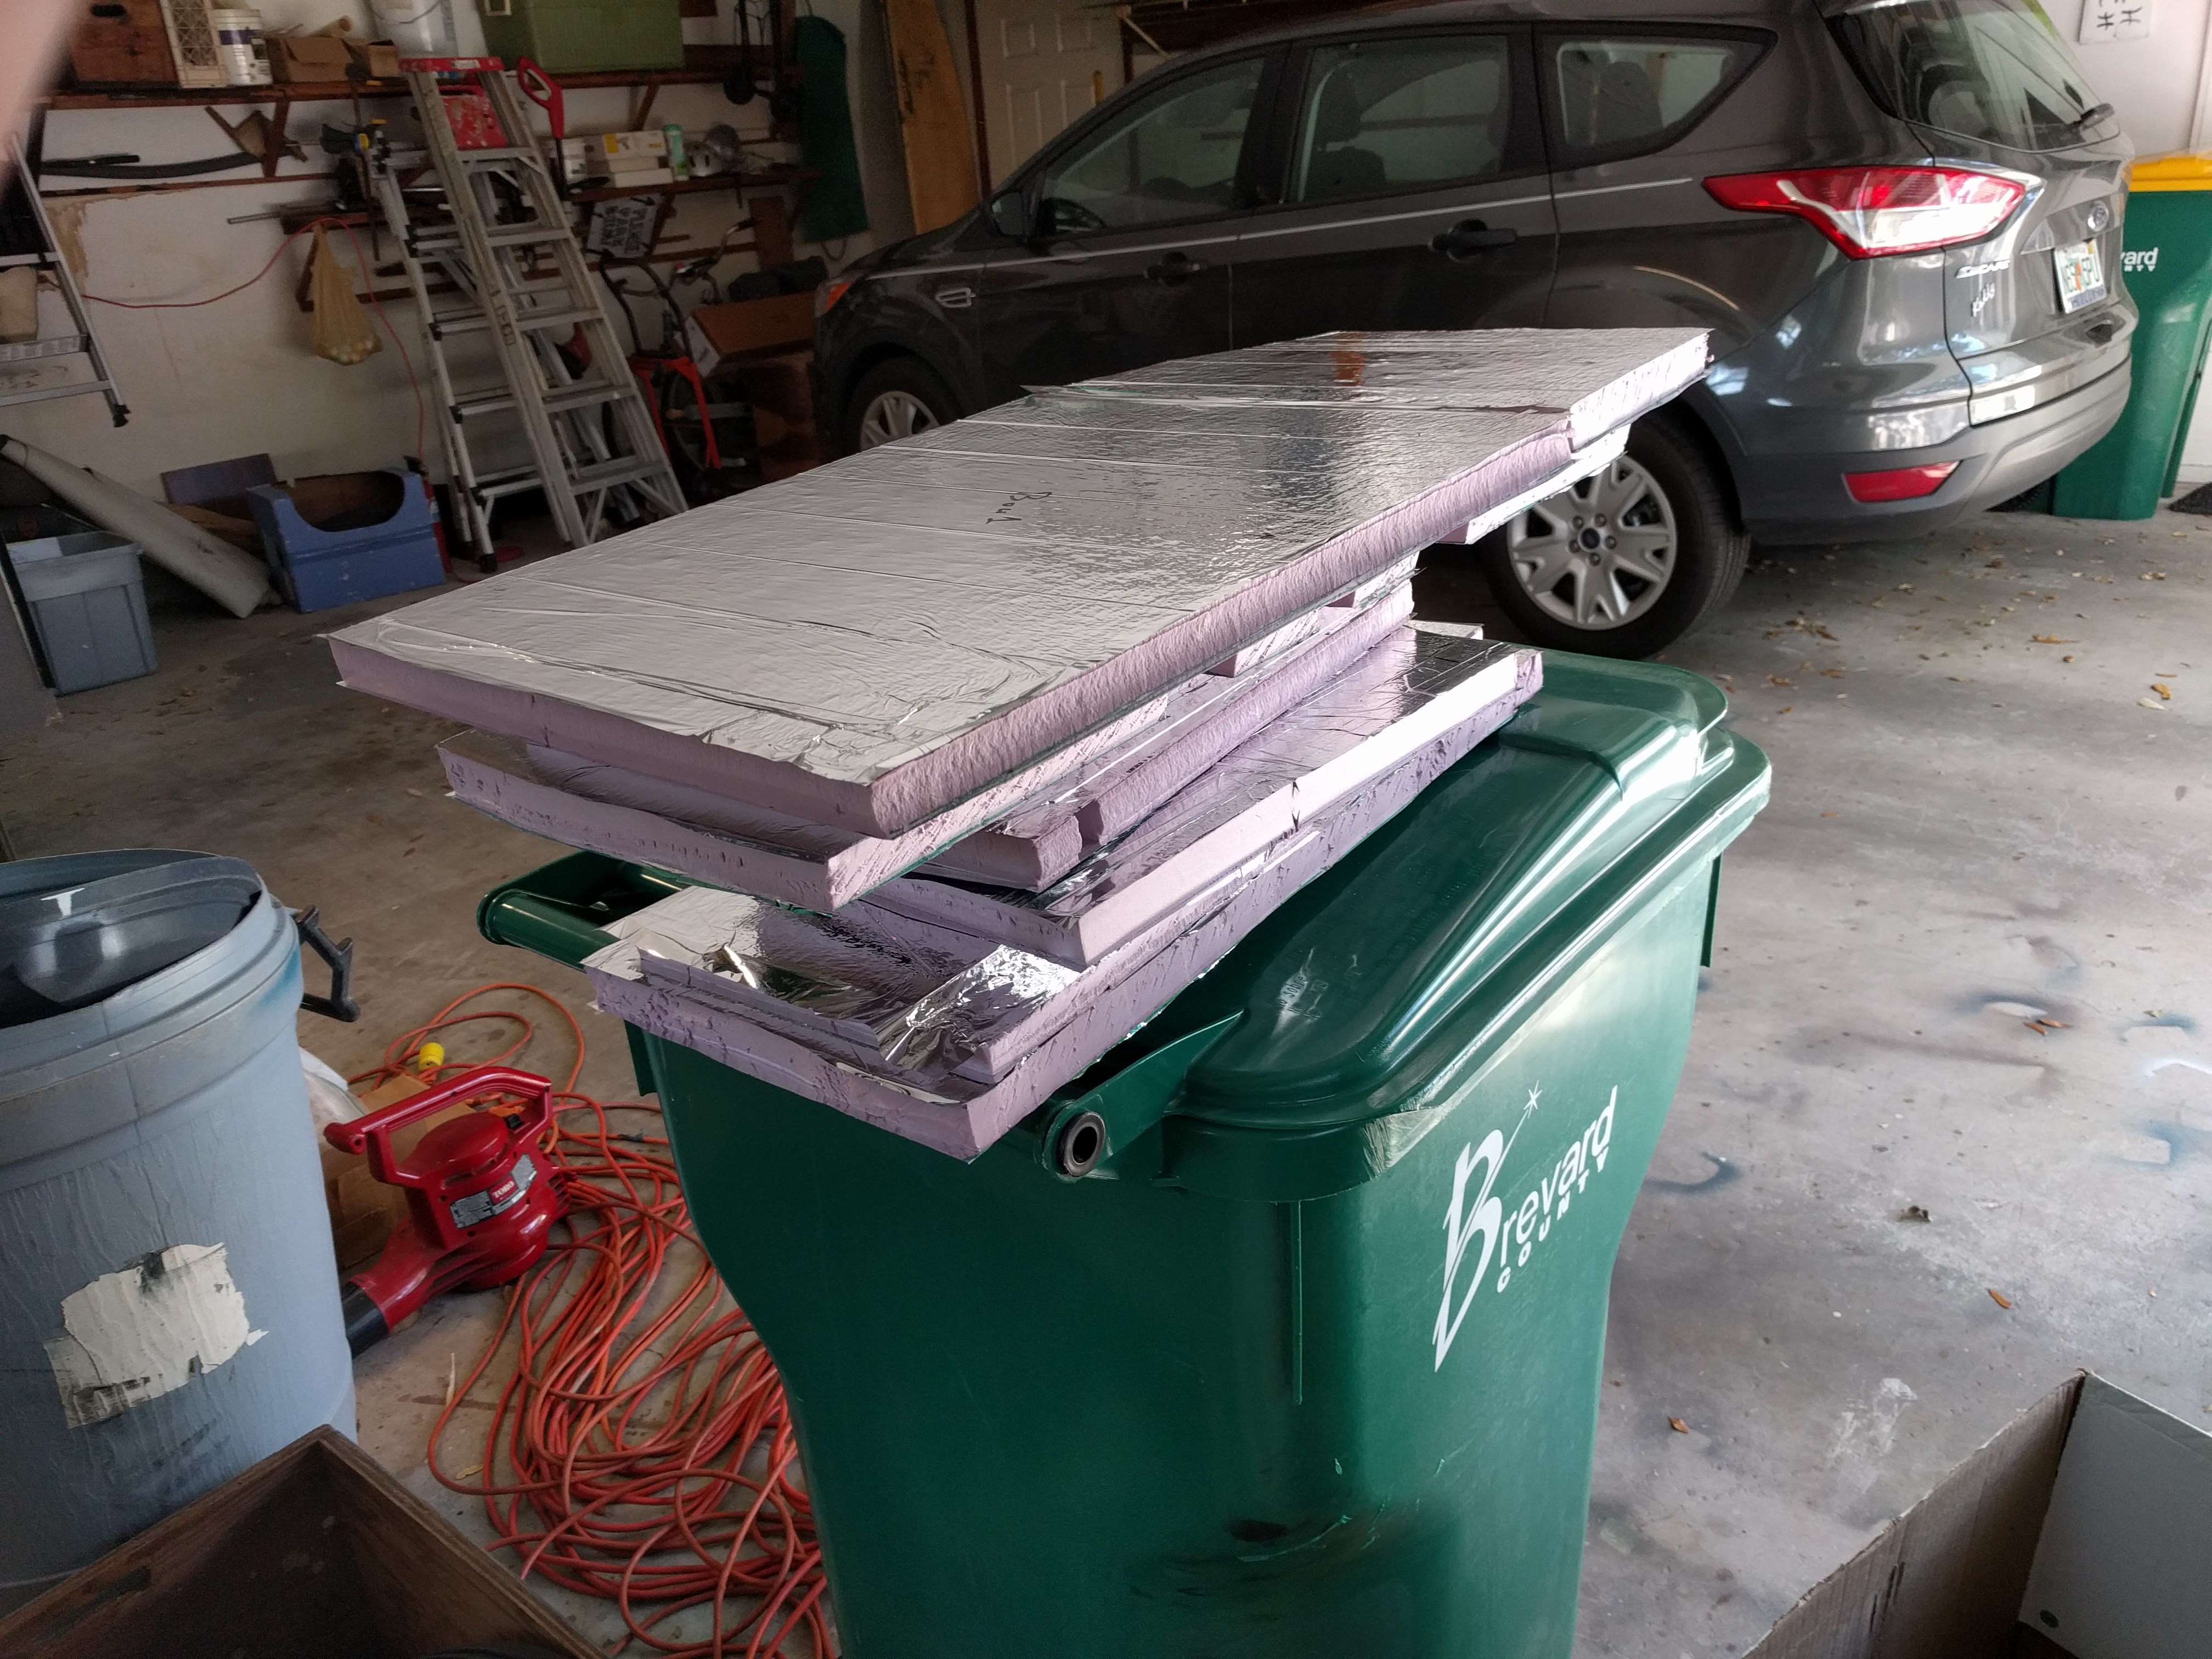
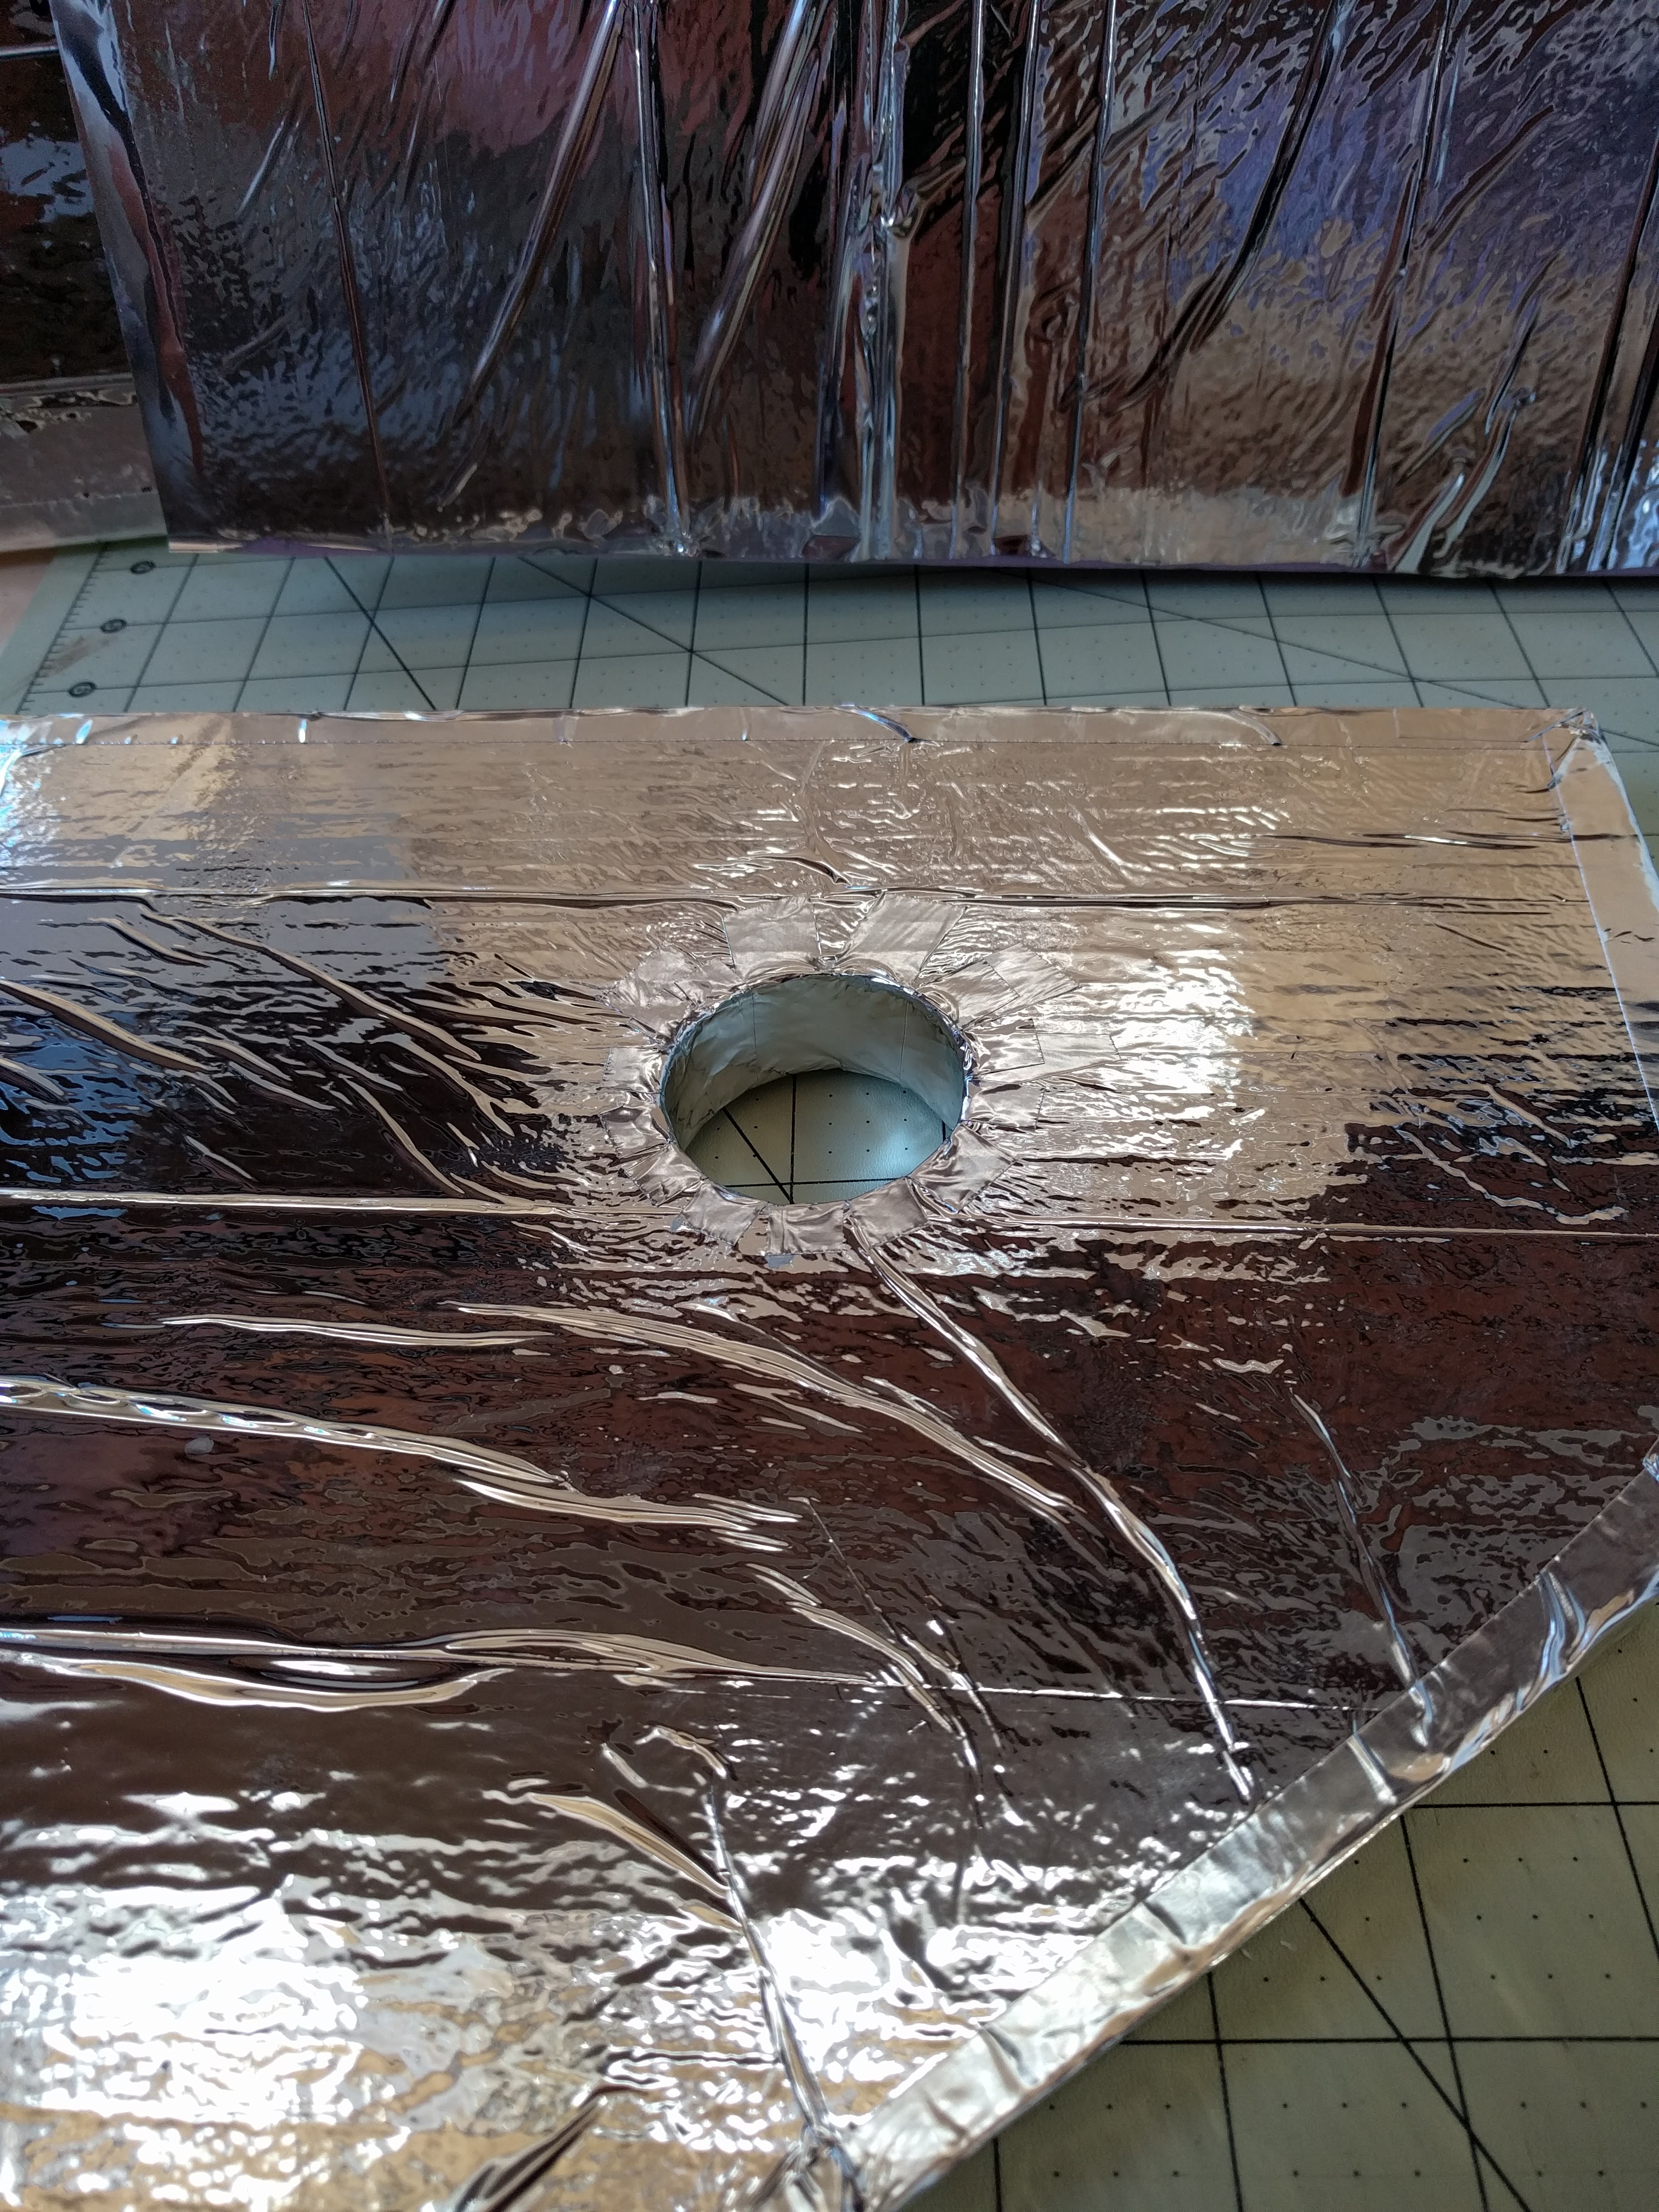
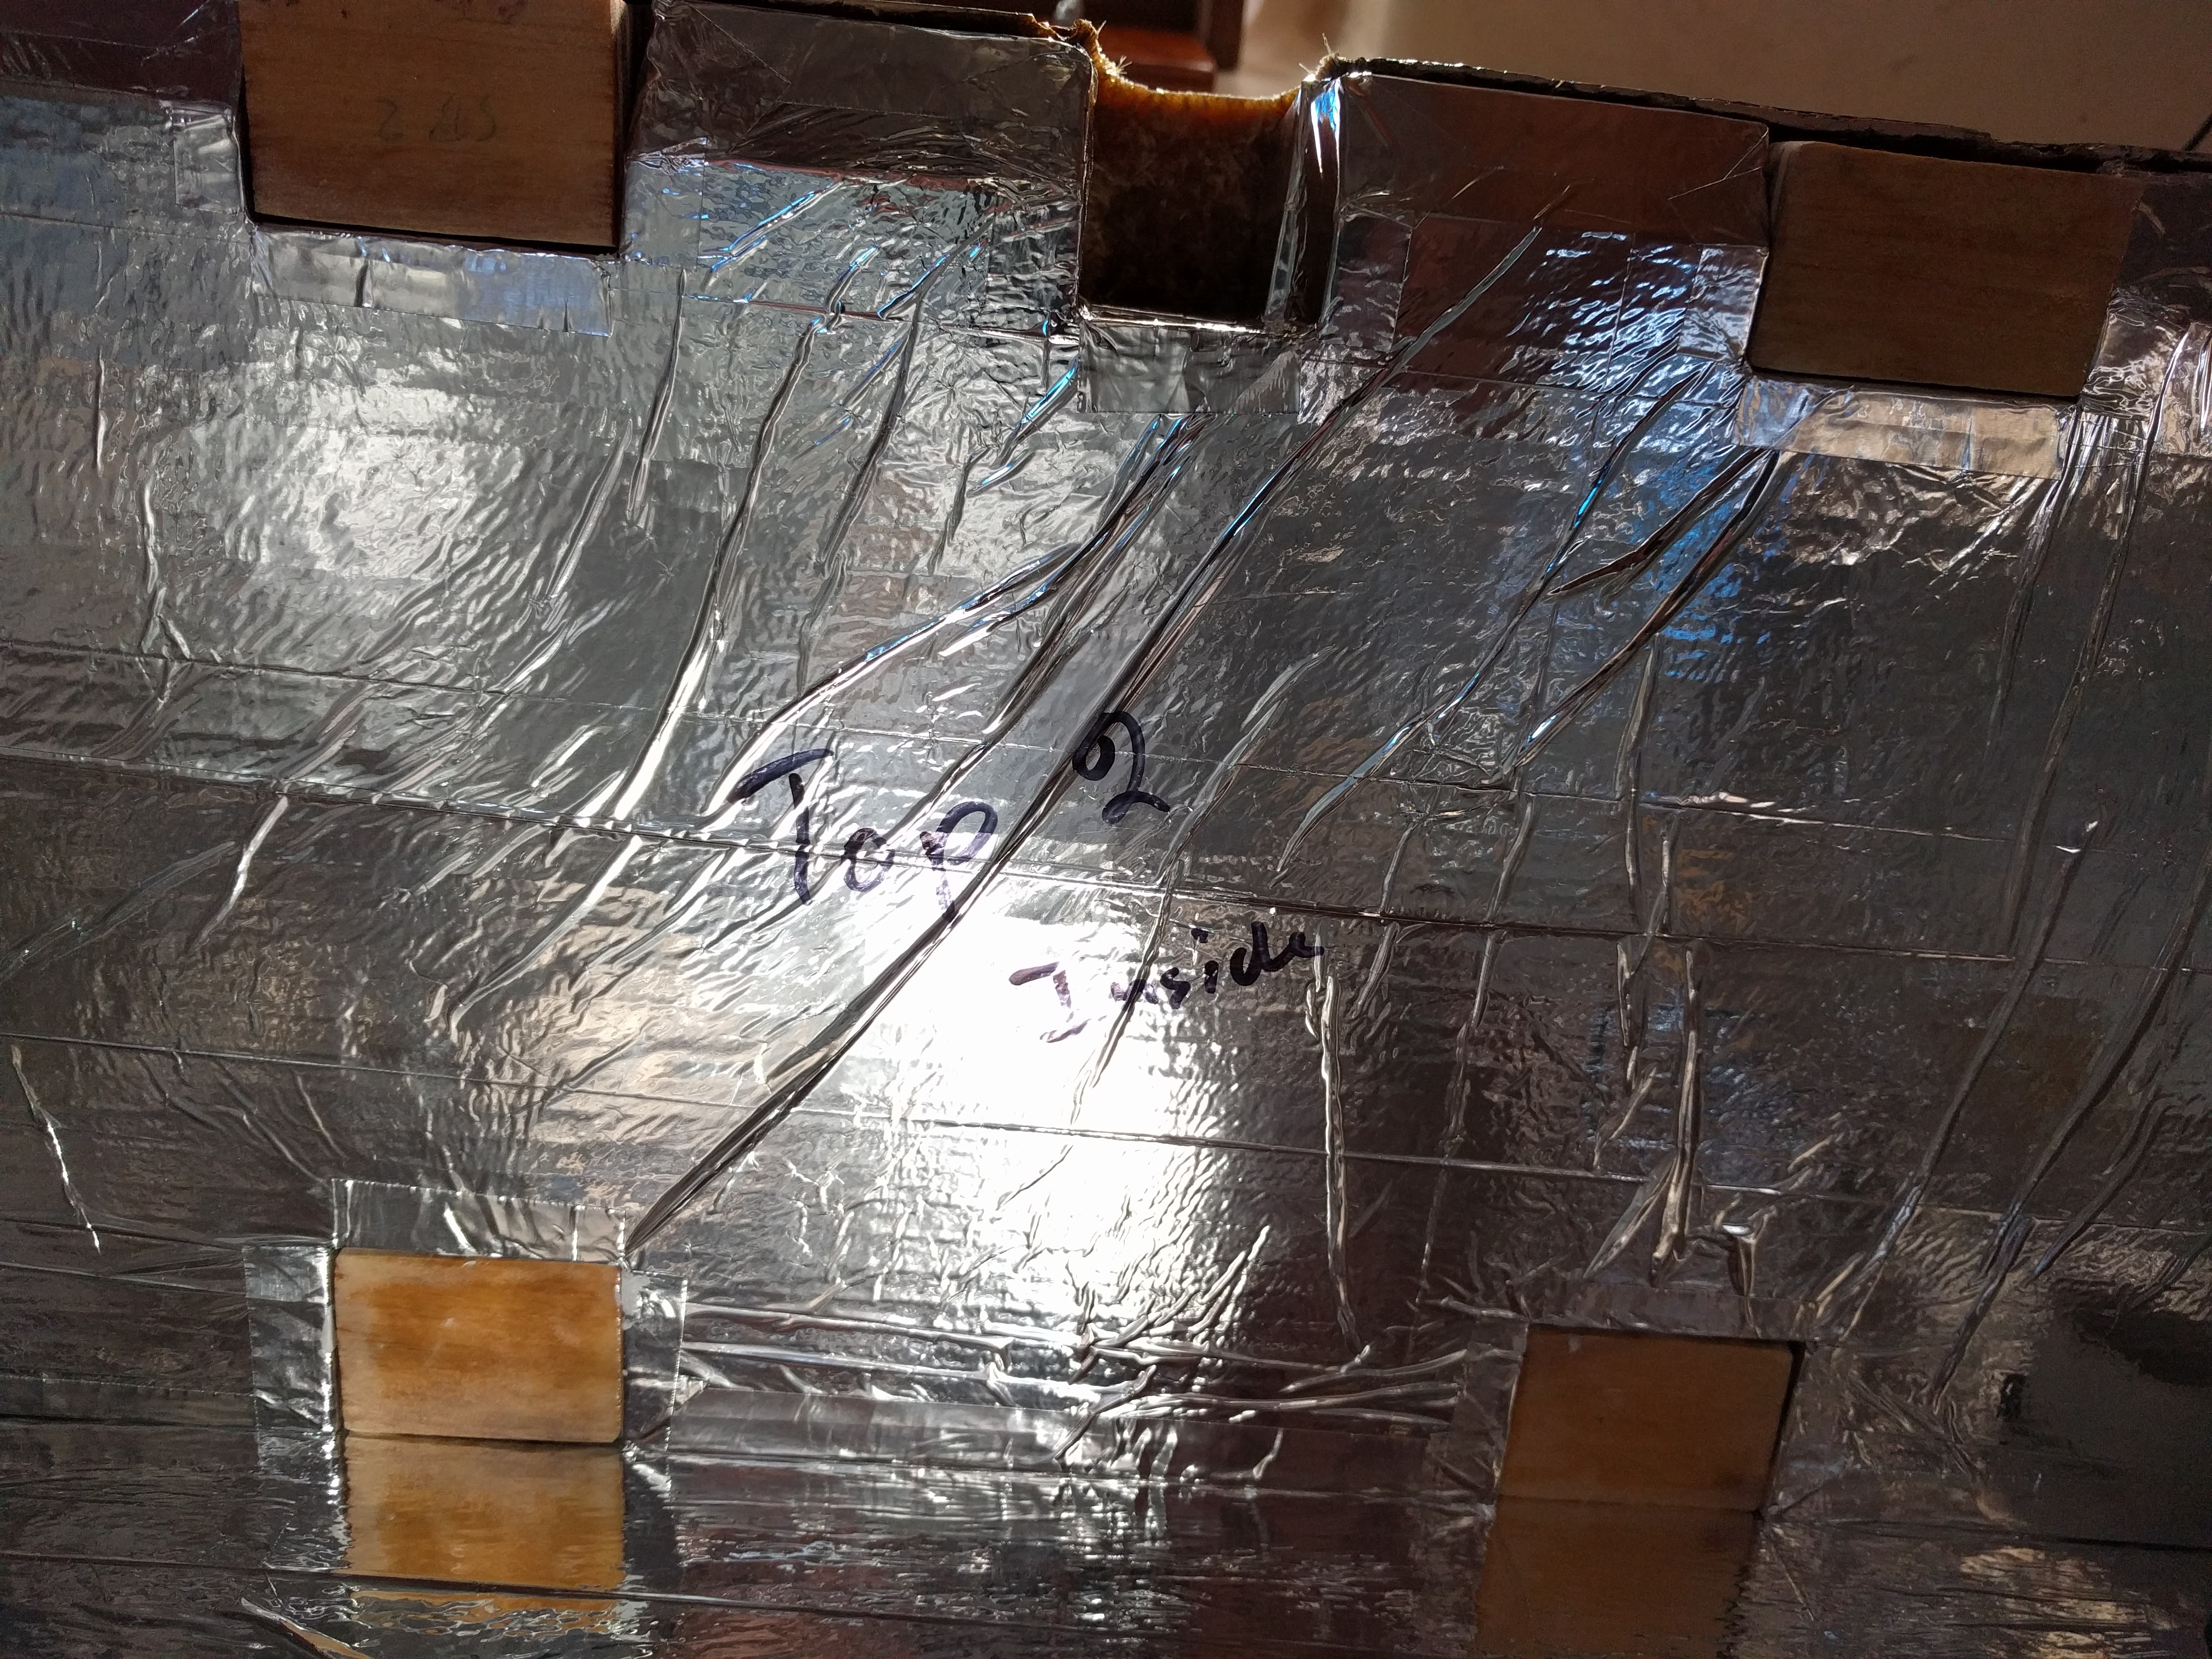
I have two layers of one inch thick R-5 XPS insulation covered in a watertight radiant barrier. This will give me R-10 for the box (hopefully the original foam will add something too since it’s still there.) The last piece to go in is the top of the icebox with resin covered plywood blocks stacked up to provide a solid mounting point for the holding plate.
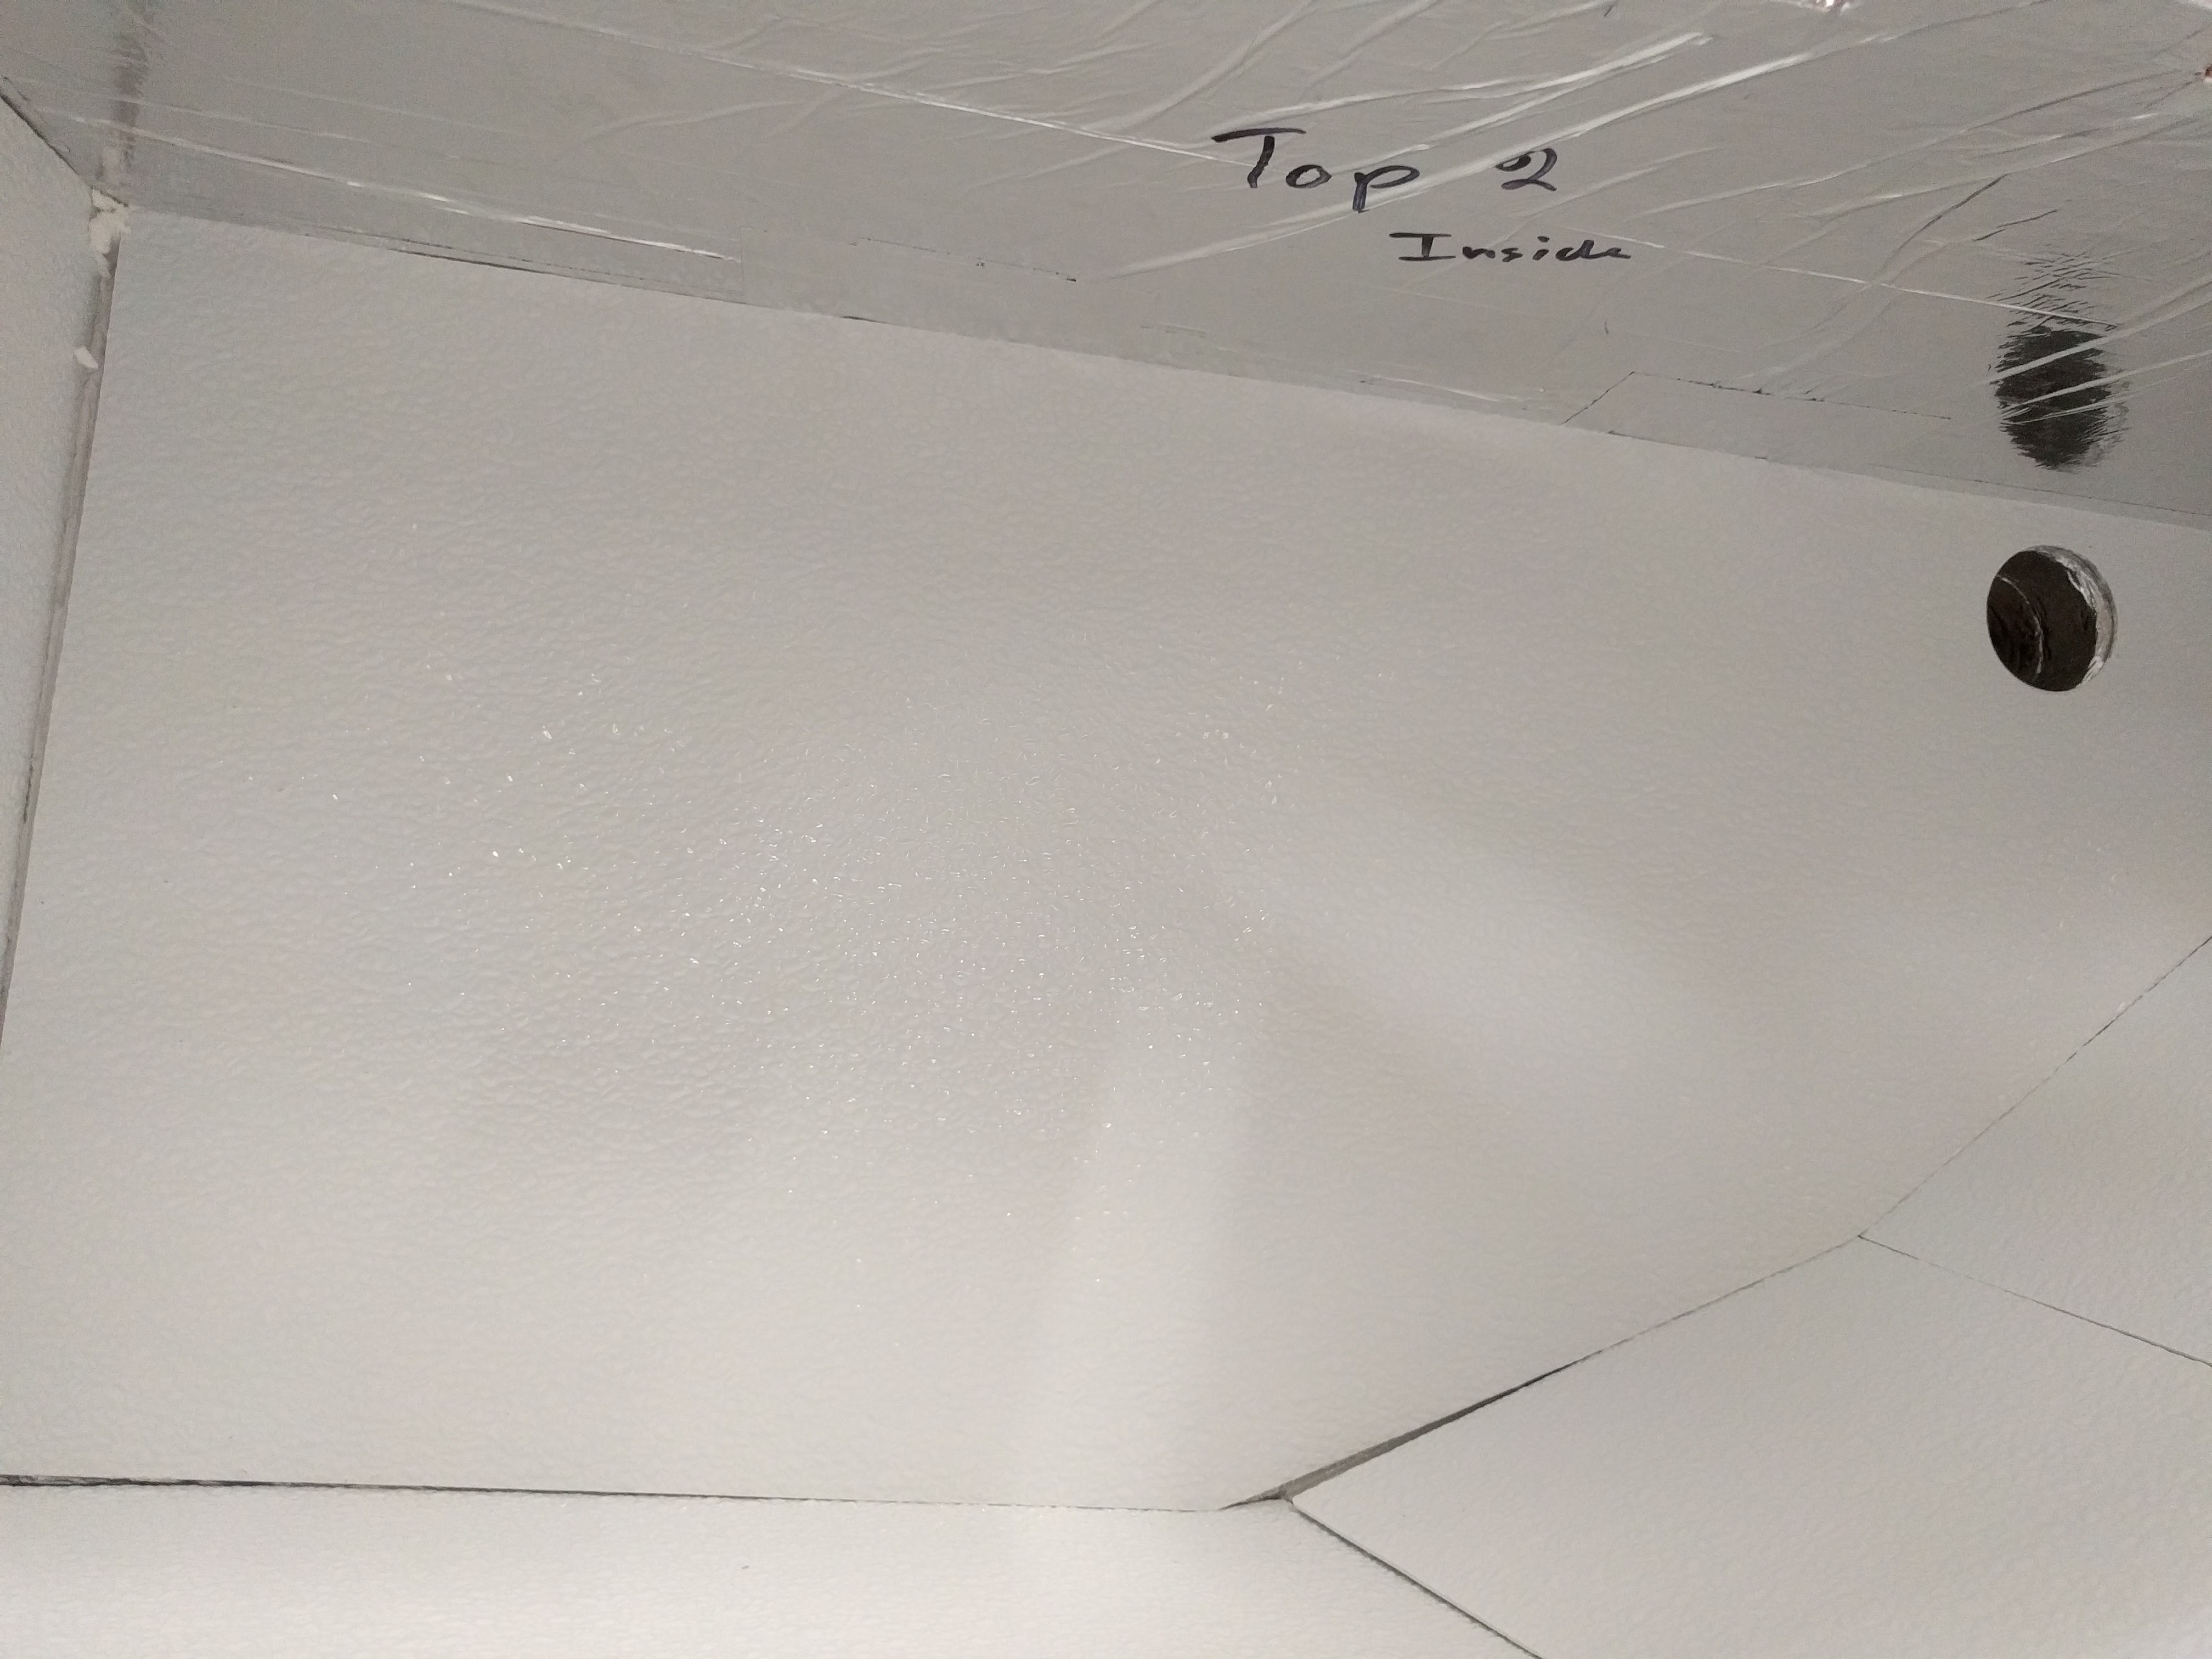
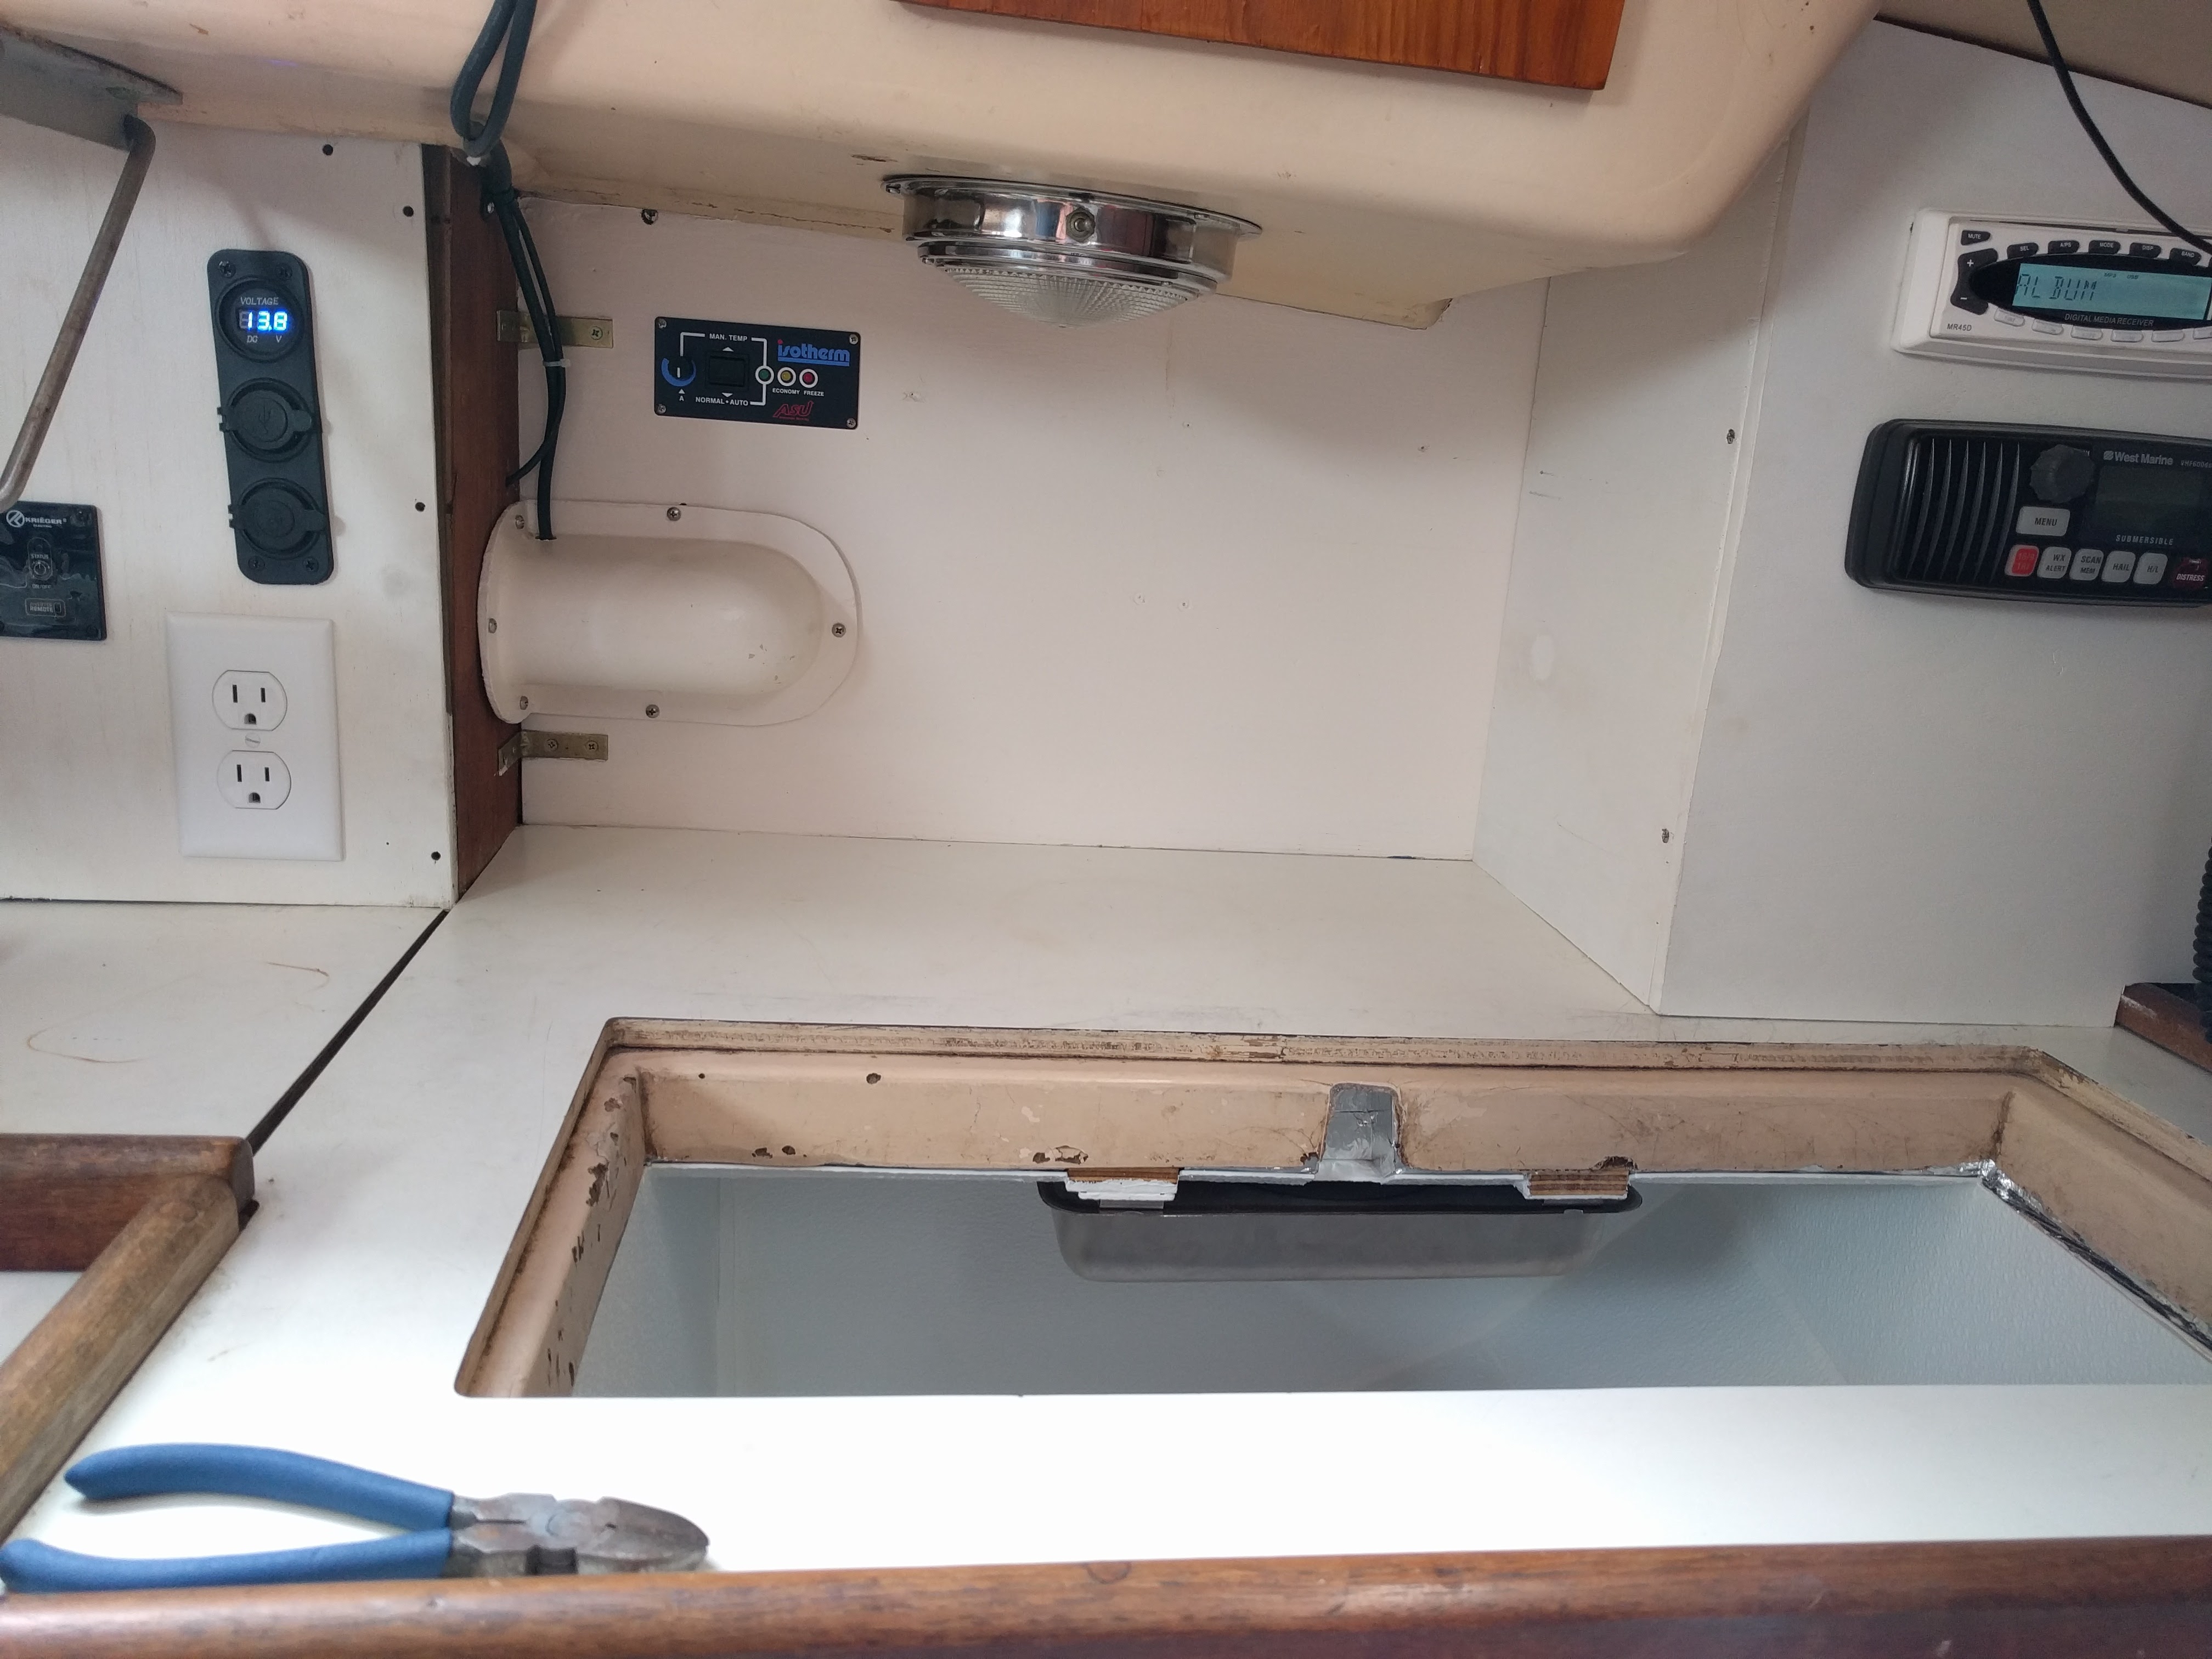
With all the insulation in place next I add the FRP liner.
I put a PVC pipe through the hole for the coolant tubes and used Marine-Tex as a sealant around the seams.

Finally uncoil the tubes and slide the holding plate into place. I make it sound easy, it was anything but. After stripping heads of multiple screws and snapping off a drill bit inside the counter top I finally got the holding plate secured to the roof of the box.
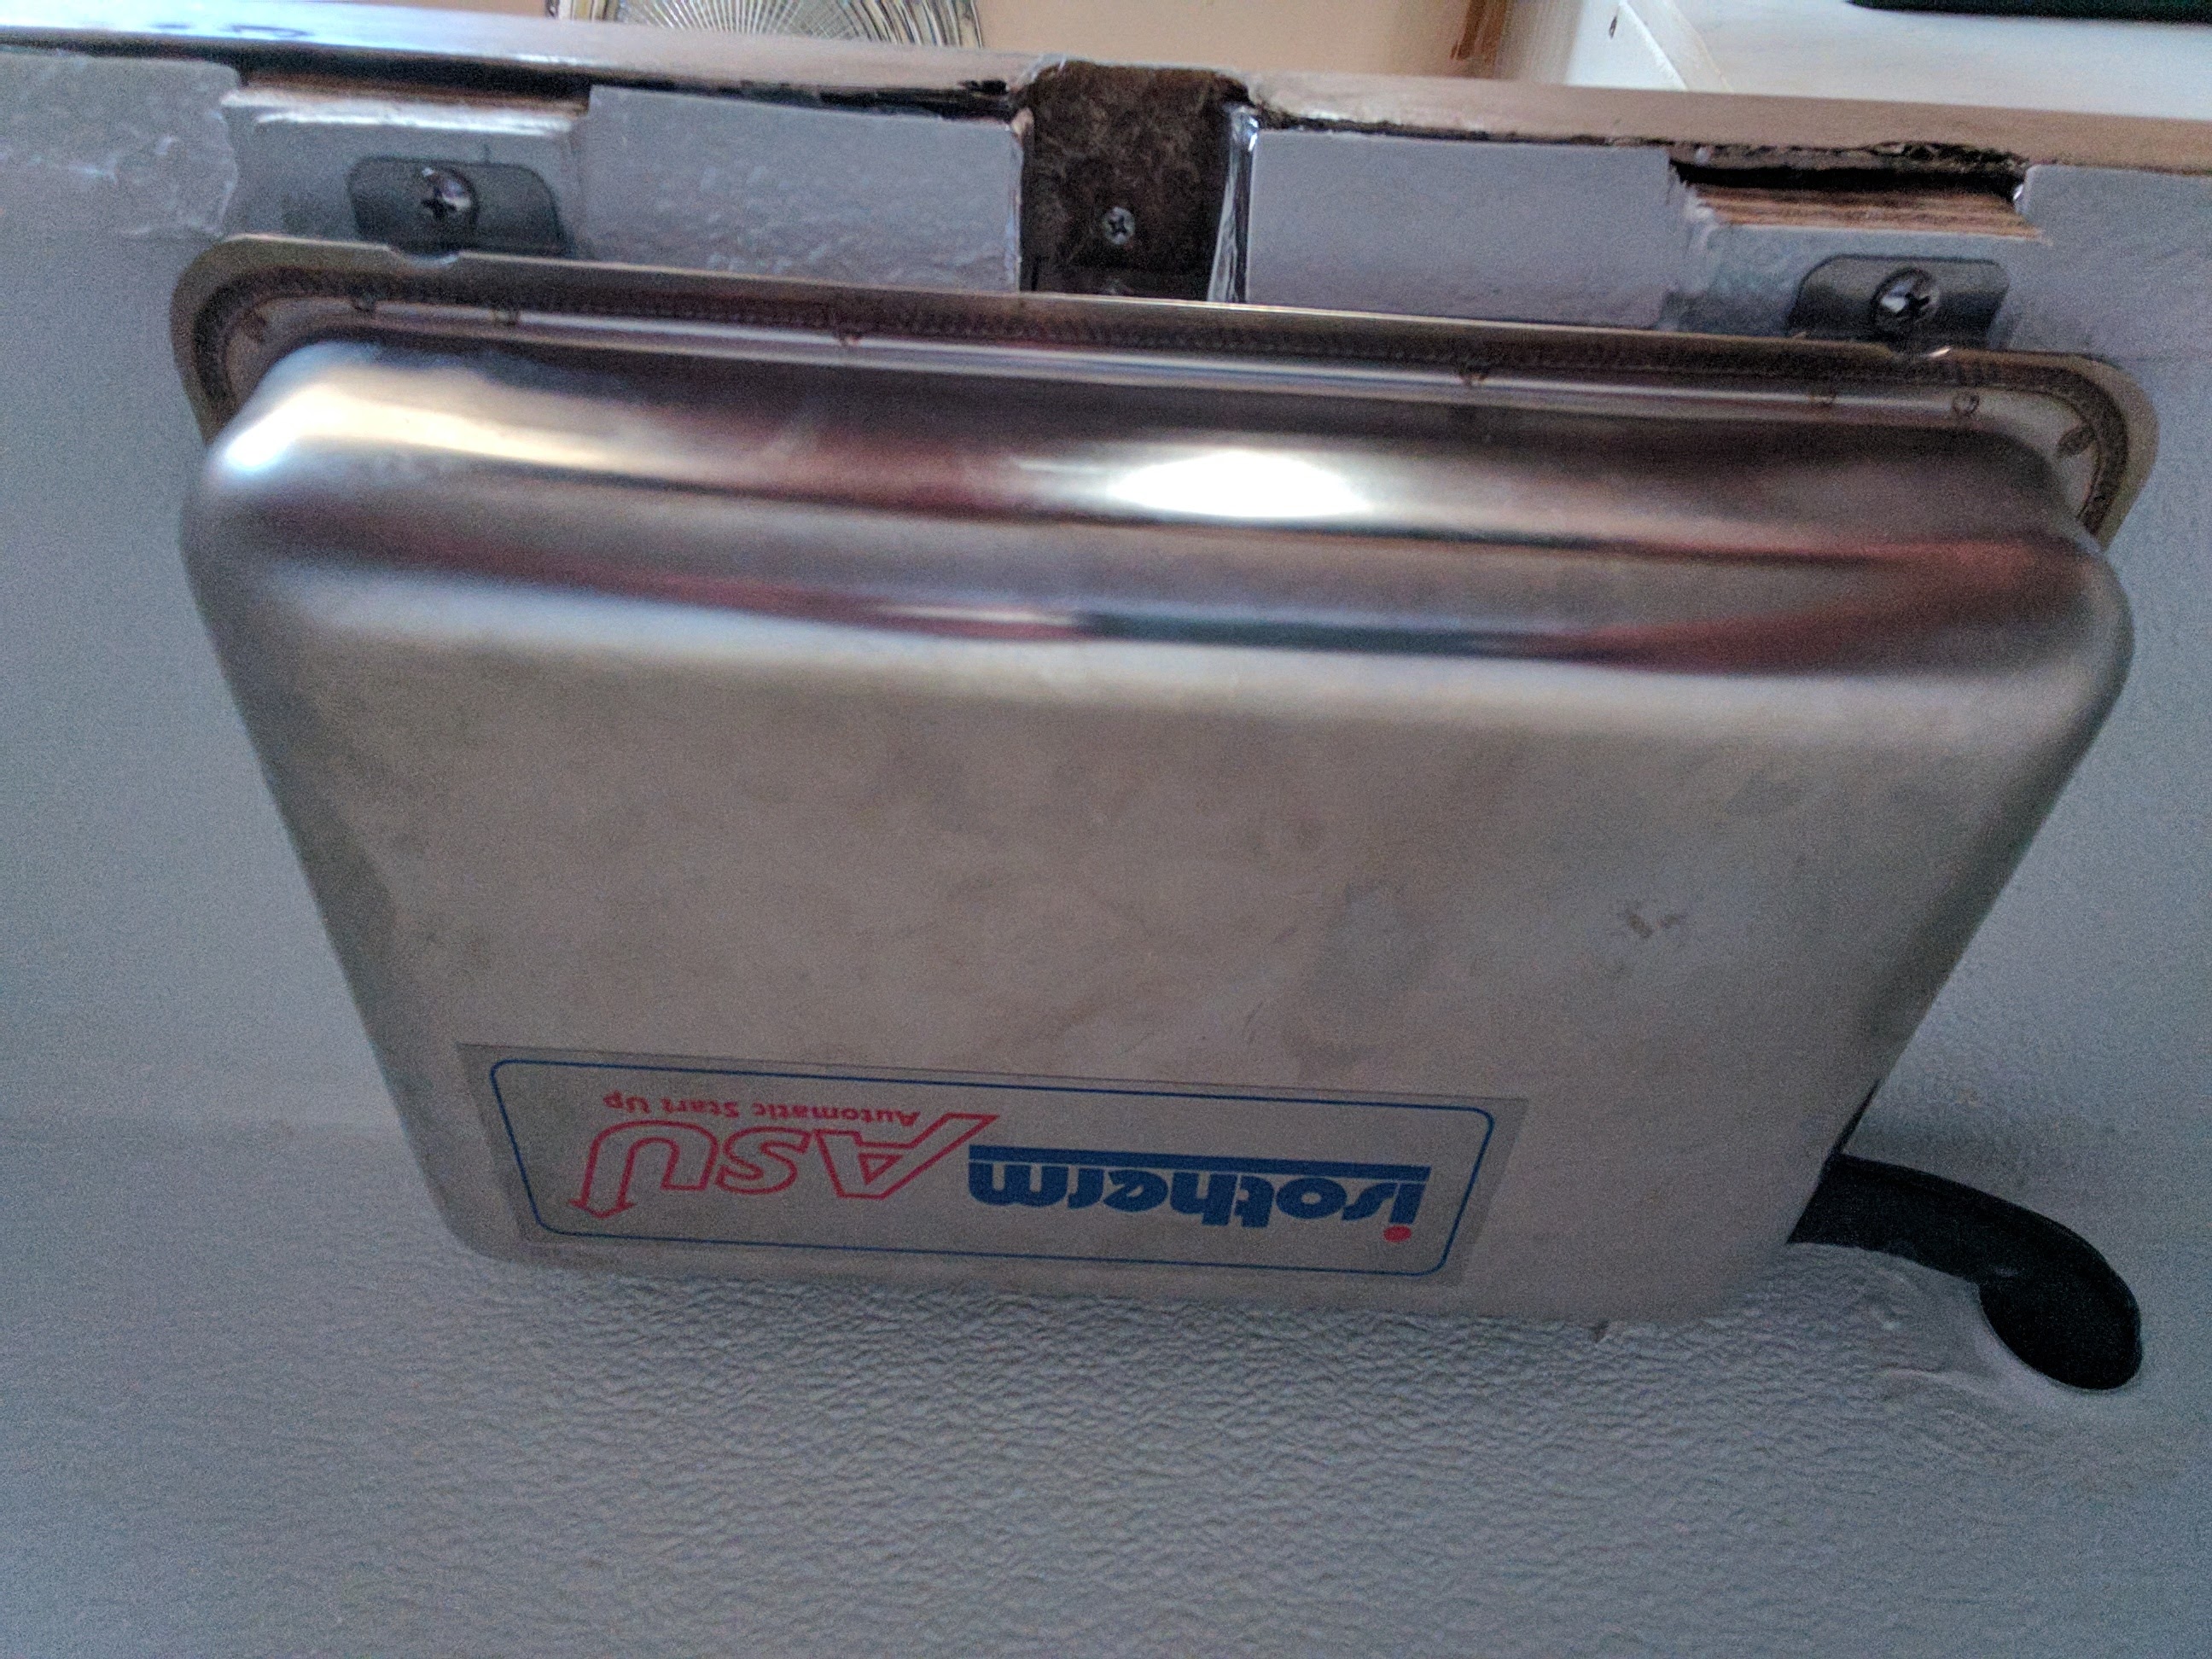
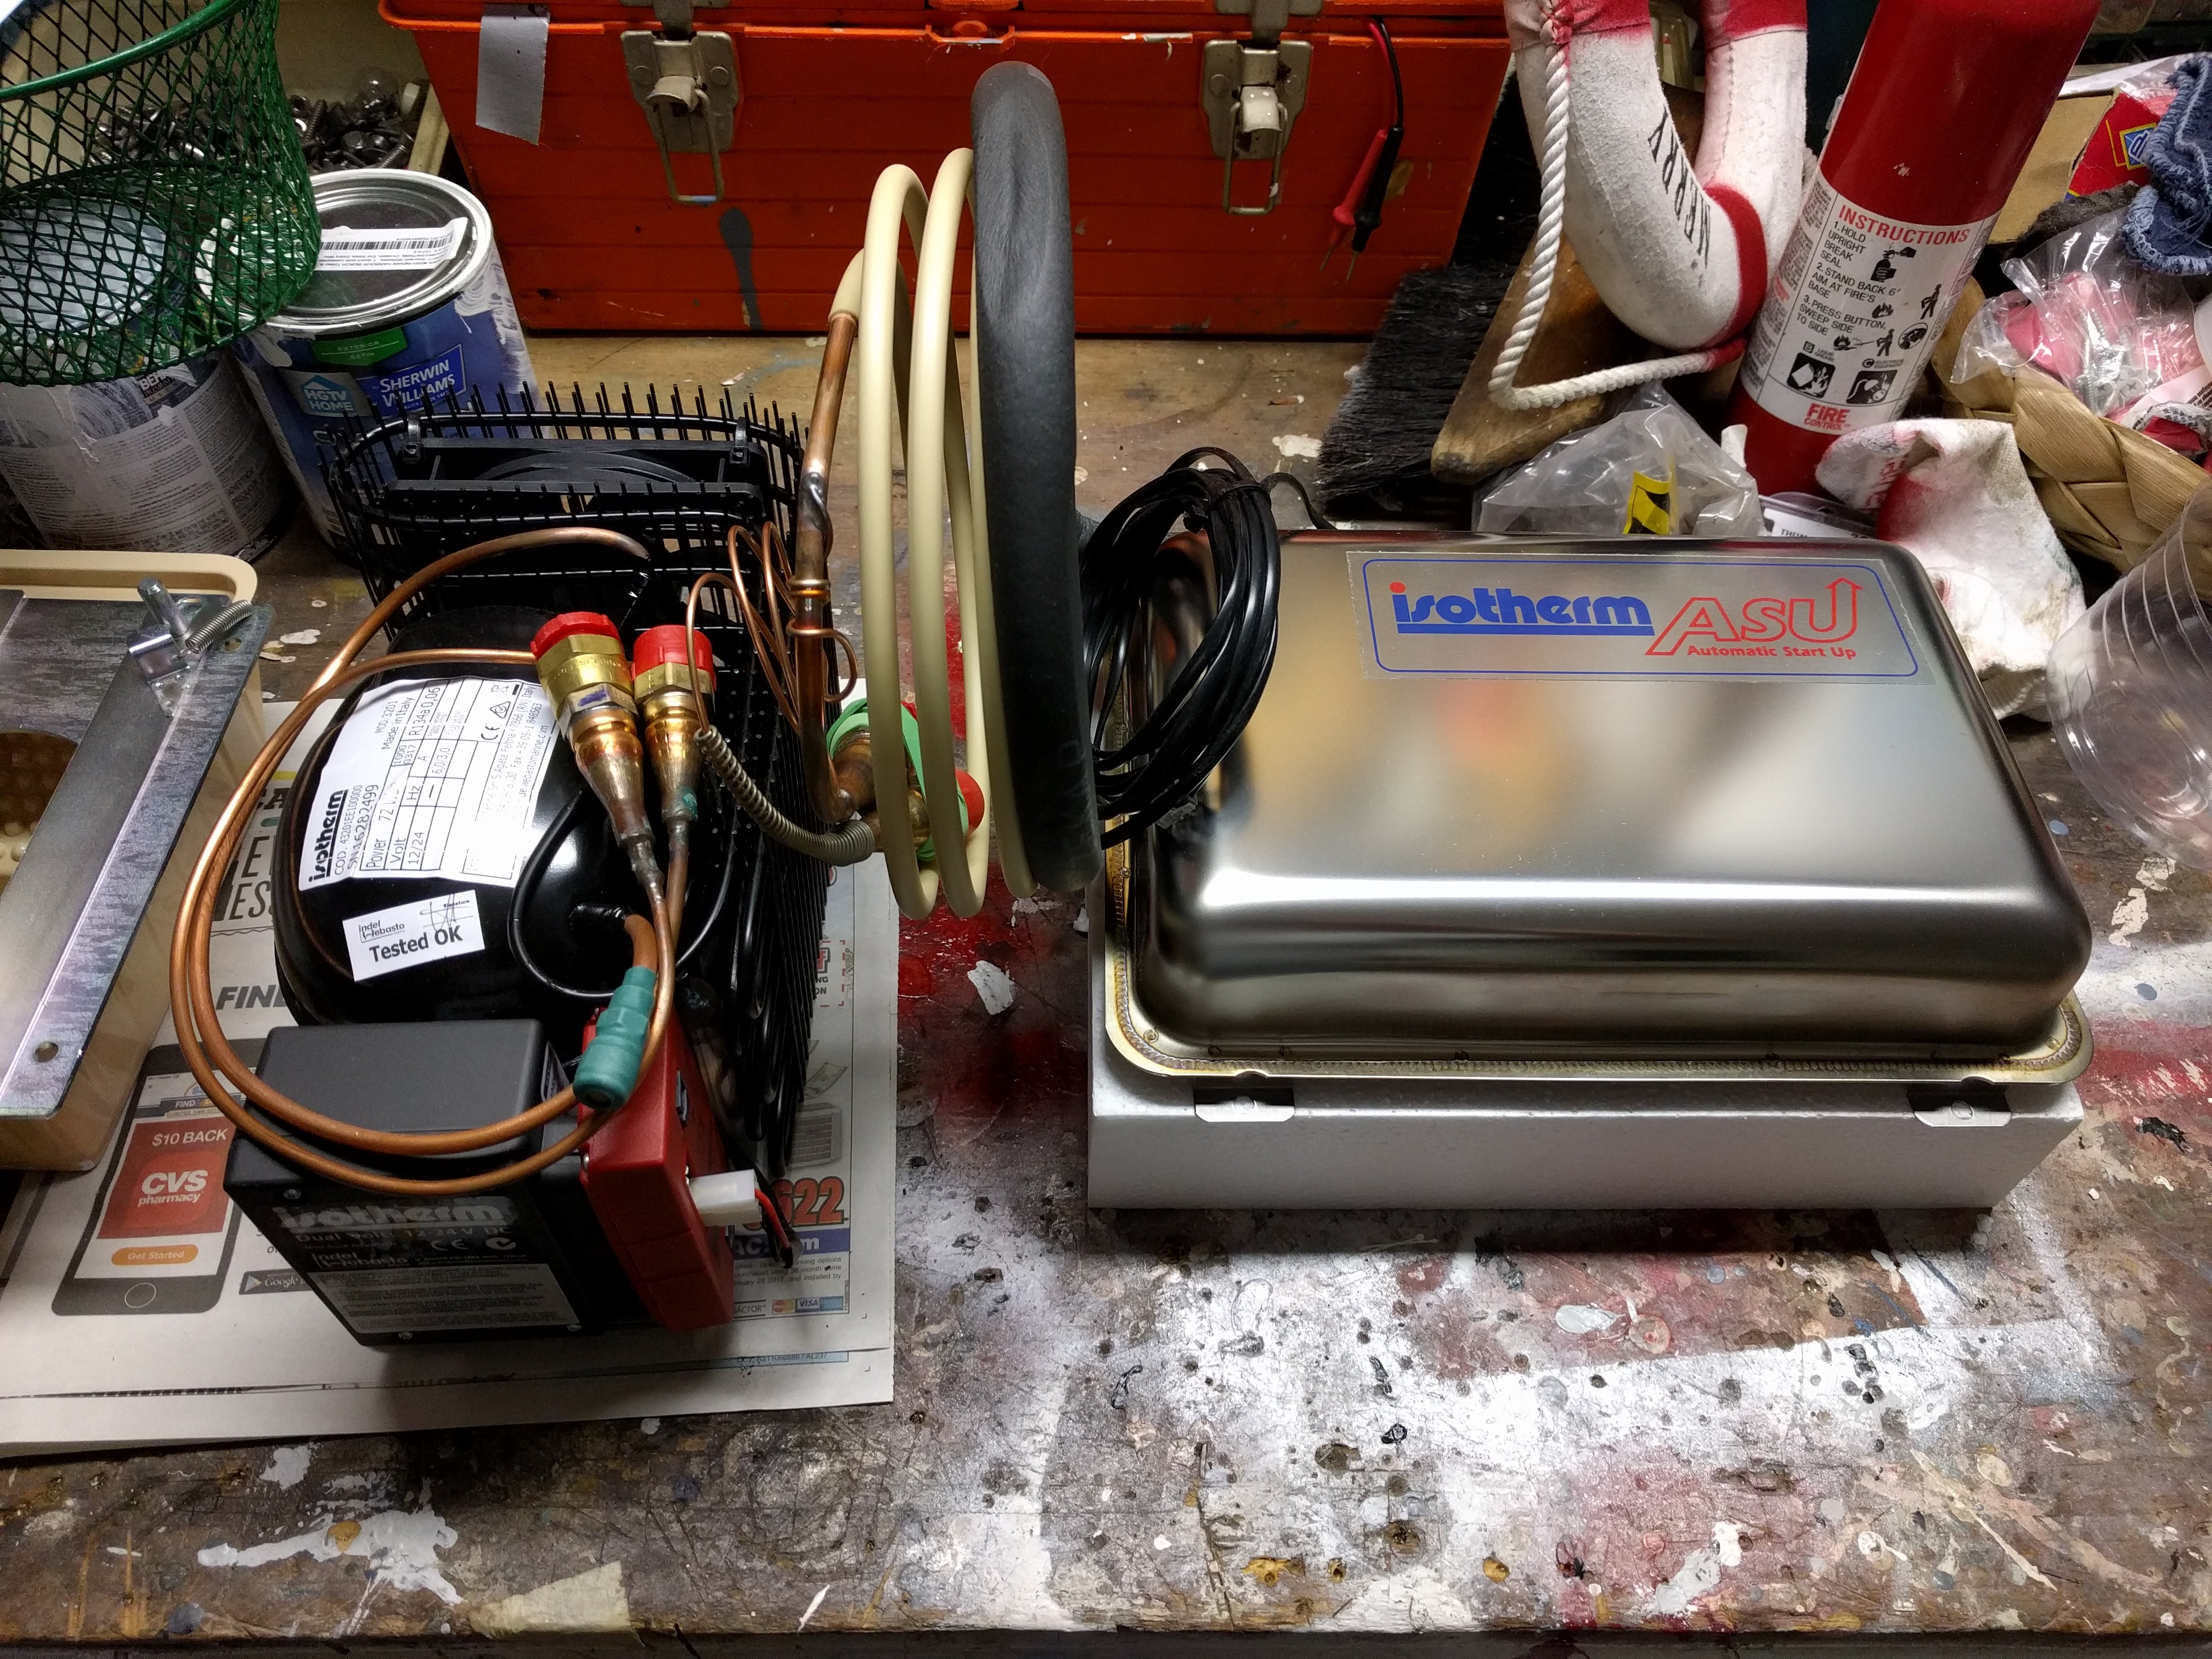
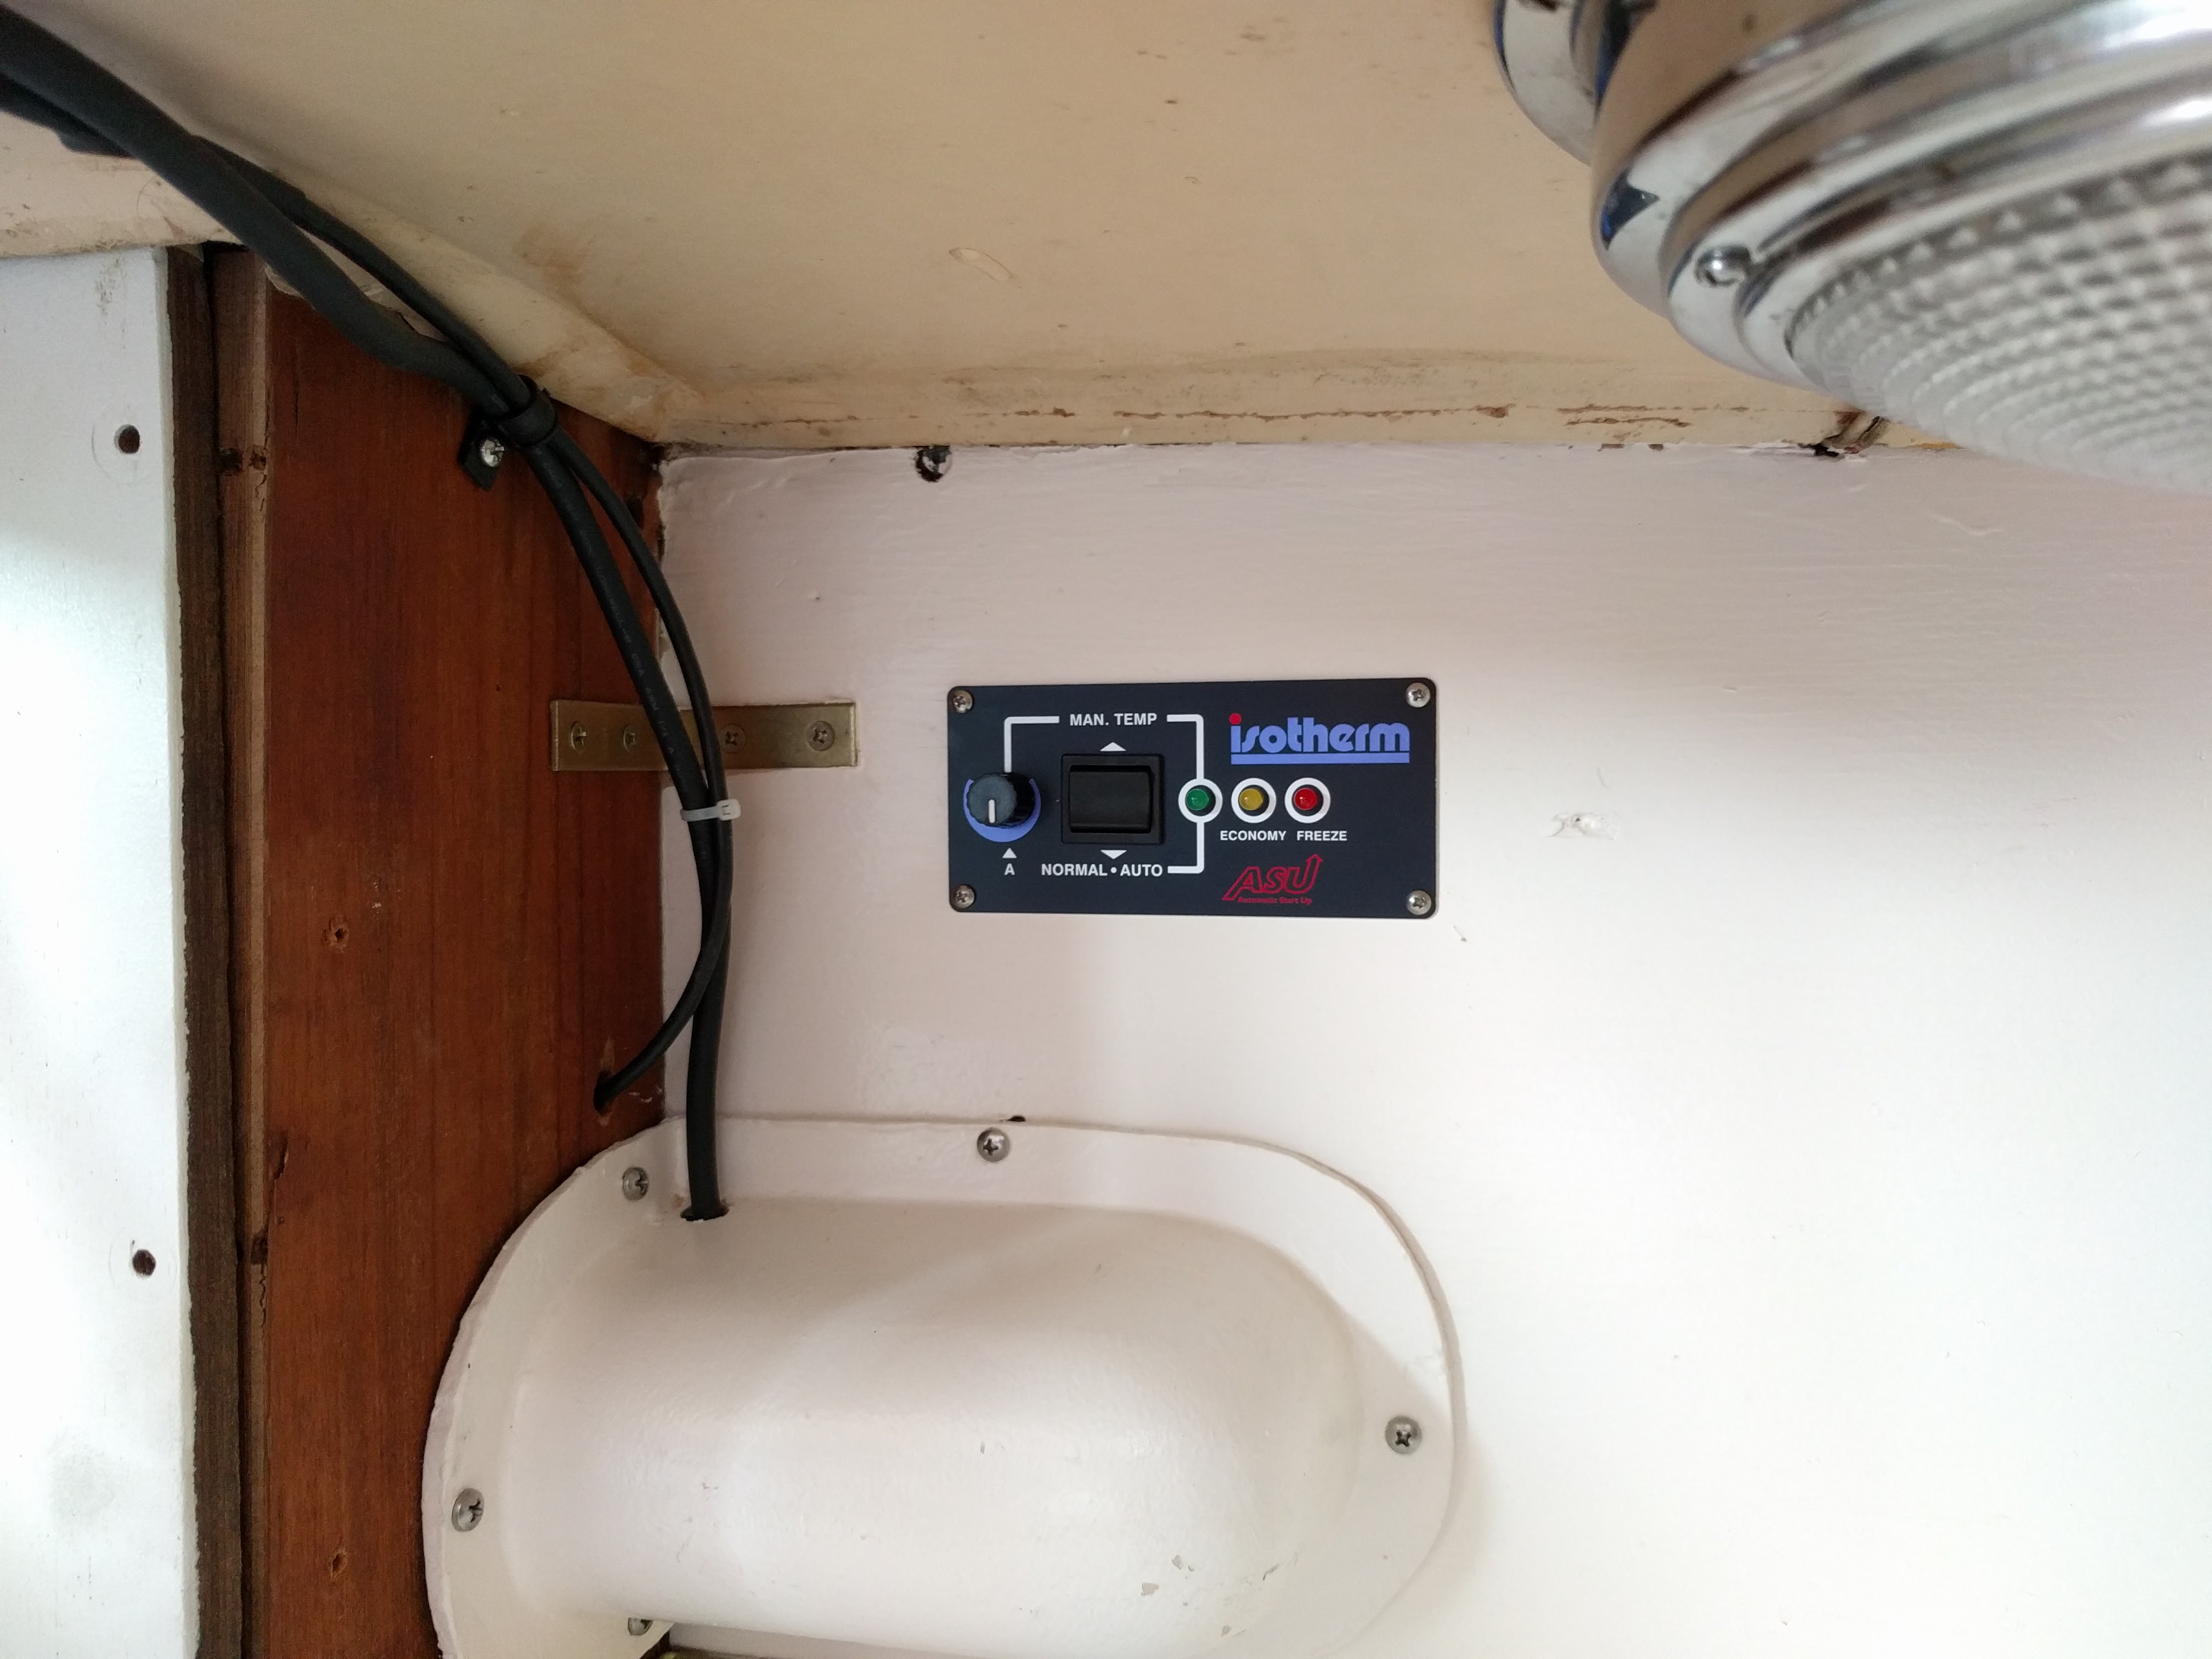
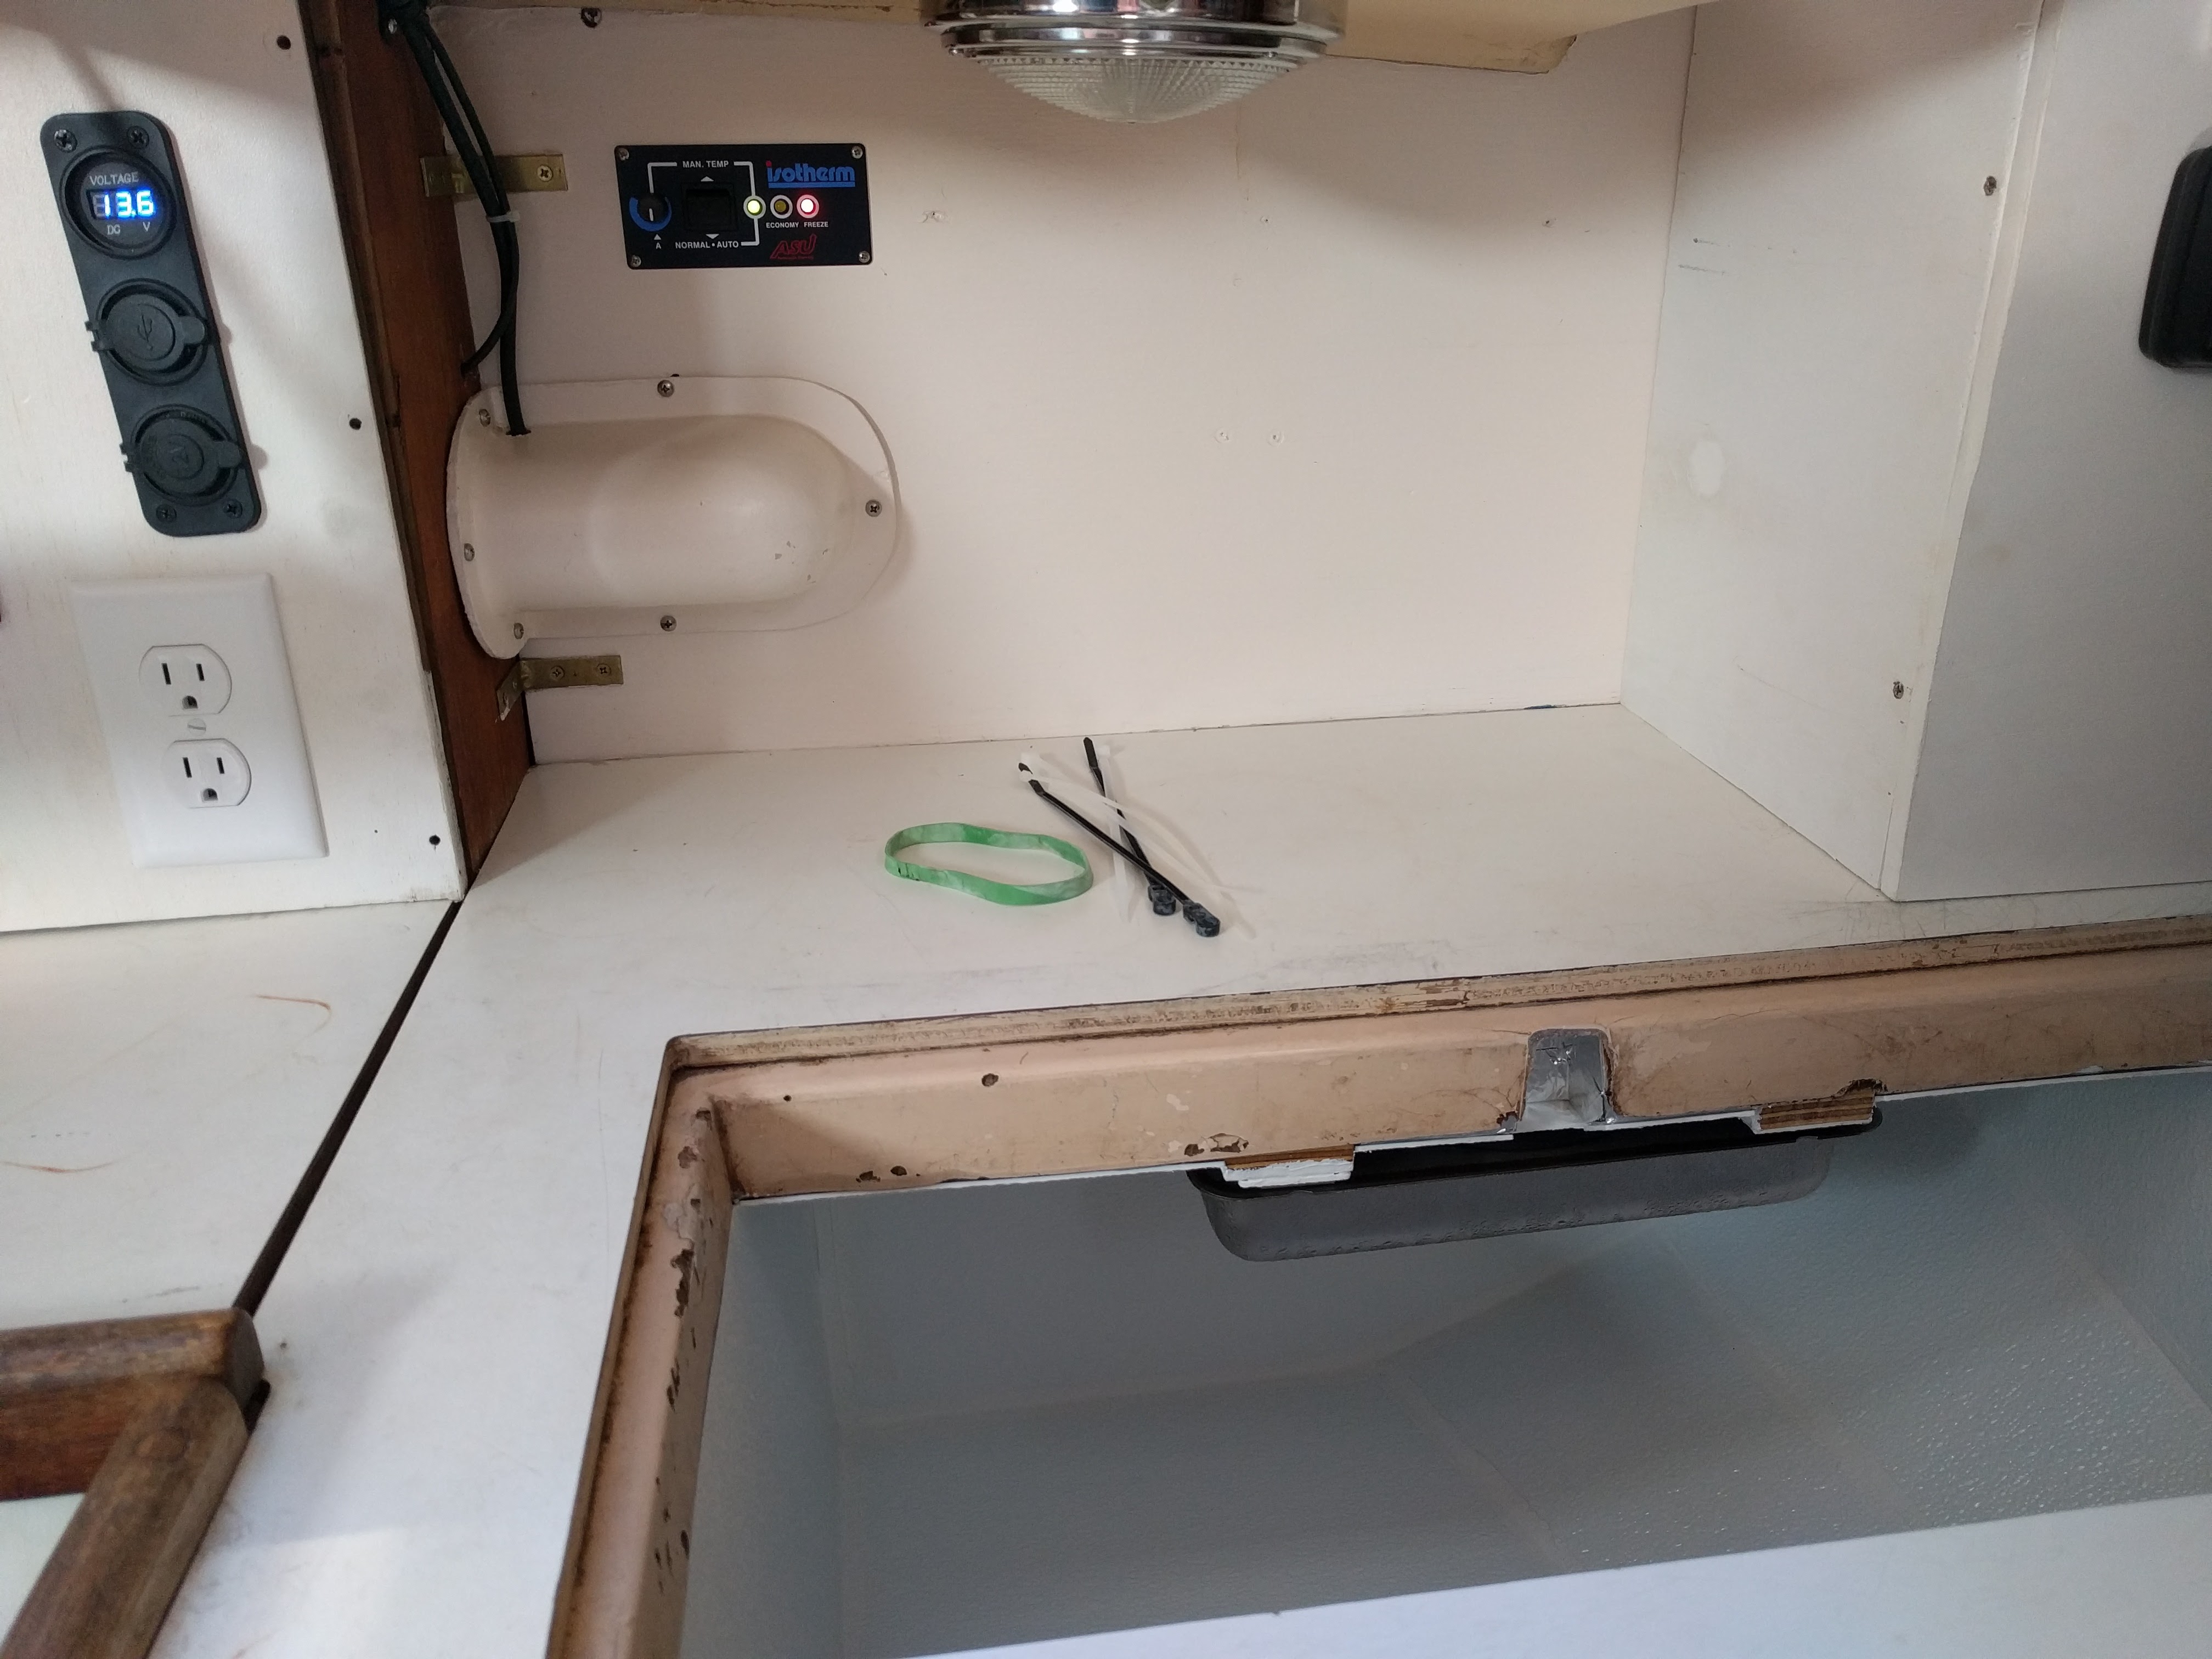
Next I installed the compressor in the cockpit locker and put the control panel in the bulkhead above the icebox.
Finally to test it out!
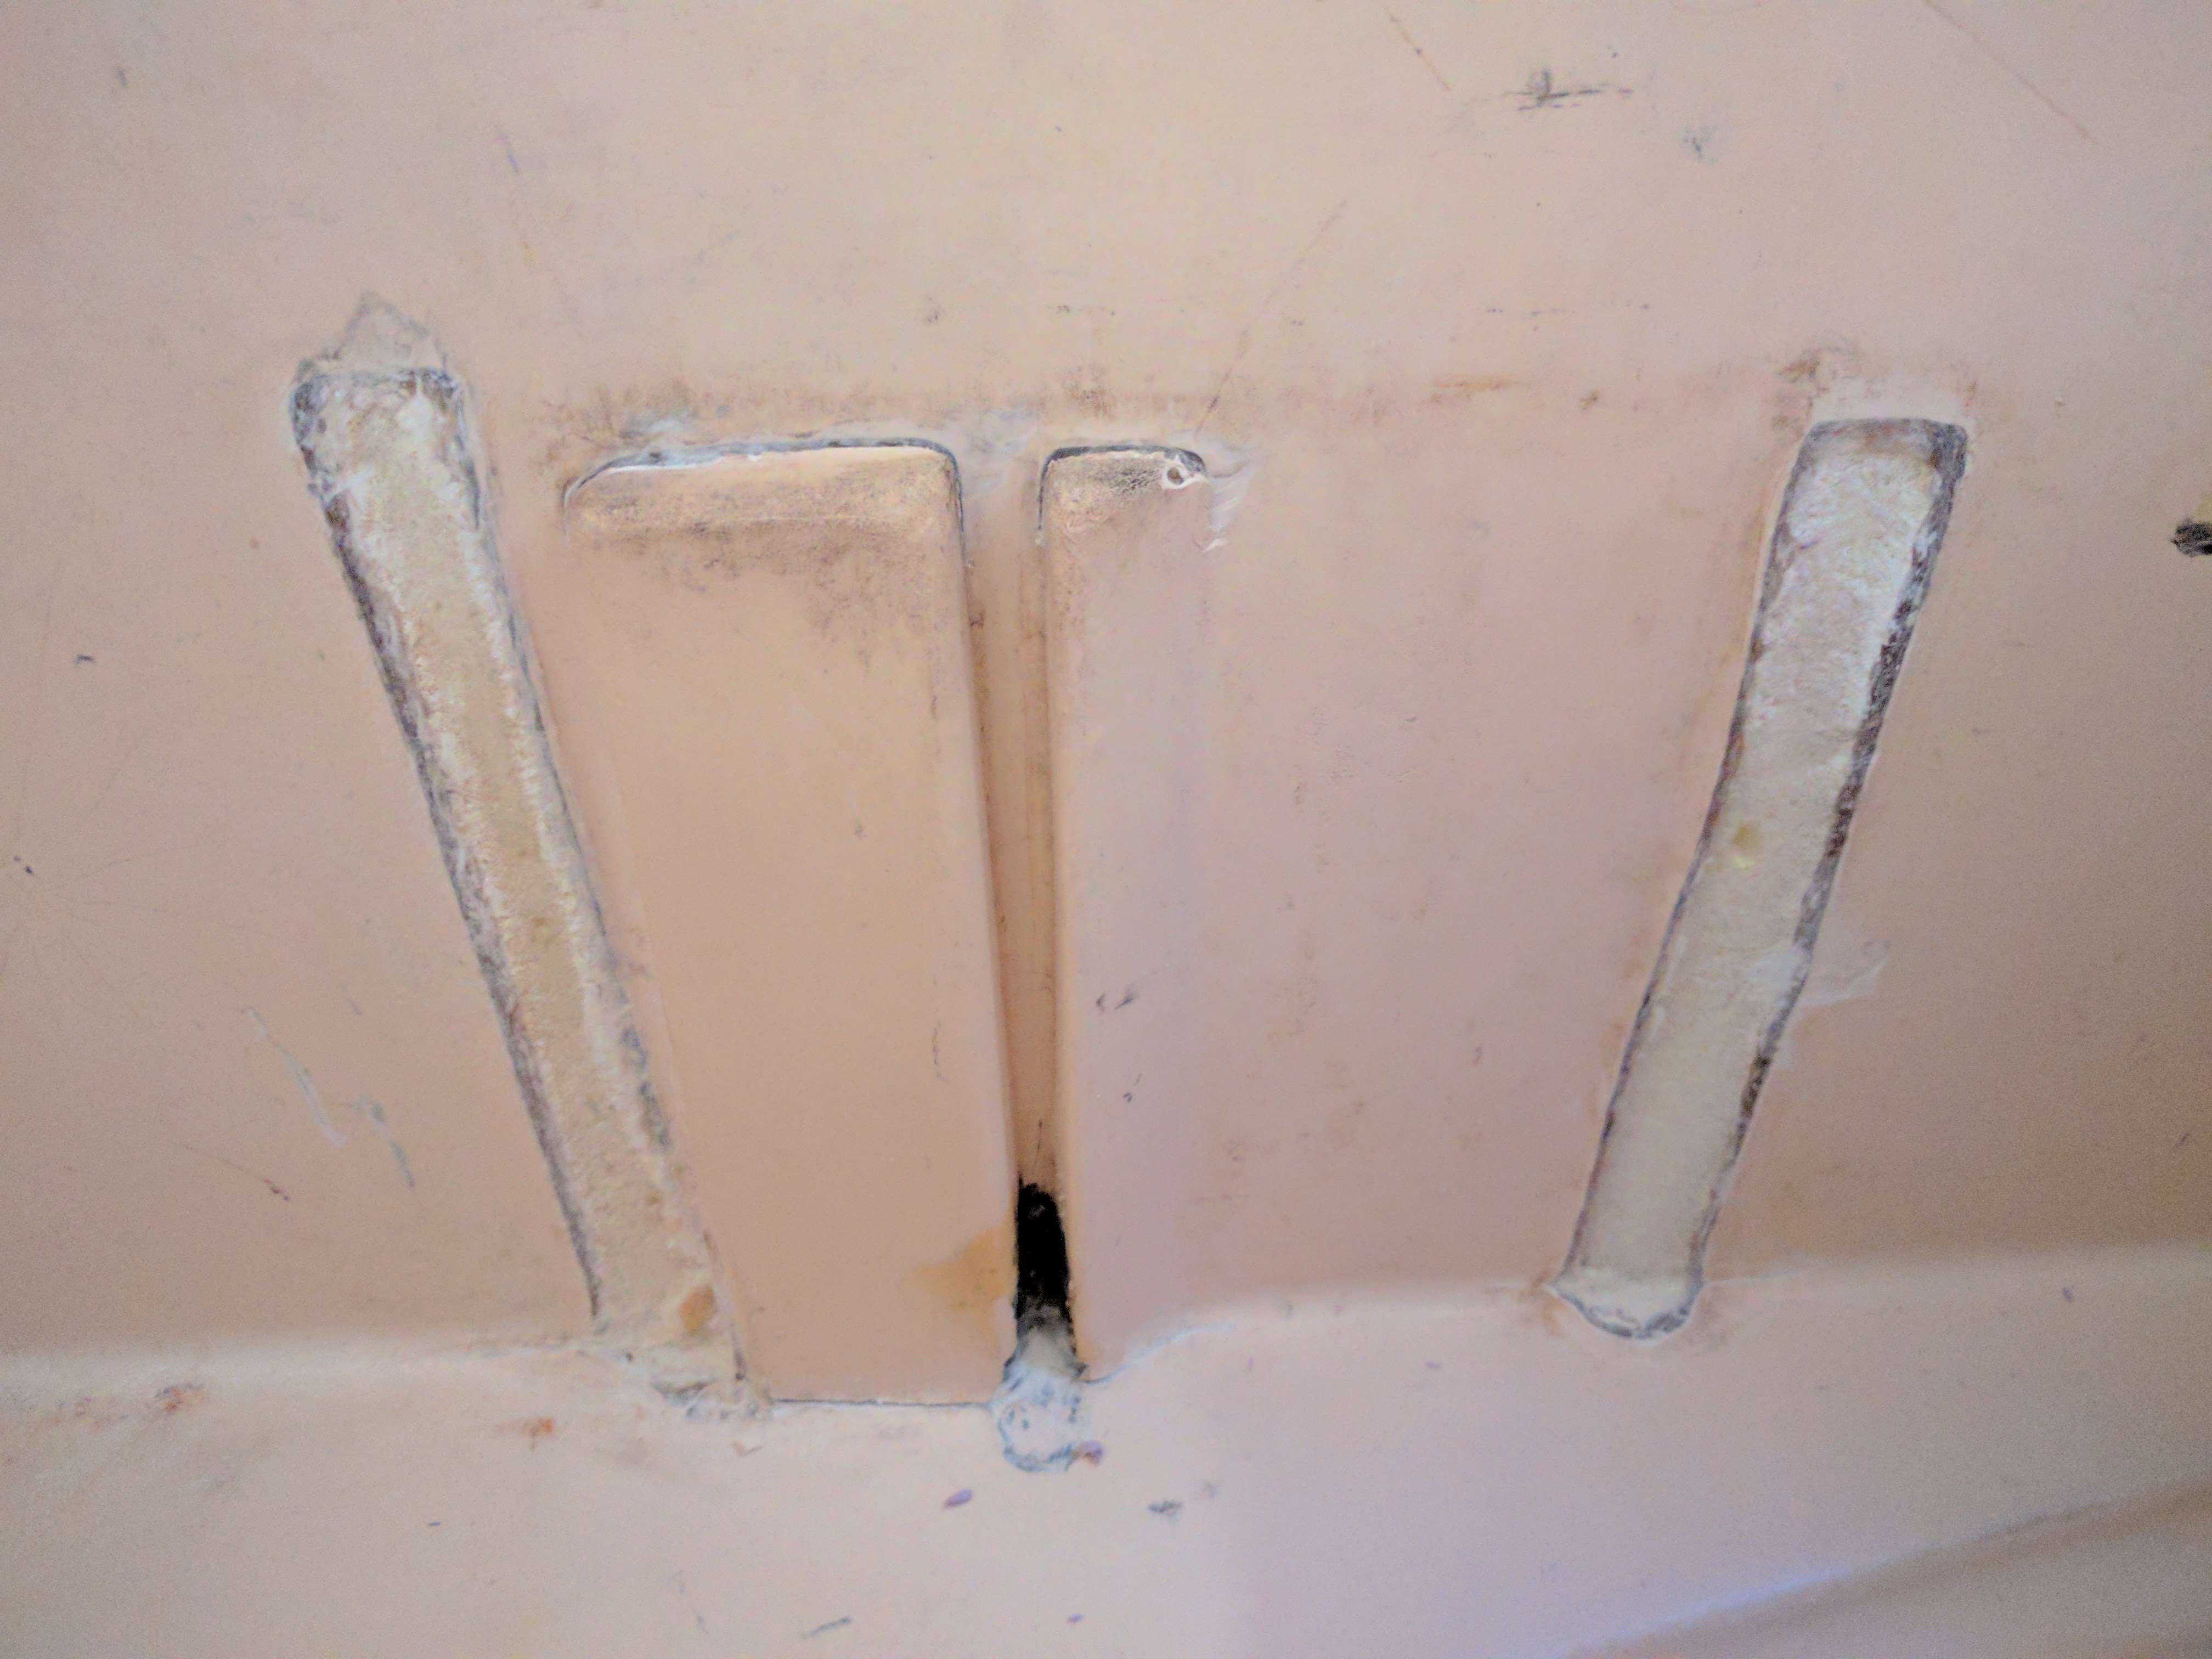
Now what to do about the pitted and ugly fiberglass frame around the lid? Well I’ll keep going with the Marine-Tex.


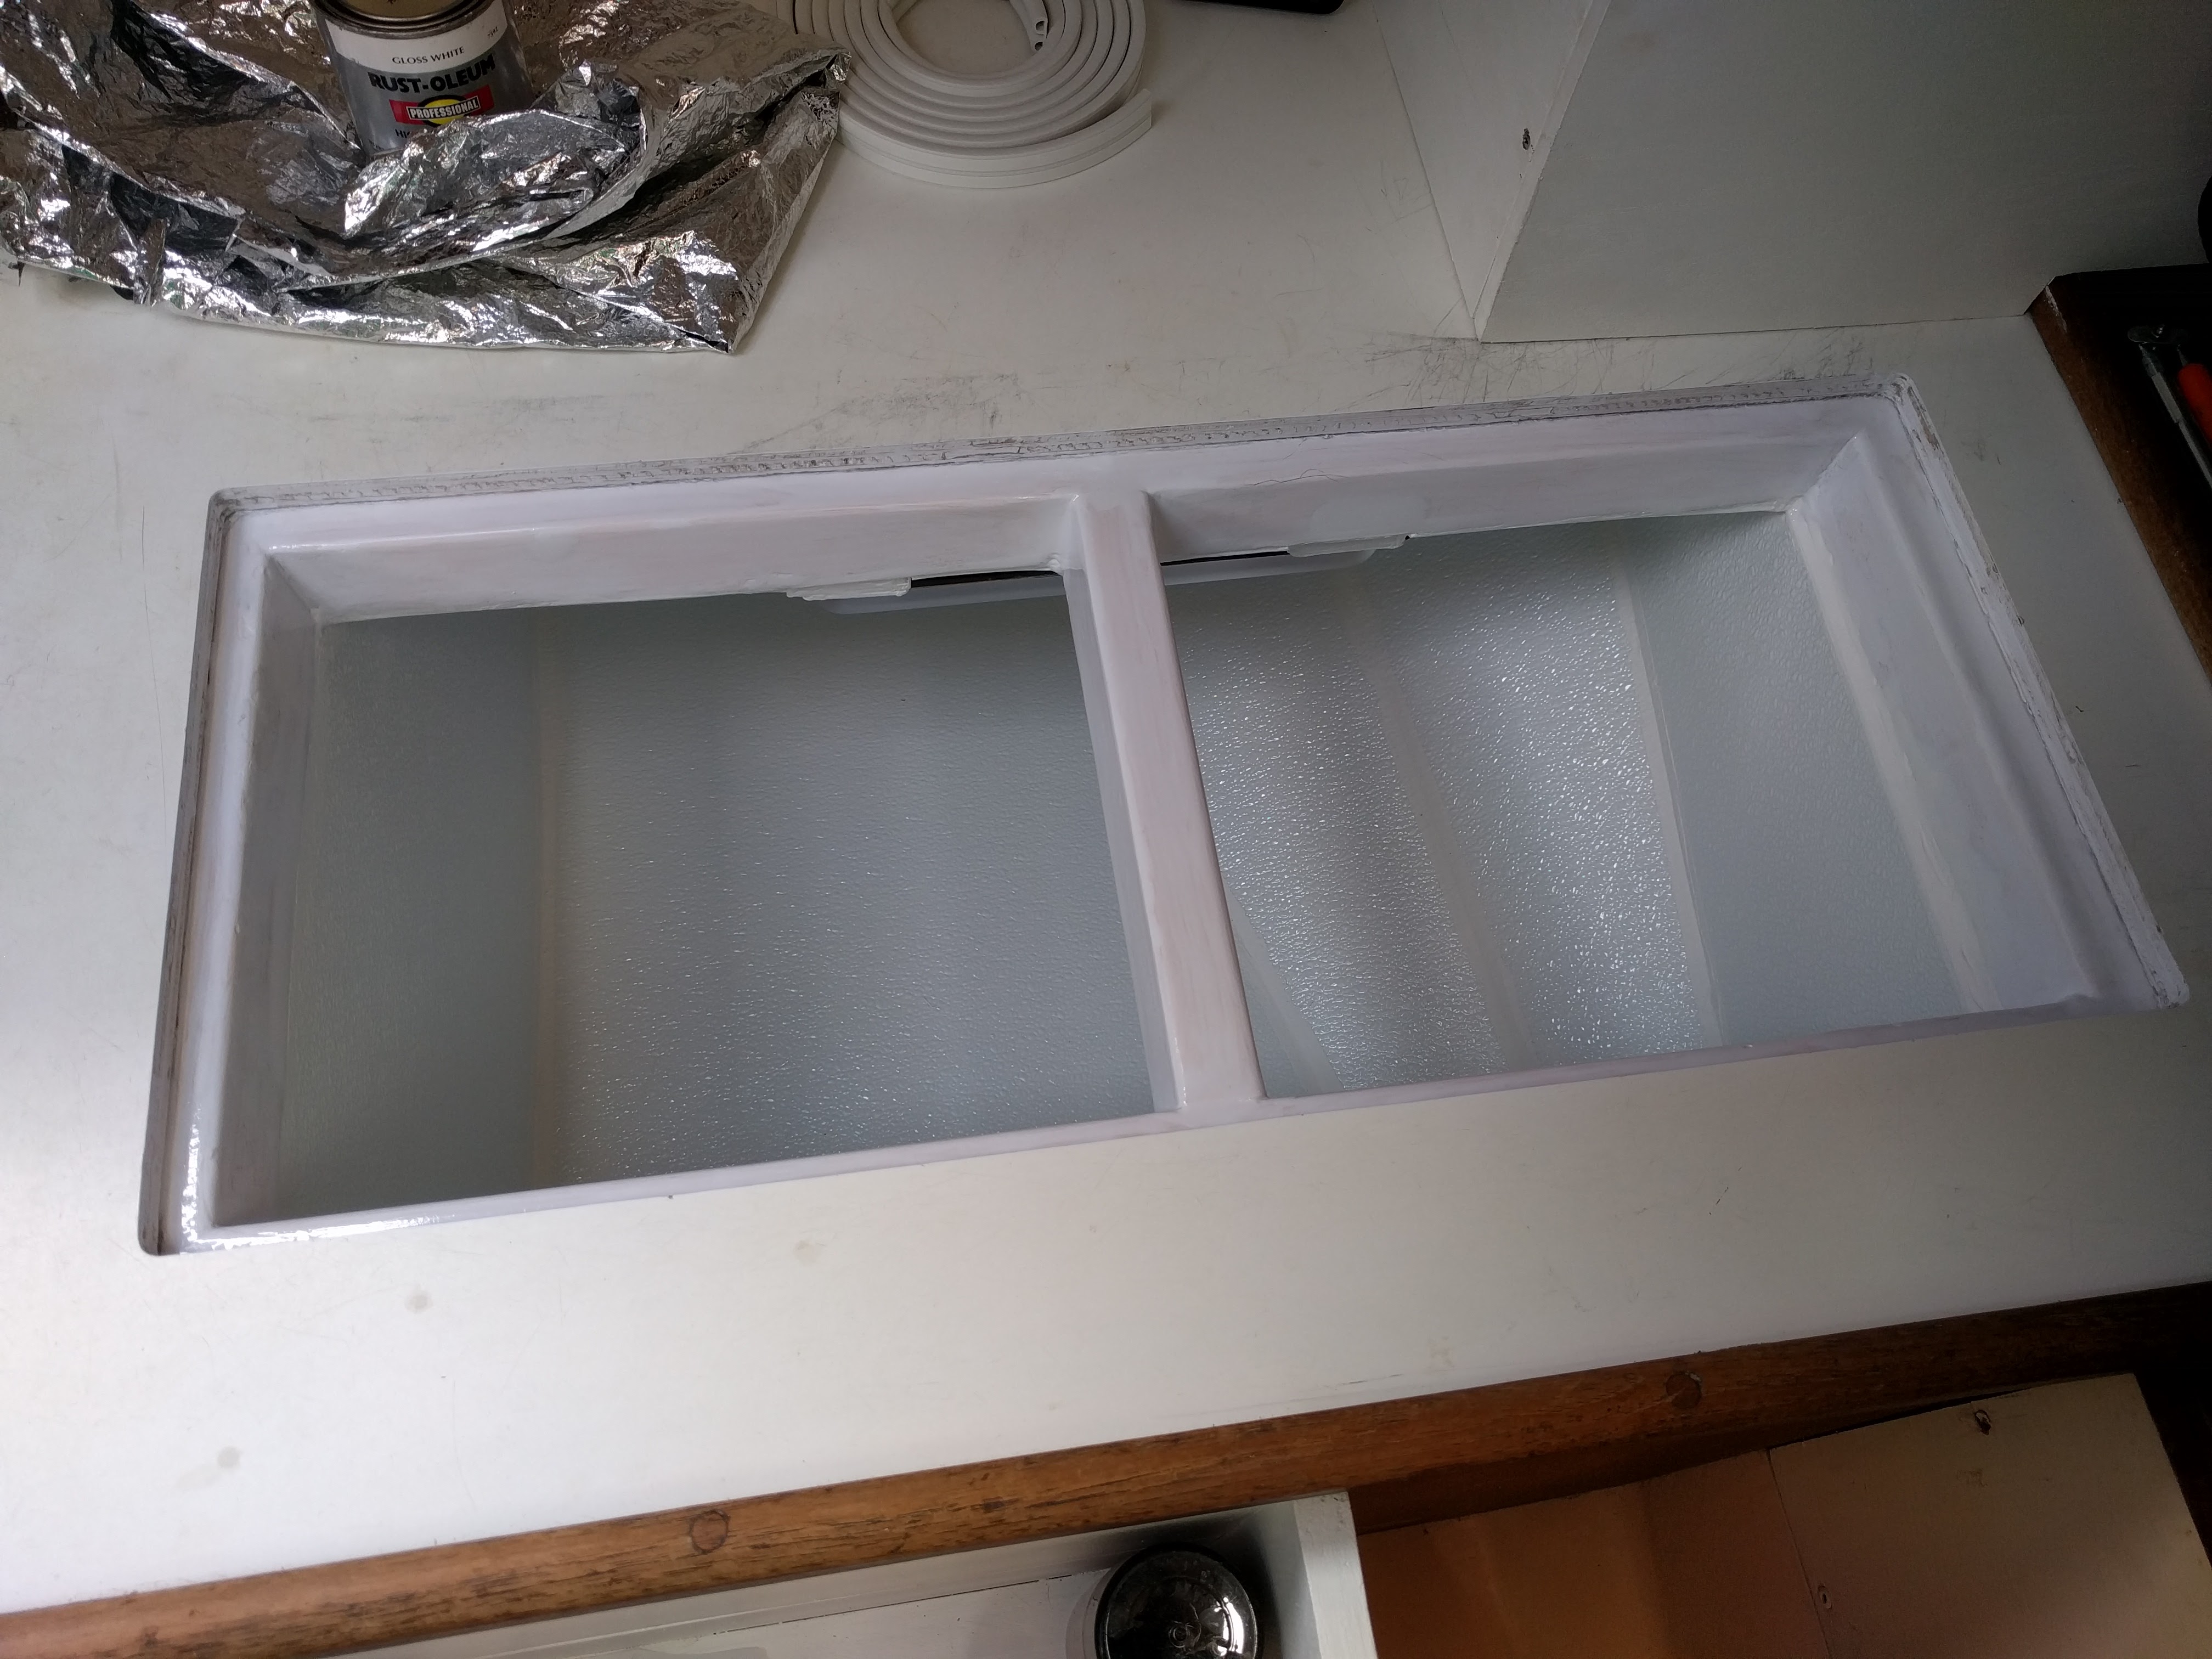
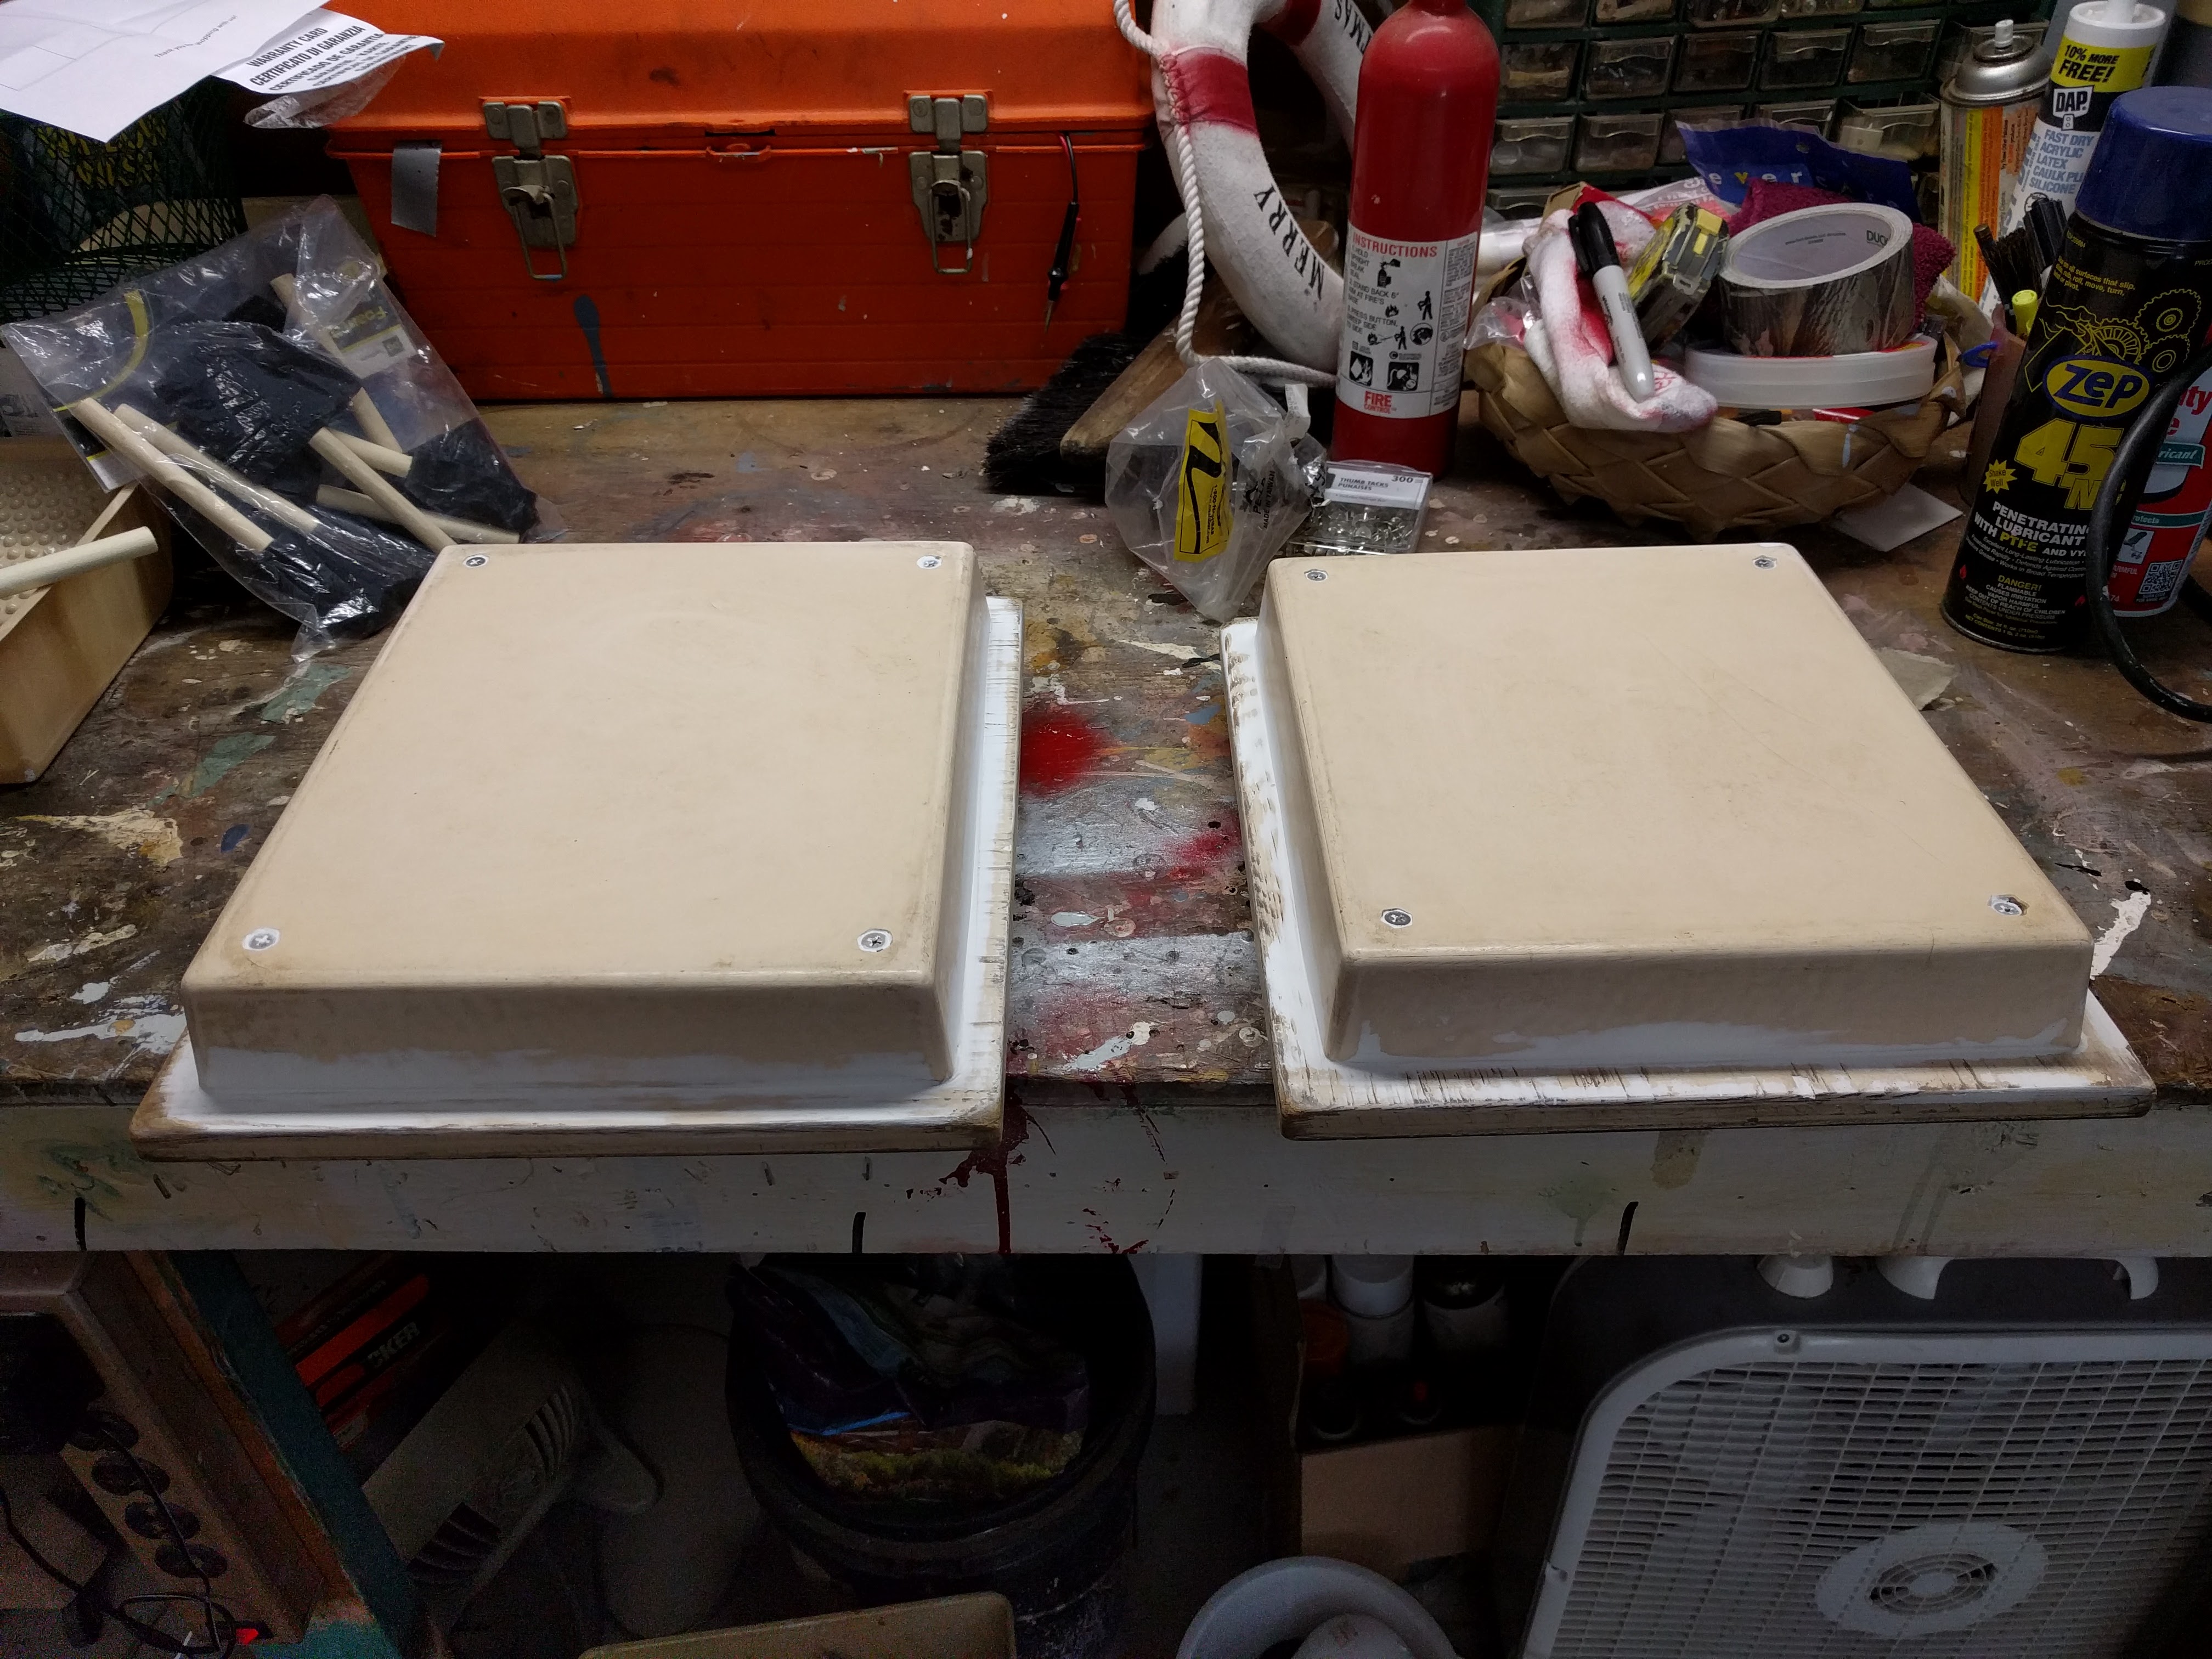
I replaced the insulation in the lids and painted them too.

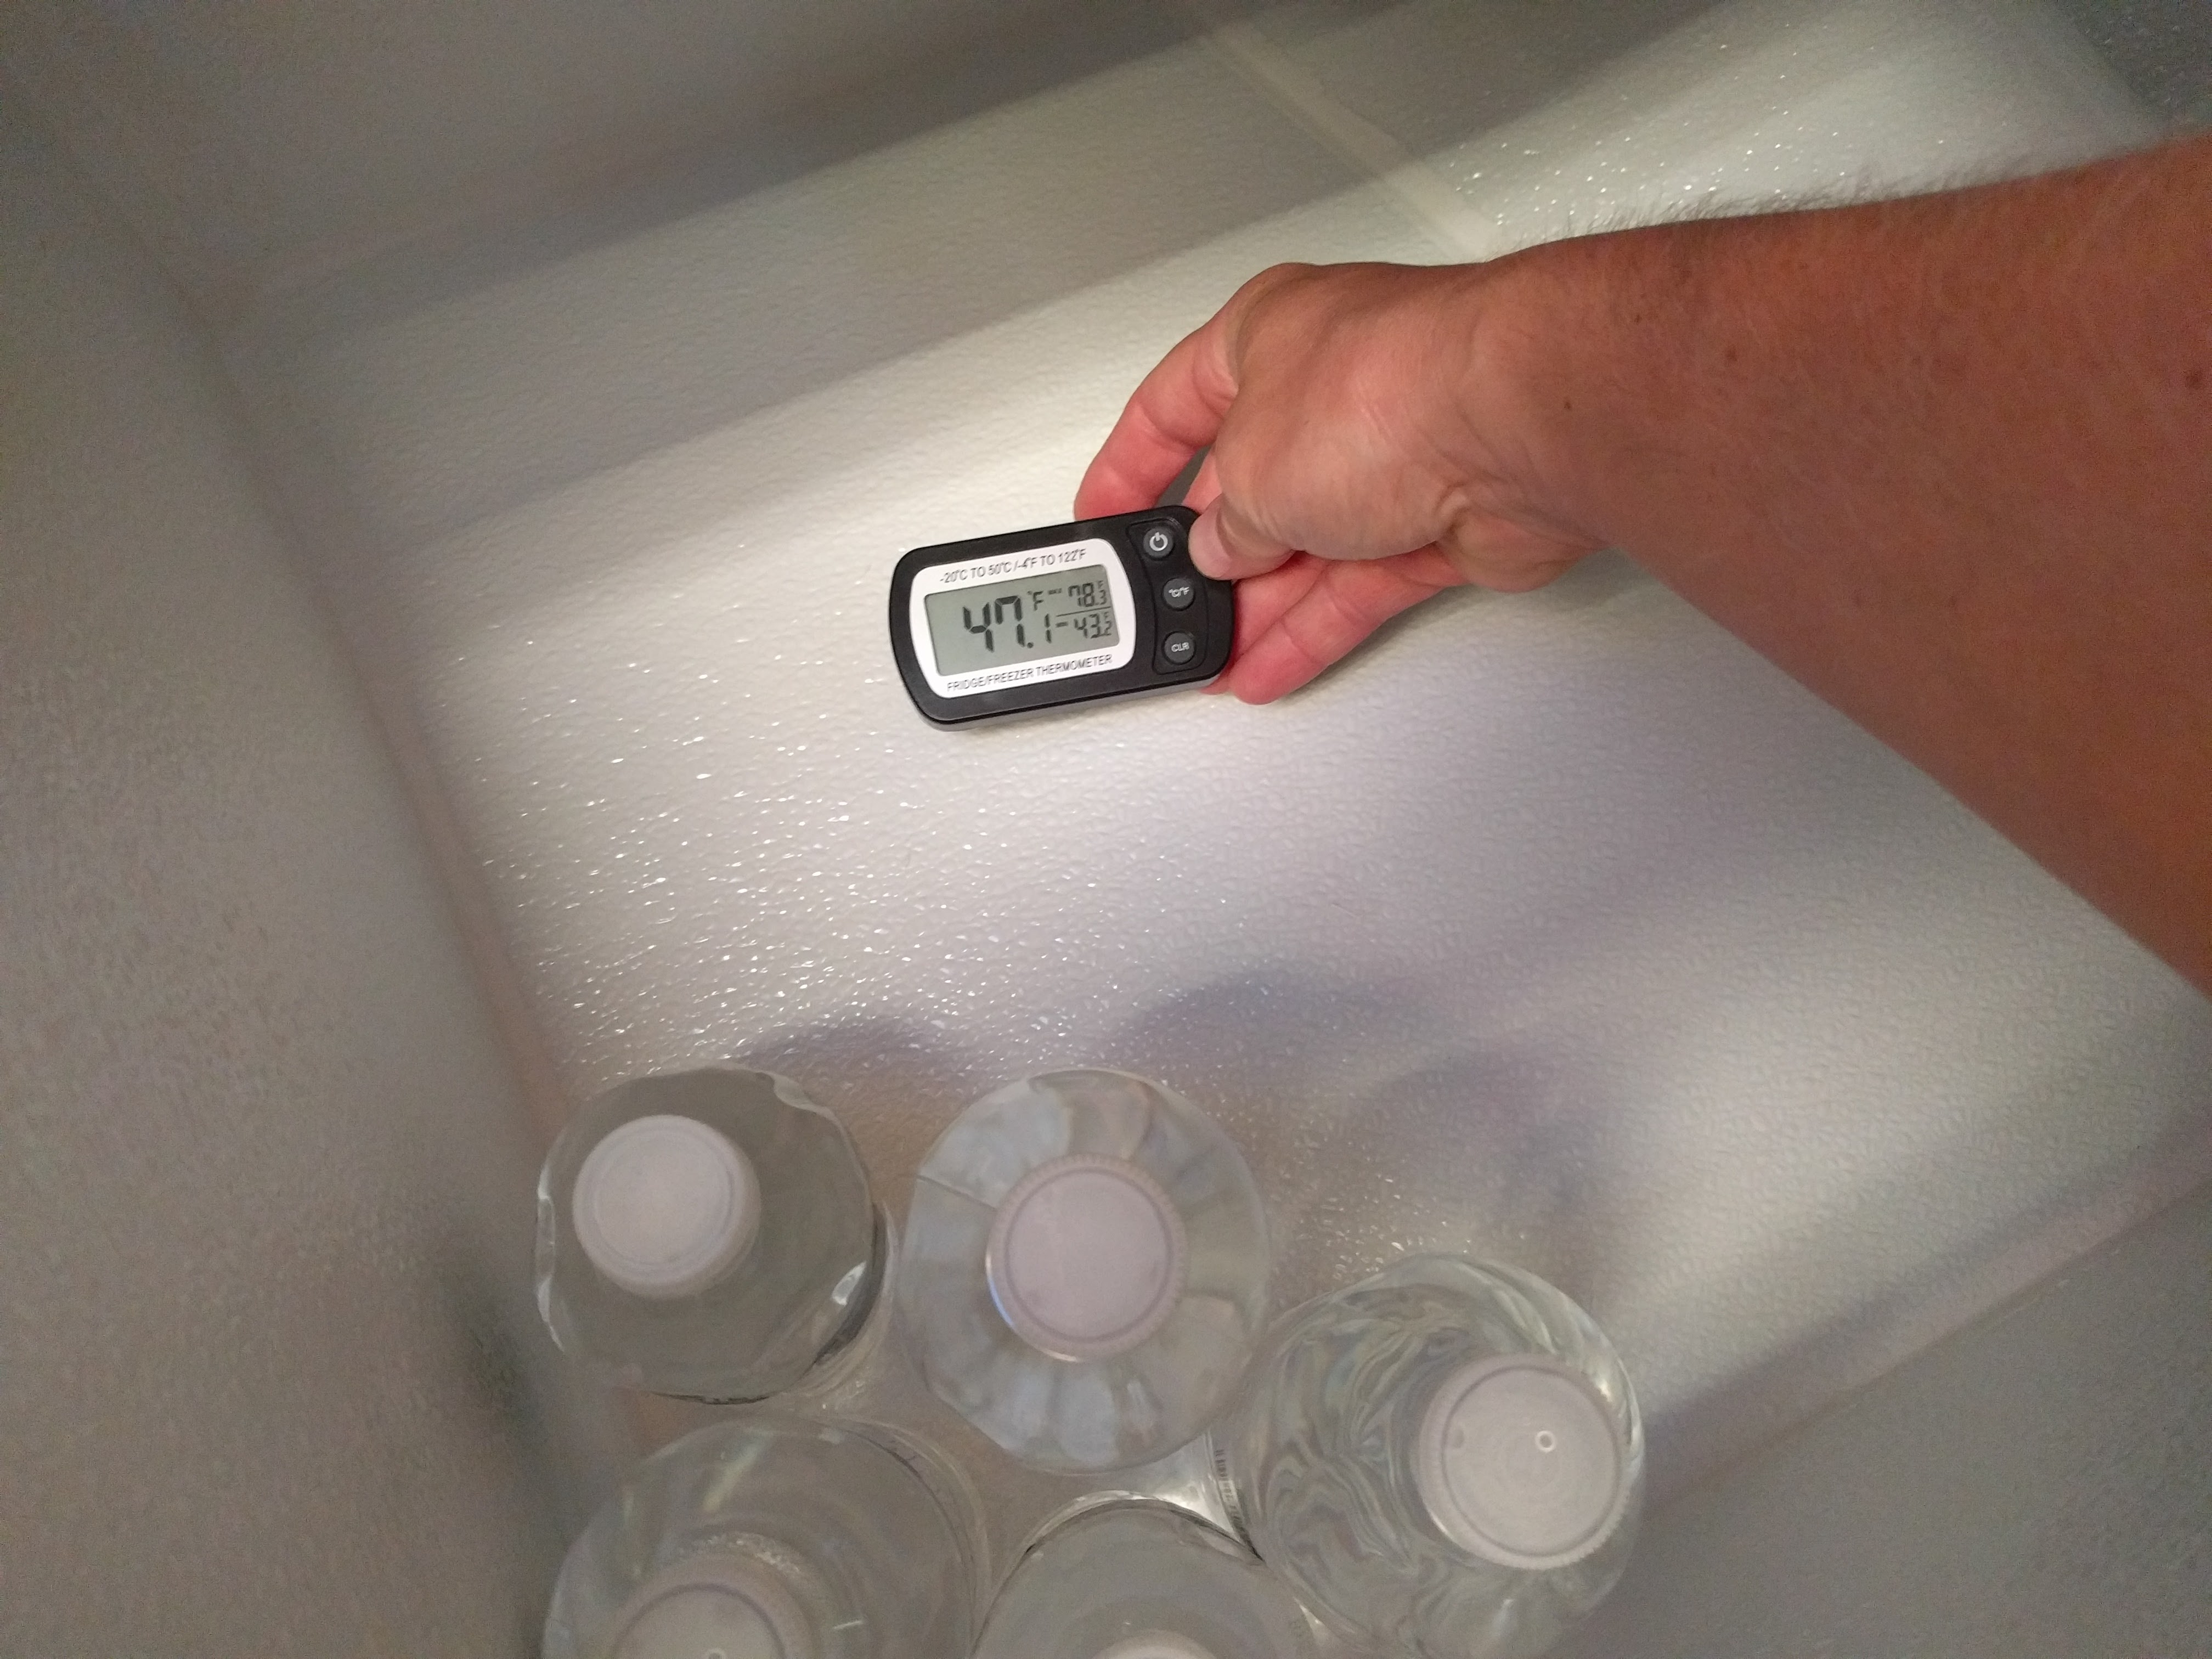
I’ve been running it for a couple days now and the results are good but not great. The system is very efficient. During the day the solar panel provides all the power it needs to run in freeze mode where the holding plate is charged up (or should I say down) to seven degrees Fahrenheit. At night the unit runs in economy mode where the holding plate is maintained between twenty and thirty degrees. However the temperature in the box doesn’t drop as low as I’d like it. It fluctuates between forty-three and forty-eight degrees.
I’ll have to run some more tests and see if I can get the temperature closer to freezing. The Isotherm unit has an automatic mode which is what I’ve been using to maintain the greatest efficiency. It also has a manual mode which I’ll try to use to see if I can lower the temperature of the box.