Head Repair

I think nearly every sailing blog has a post (or two) on the topic of head repair. When living on land I take for granted that when I flush the toilette my waste simply goes away. I only have to think about it when the water/sewer bill comes due (or when I have to dig up the tank to be pumped.) Aboard it’s probably a weekly issue and if the head is acting up… Ain’t nobody happy.

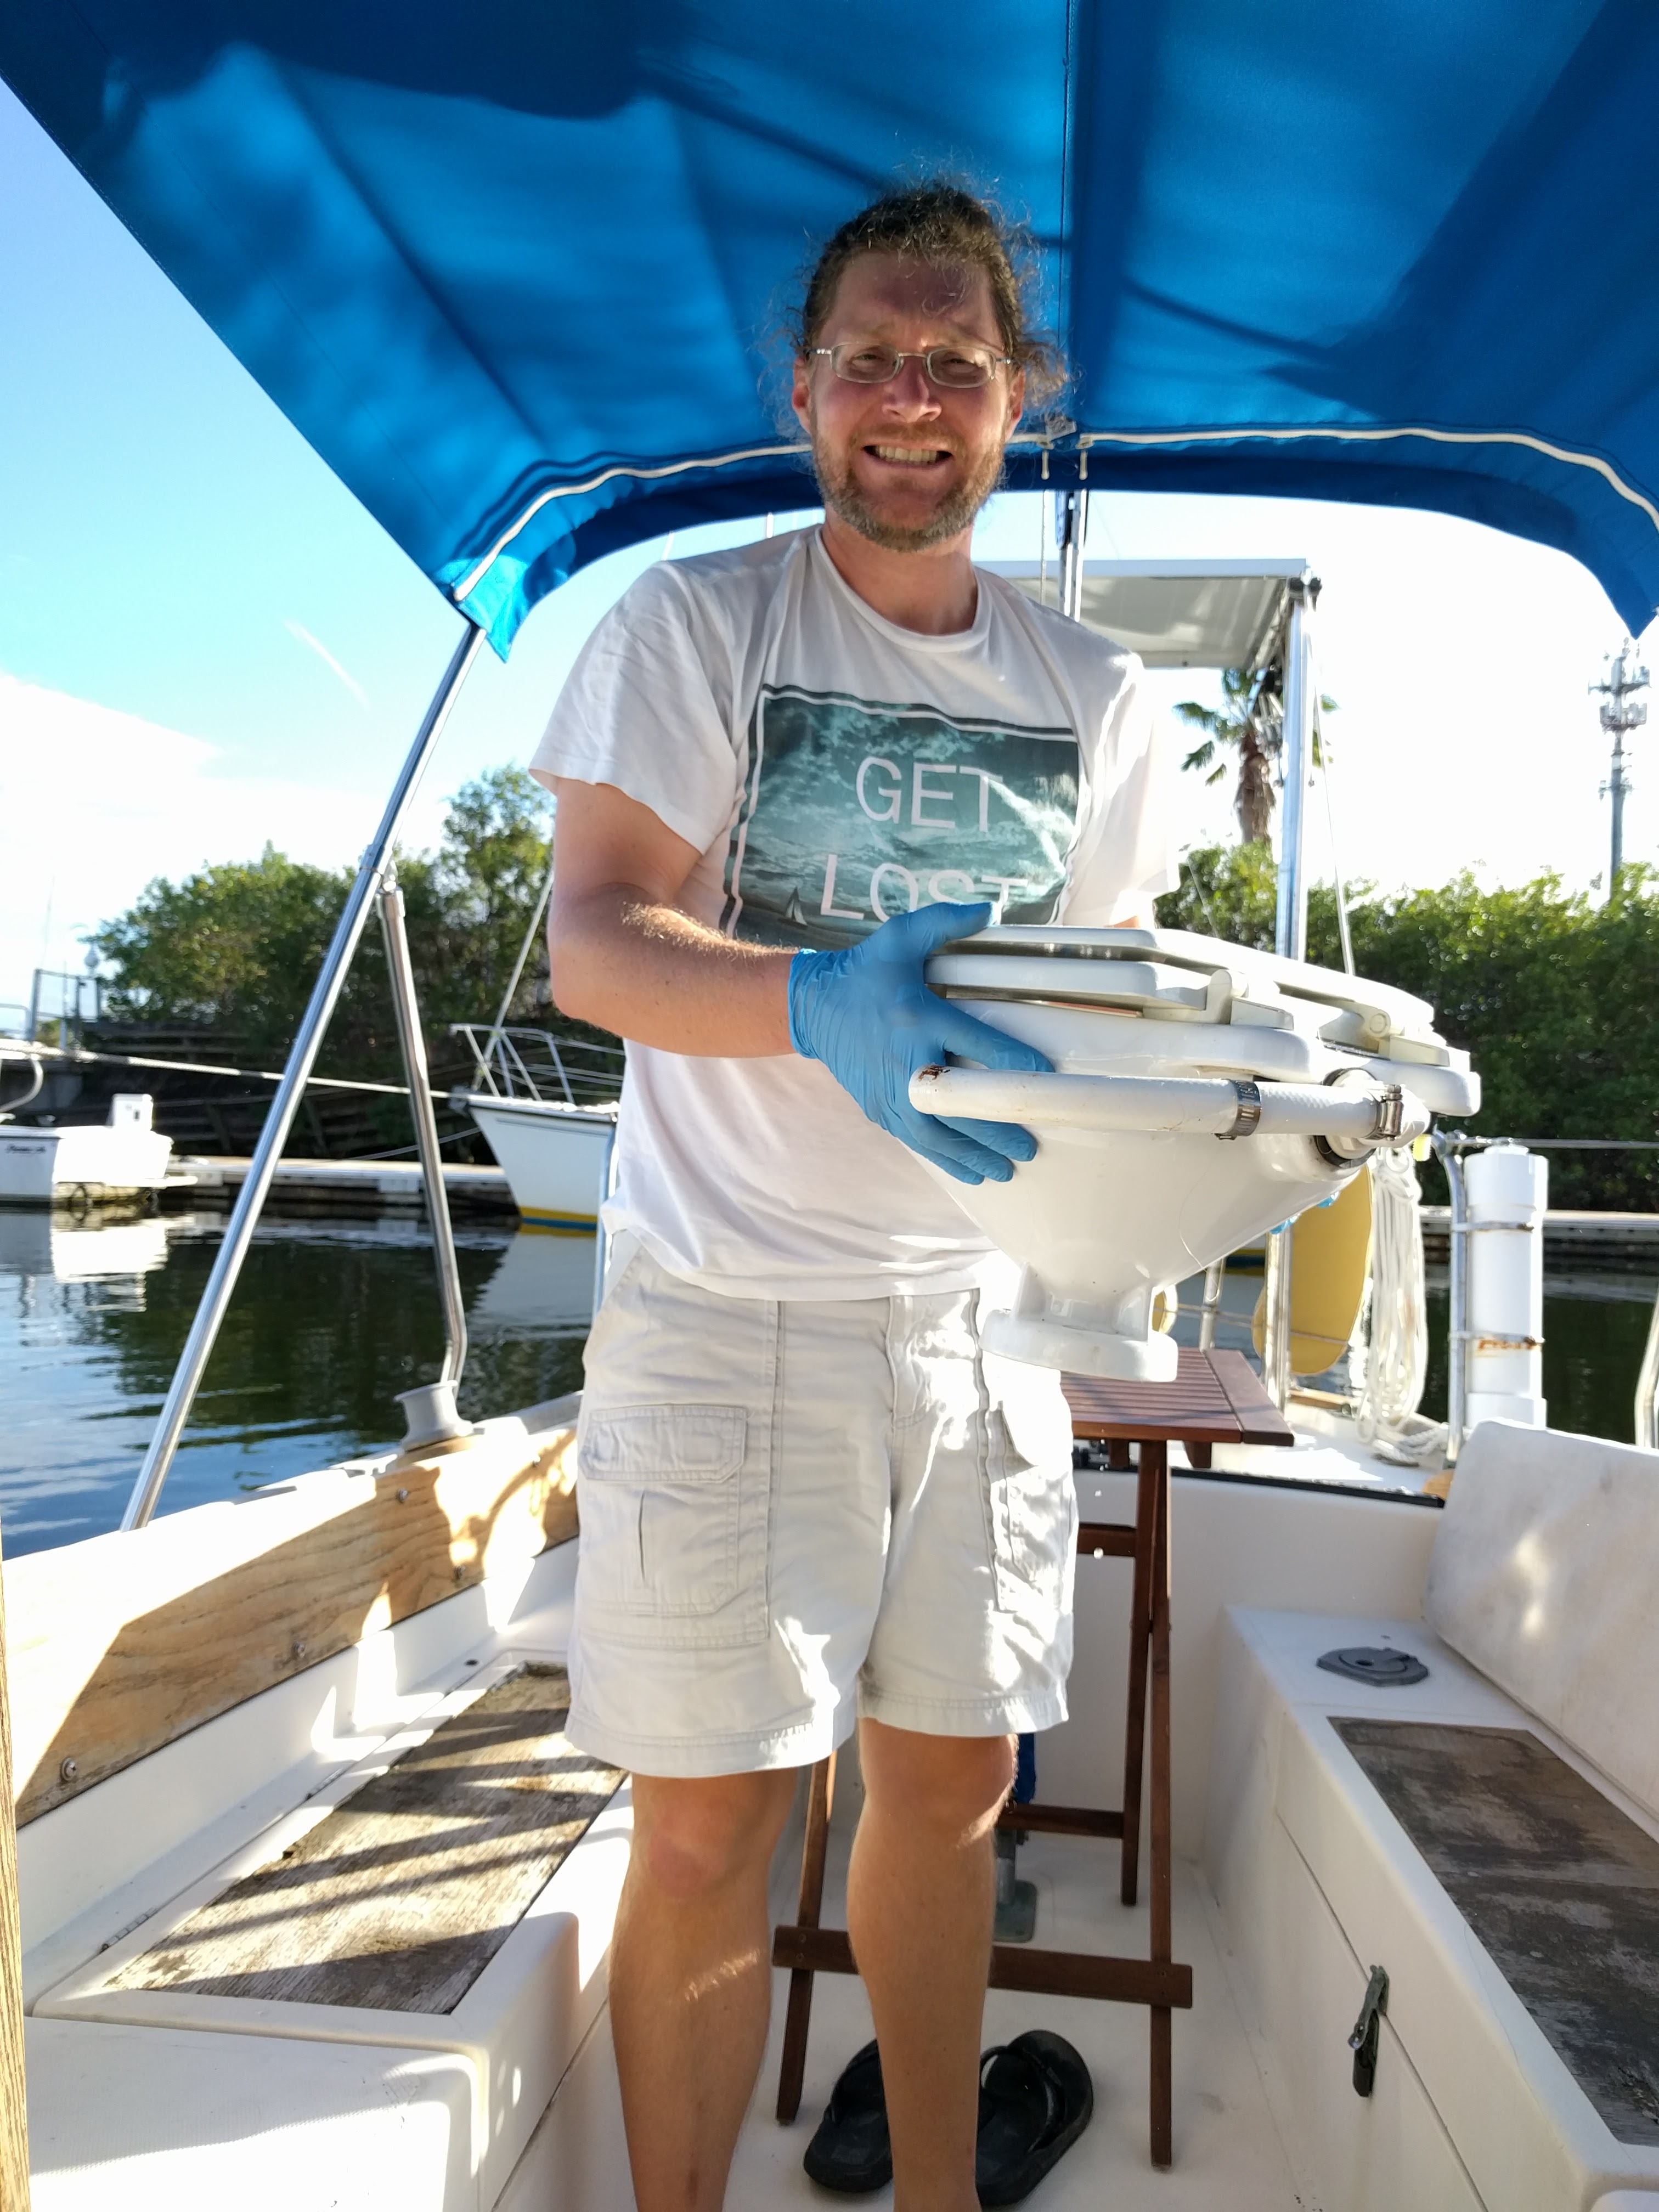
Anyway, my head had been leaking for a few months and it was finally time to sit down and see what the problem was. I have a Raritan PHII manual pump marine toilette and I’ve heard good things about it. It seemed pretty easy to disassemble. In preparation I also bought the rebuild kit. So I got started.

Pump Housing - Before
Pump Housing – Before

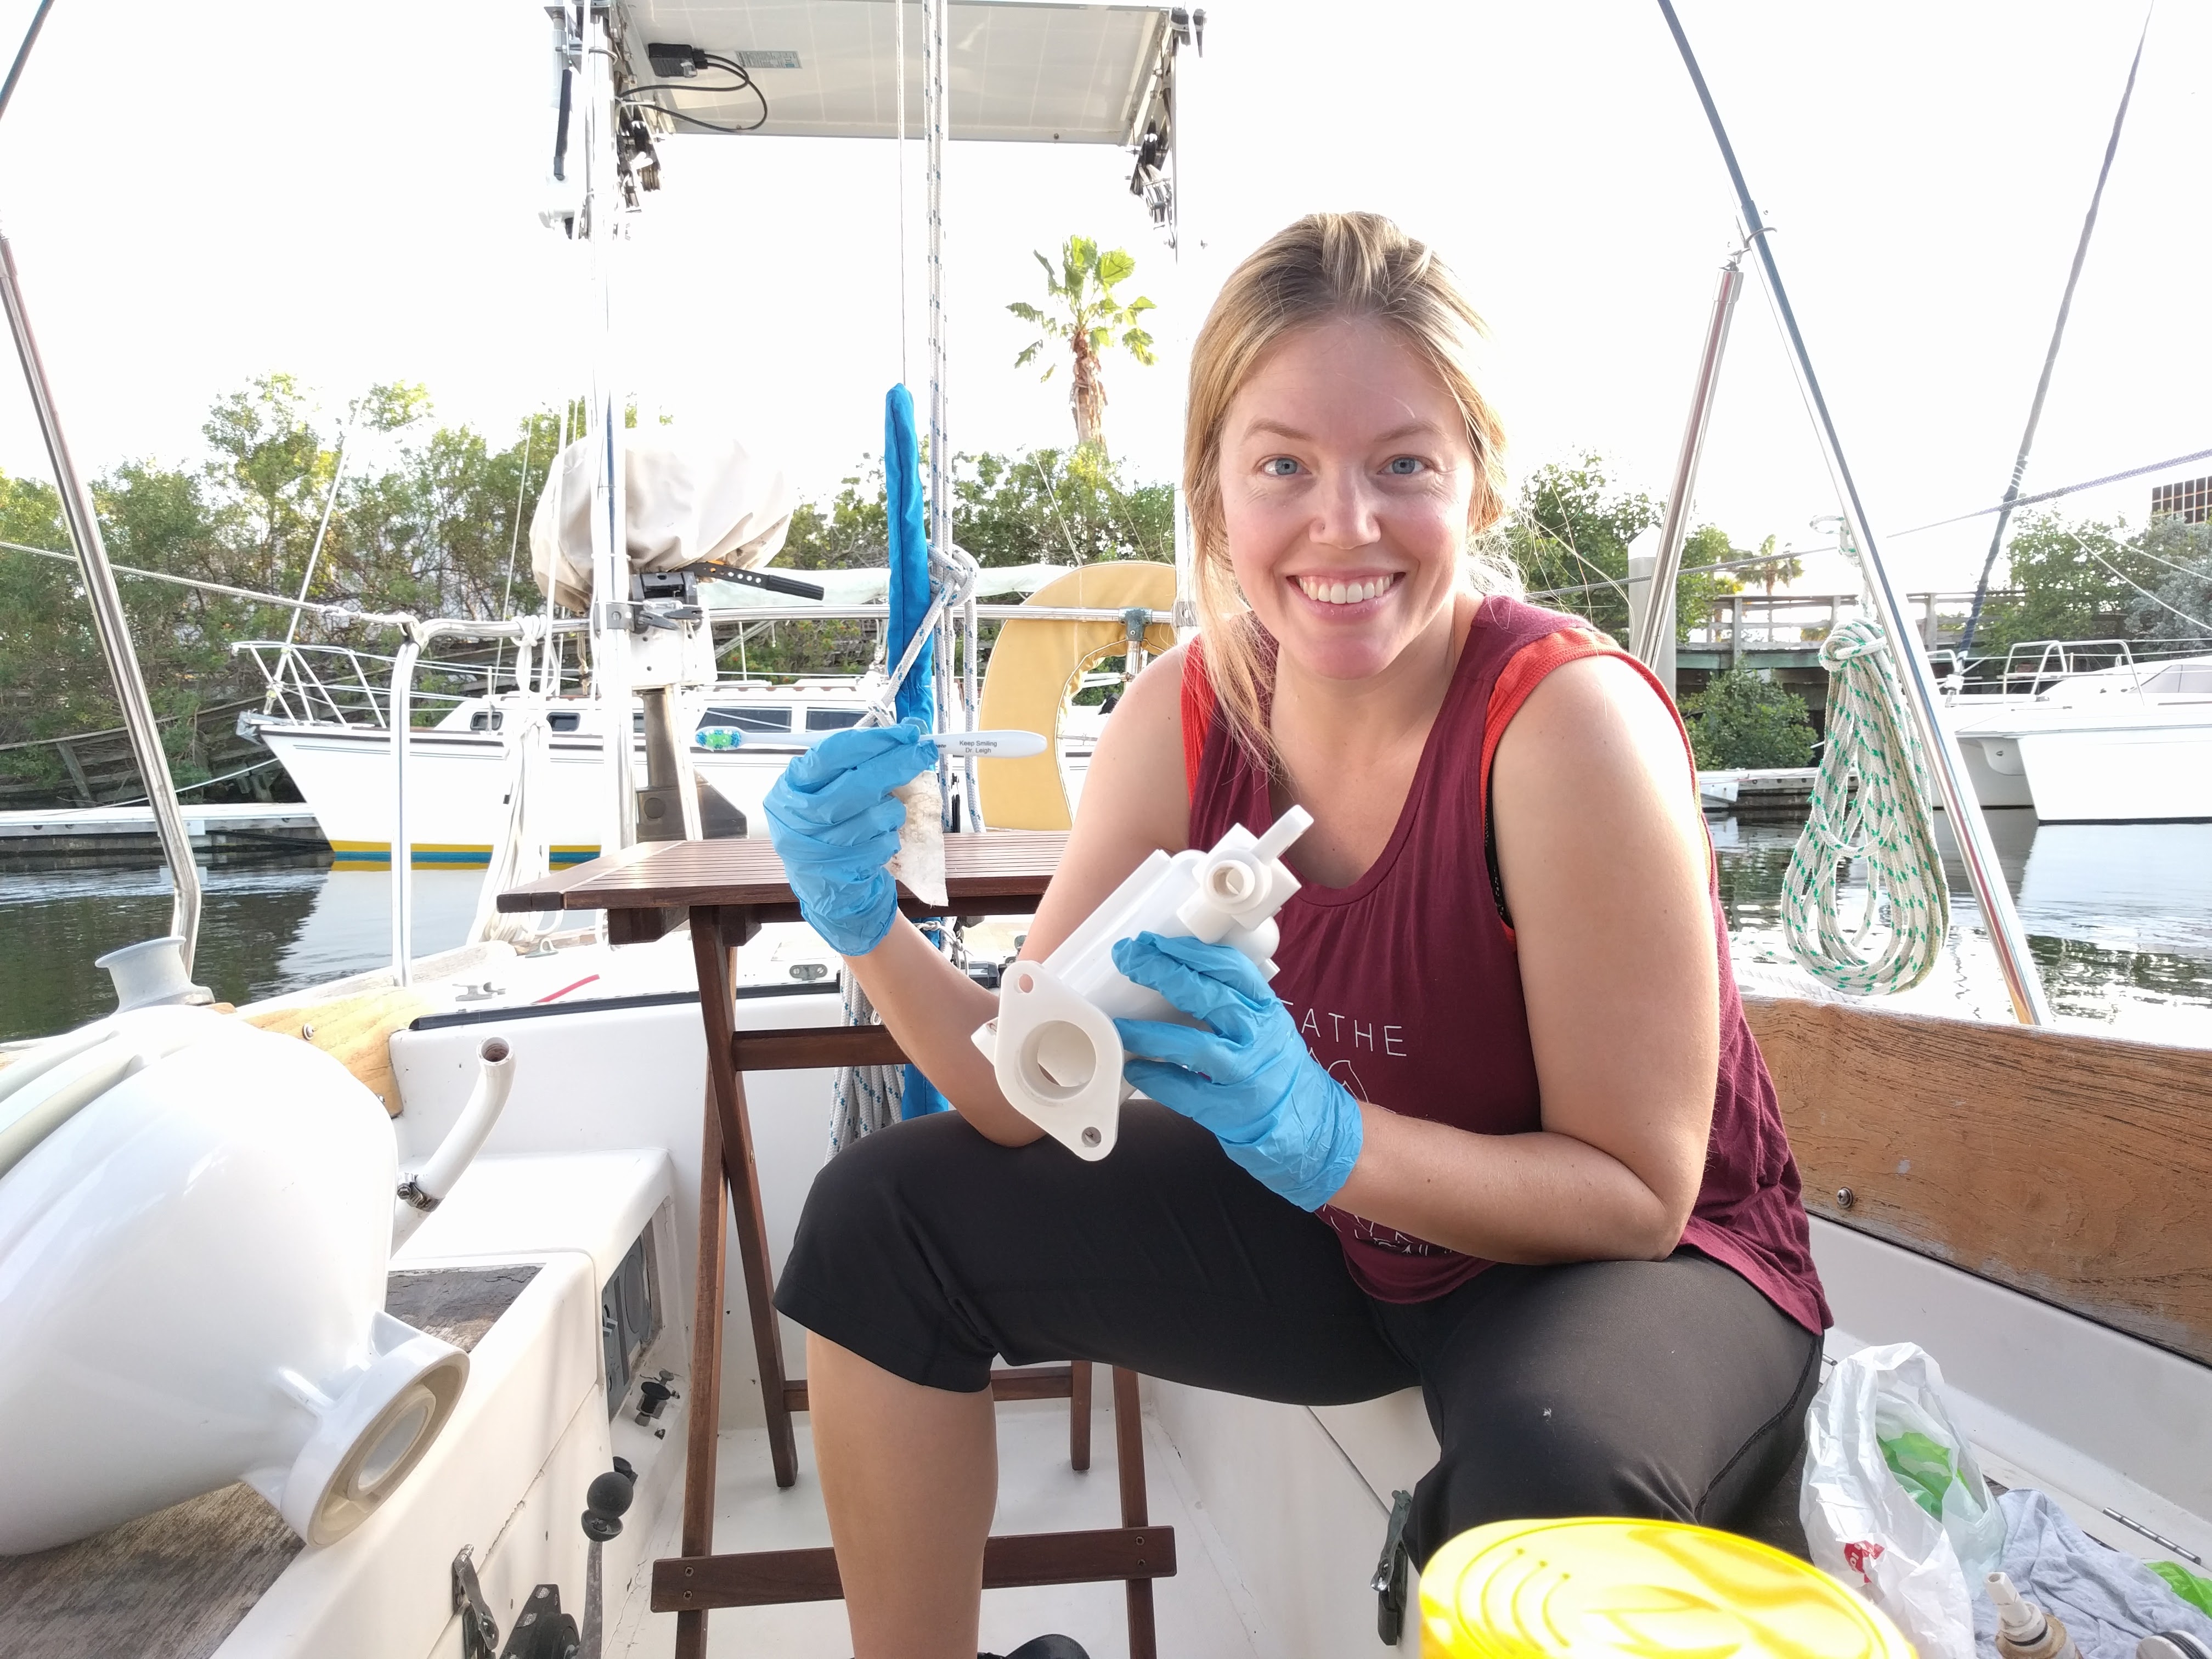
After completely disassembling the unit Sara and I cleaned all the parts and installed all the new o-rings and seals from the rebuild kit.

Cleaning the Pump
Cleaning the Pump

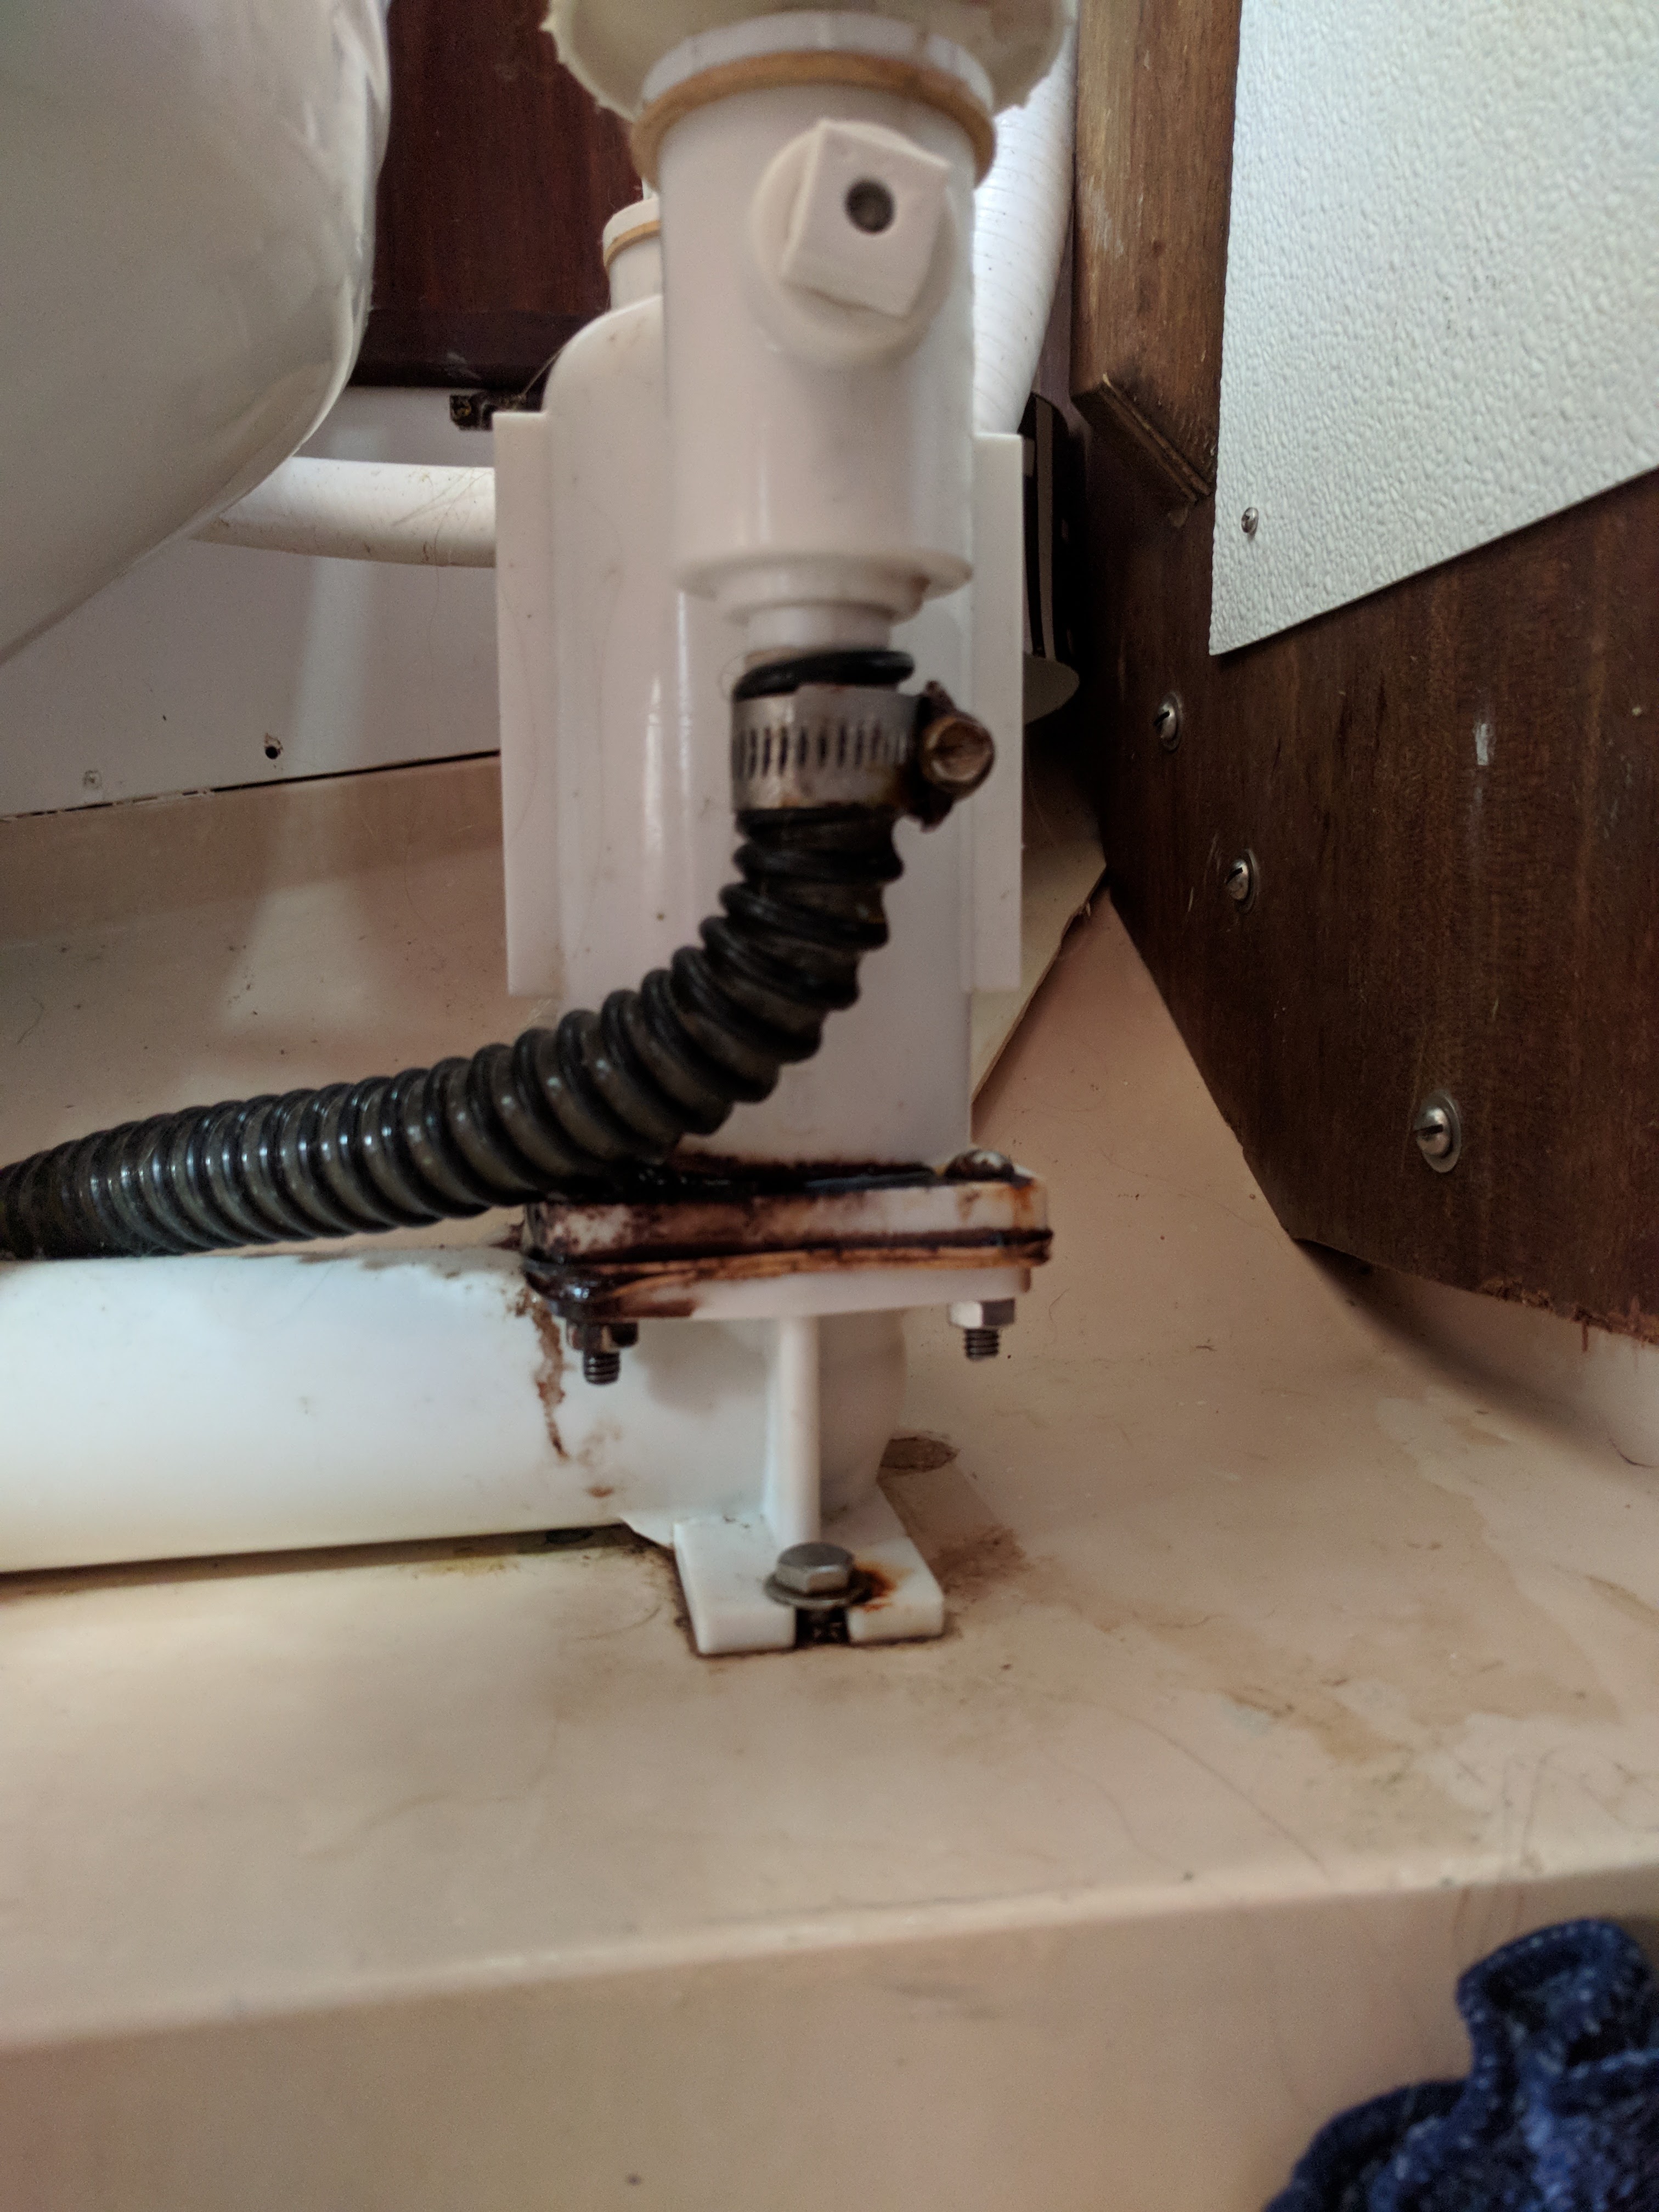
While cleaning the pump housing I discovered the crack which was the cause of the leak.

Cracked Pump Housing

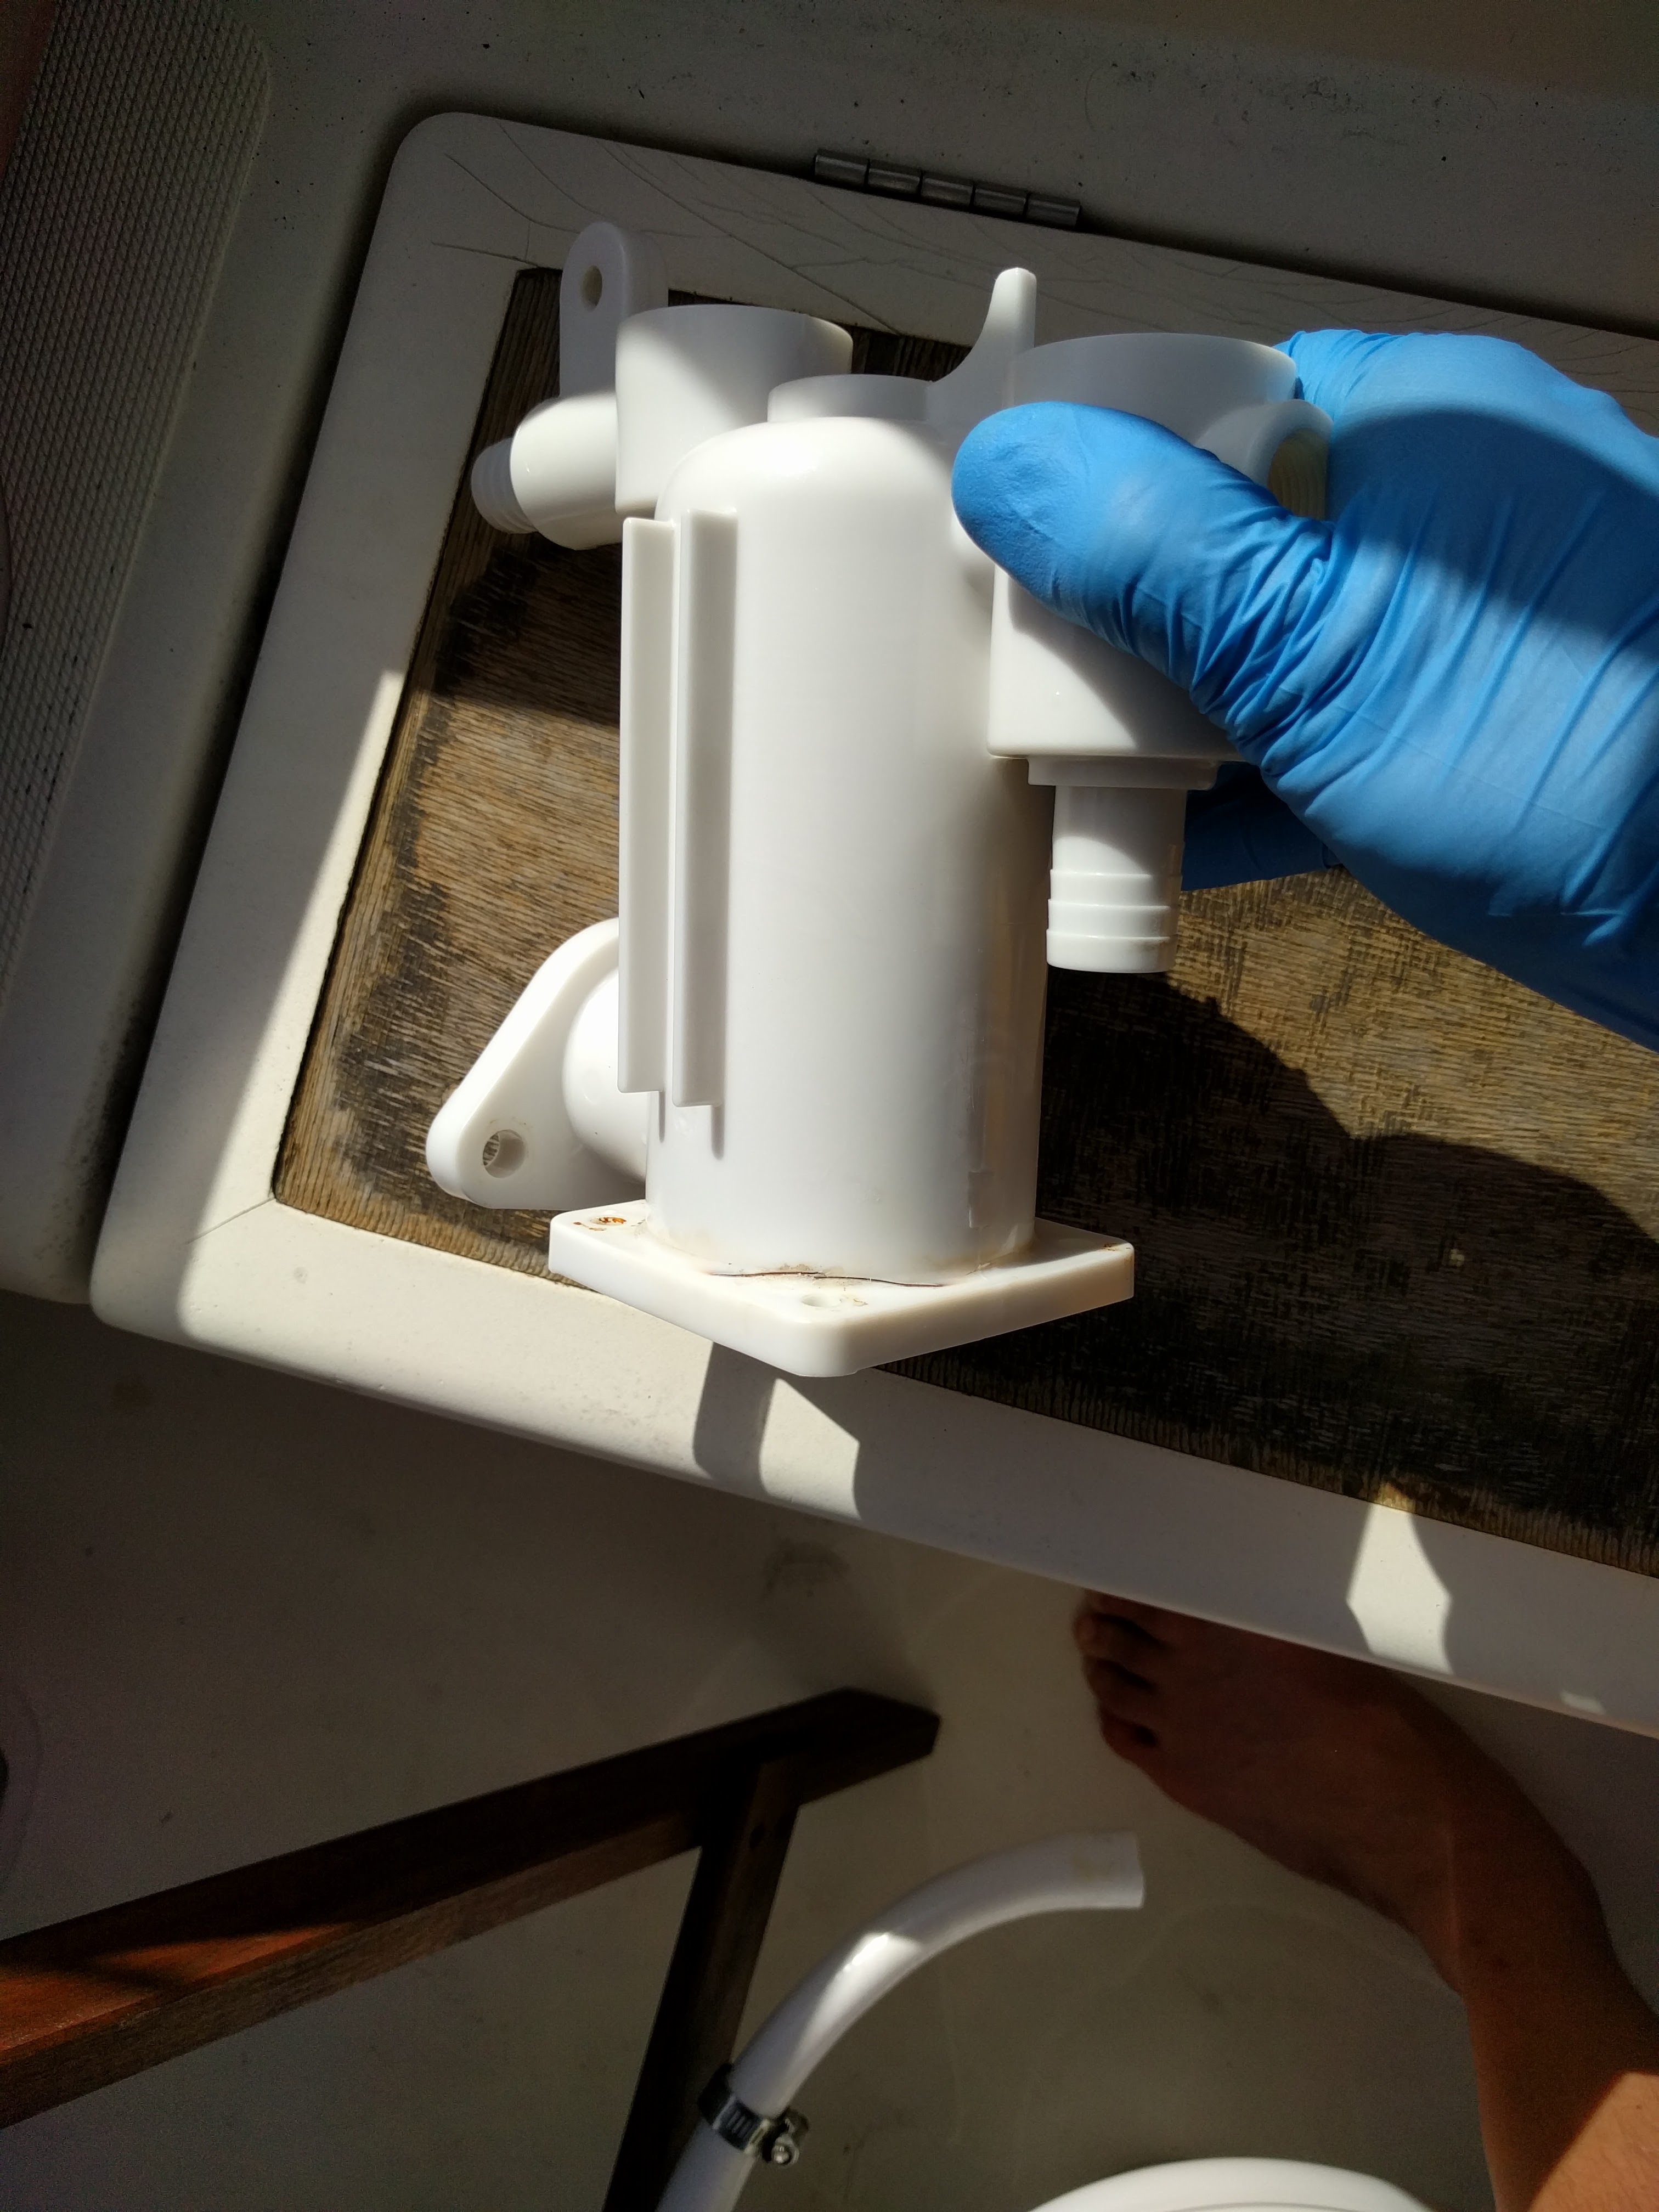
I called around but no one carried the pump housing. Ordering one would take at least two days so I decided to use some 3M 4000 adhesive sealant that I had in my toolbox. I applied the sealant on the inside and outside of the pump.

Sealed Pump Housing
Sealed Pump Housing

Finally I assembled everything and tested the pump.

Reassembled Pump
Reassembled Pump

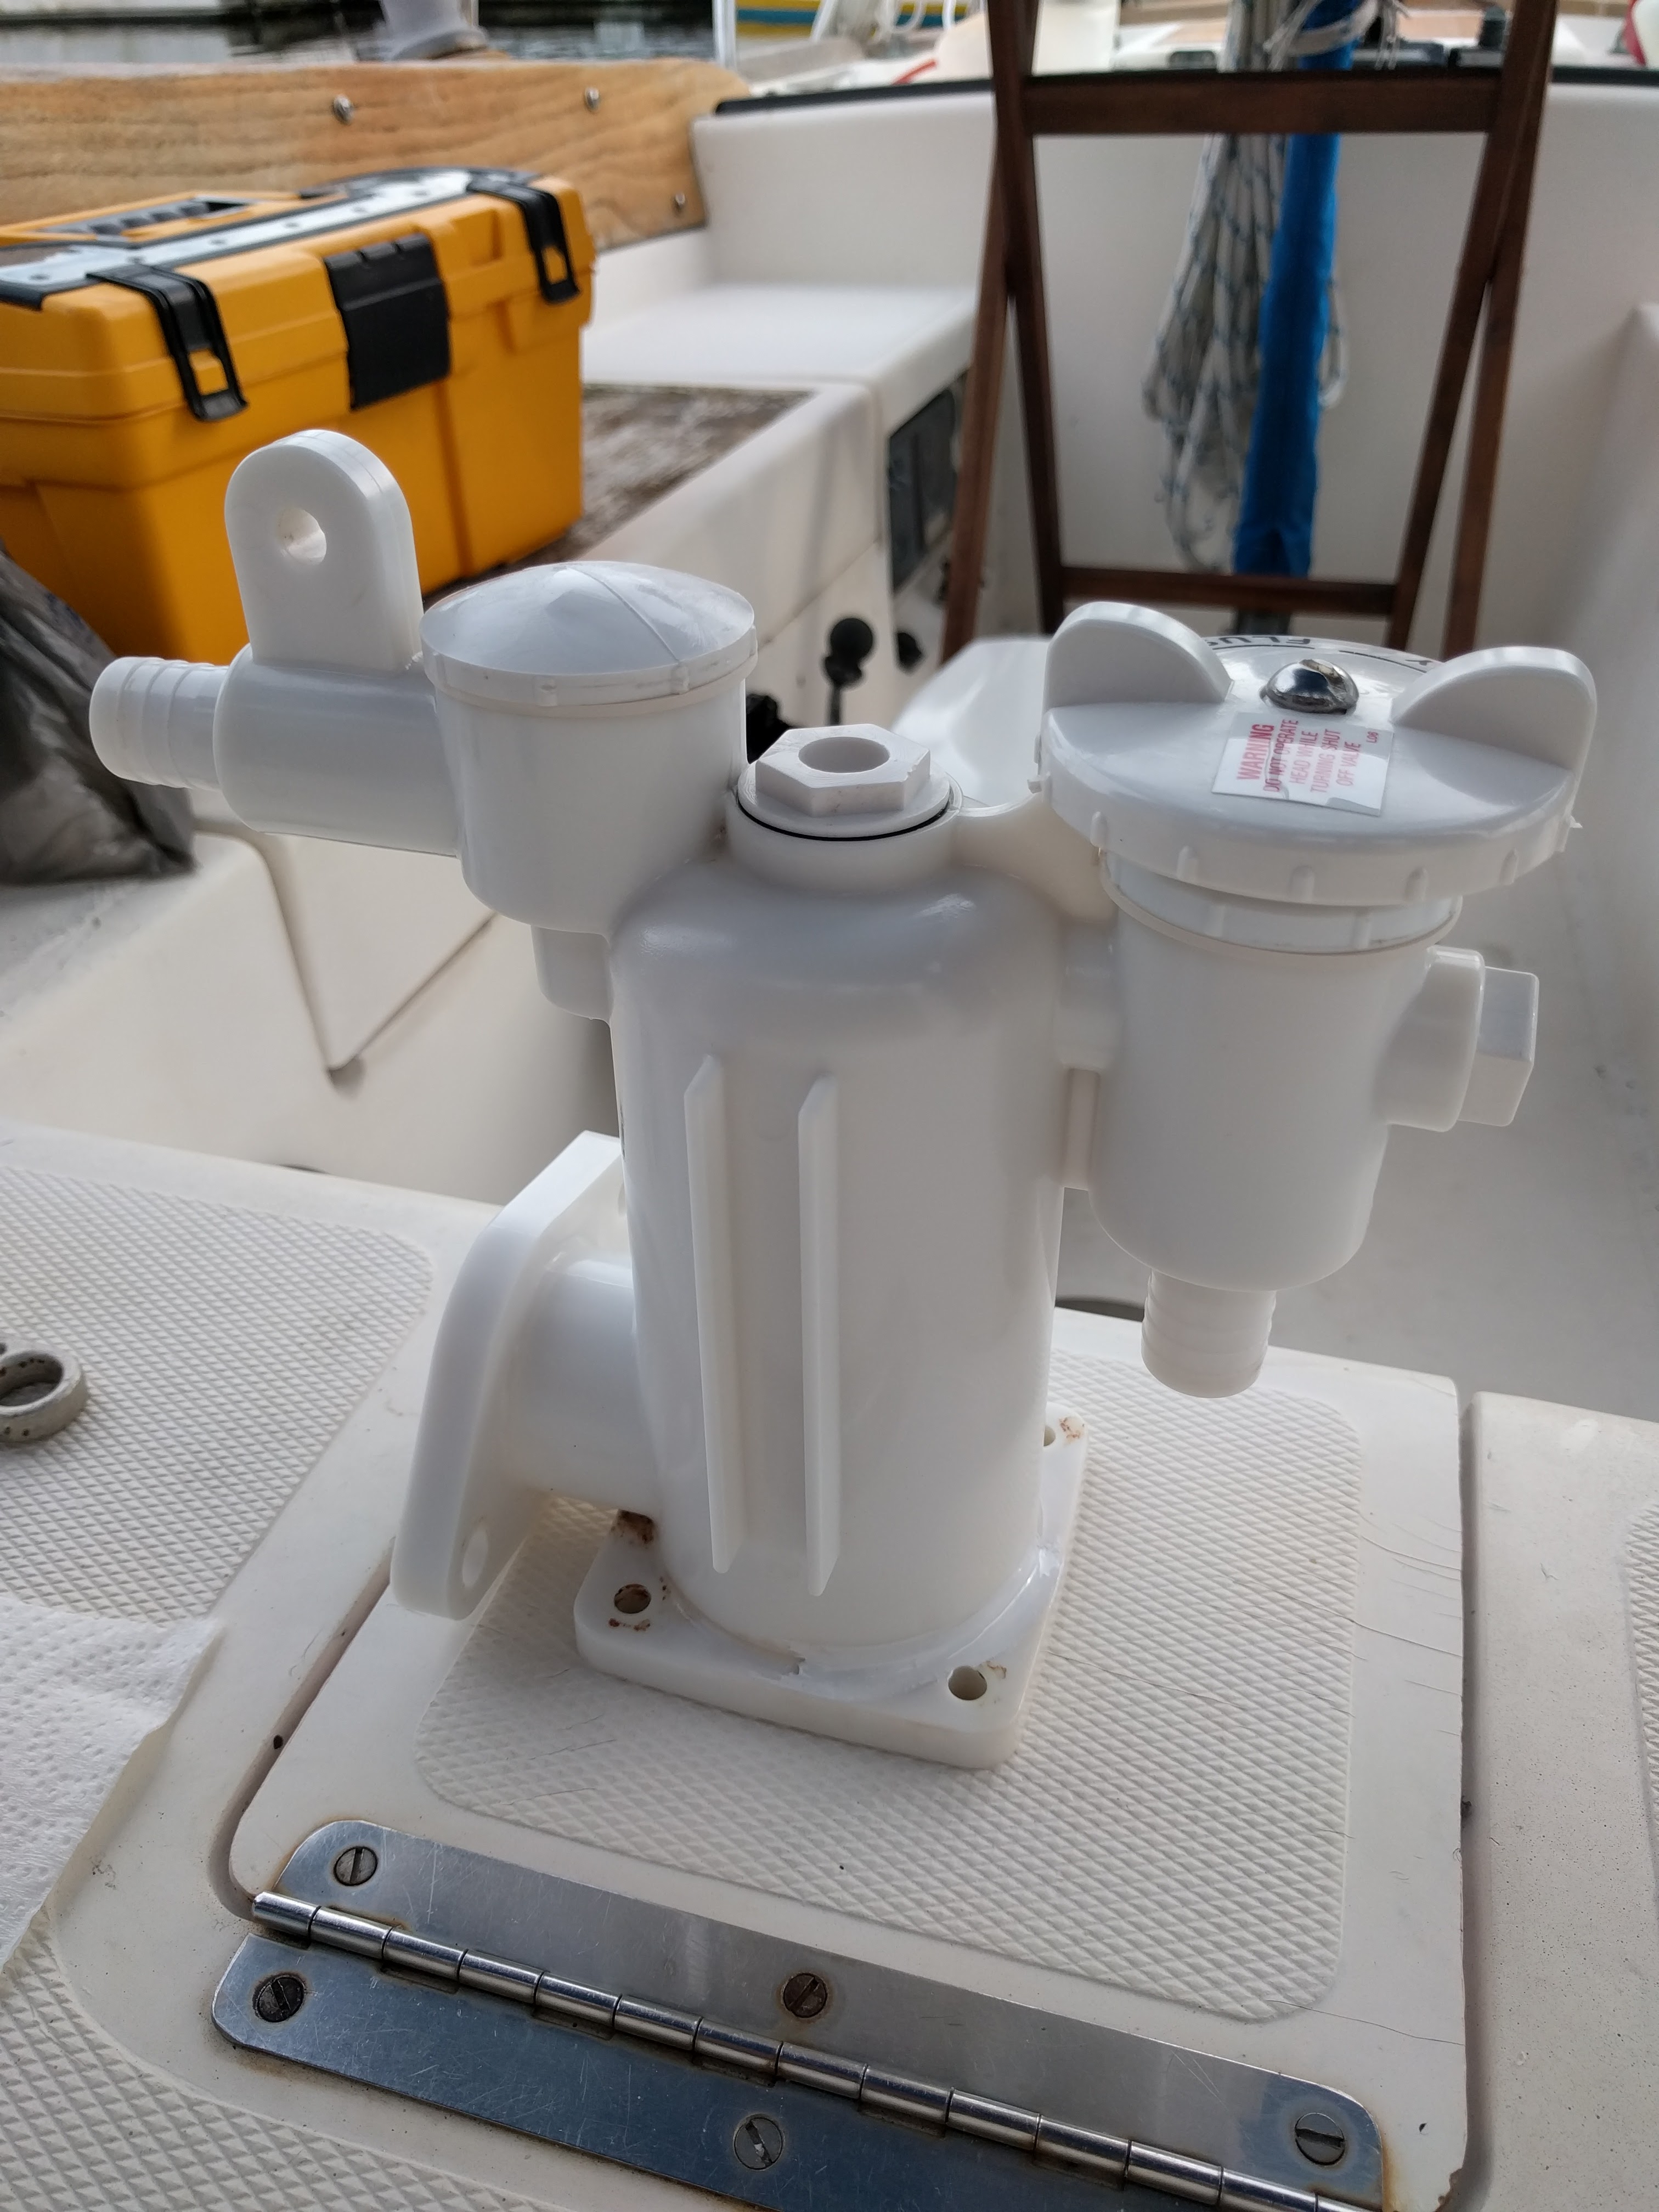
Sure enough it worked like a charm. Now we’ll wait to see how long my sealant hack works. I should probably order the pump housing now to have it if and when the sealant breaks down. Here’s hoping it lasts a good long time!

Head Repairs
Head Repairs

Warm Weather Projects

Well, since we’ve finally gotten to warmer weather south of Cape Canaveral, I’ve been working non-stop on various critical and non-critical projects. The starboard forward knee was obviously a critical project.

Knee fiberglassed and painted
Finished Knee

I permanently mounted the solar panel to our davits. (That’s to Totem for the solar panel!)

Solar Panel
Solar Panel

I made a little electronics locker for our VHF and a stereo receiver given to us by Ken and Bruce of S/V Integrity in Eastport, MD.

Electronics Locker Panel
Electronics Locker Finished

I installed another circuit panel, upgraded the ground bus and reorganized the wiring behind the panel. I added remote switches and duplex outlet for the inverter. Oh and I put a couple fans in too!

Electrical Panel
Electrical Panel
Organizing the Circuits
Cabin Fan
Cabin Fan

Finally, now I’m working on replacing the line lines with Dyneema line.

Dyneema Life Lines
Dyneema Life Lines

Learning to splice the lines is really easy. The first one I did ended up being three inches short on account of the splice so I’ll need to redo it and plan for extra length for each of the lines.