Icebox Upgrade Part 2

Where were we? Ah yes, installing the insulation.
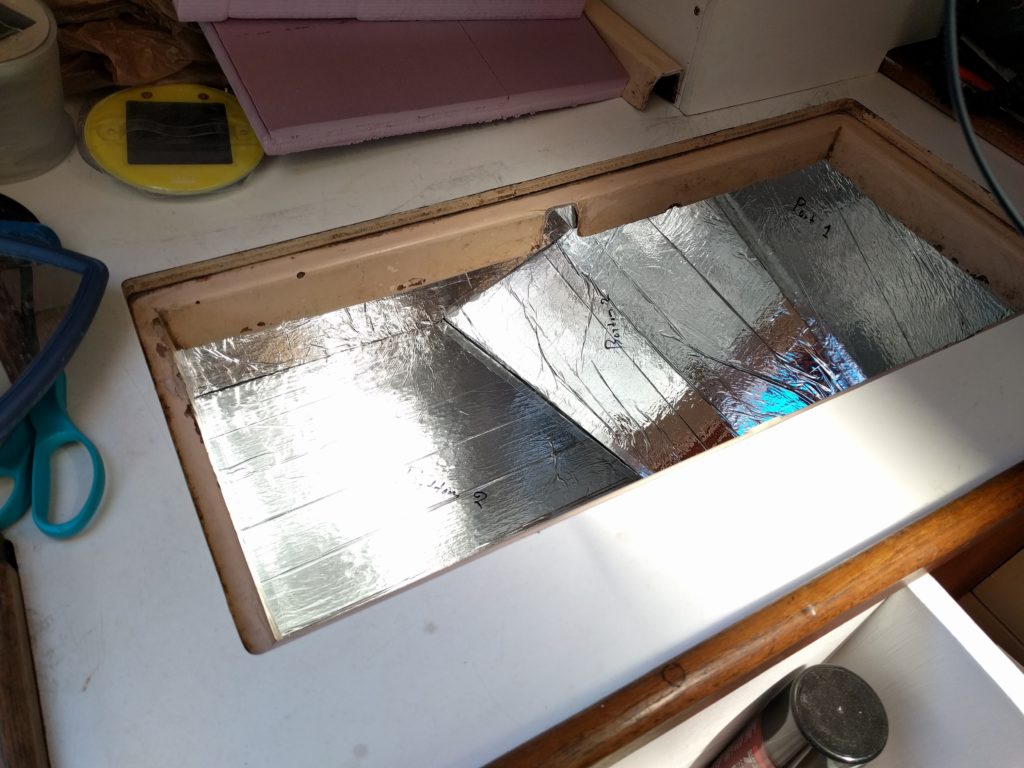
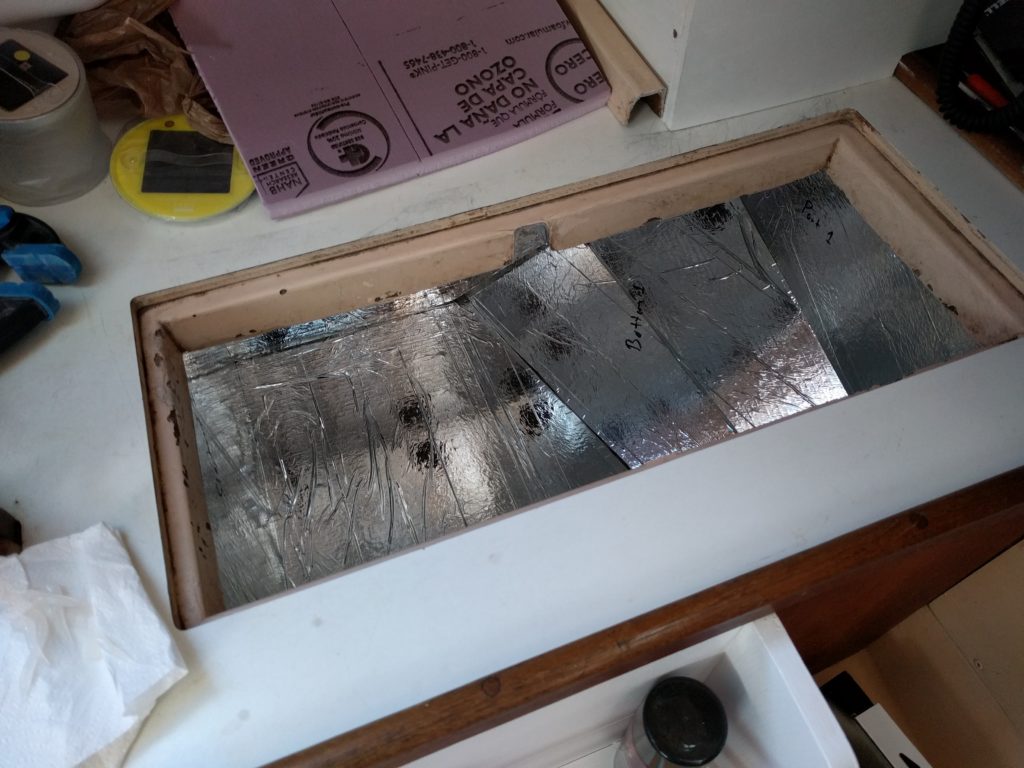
Second layer of insulation

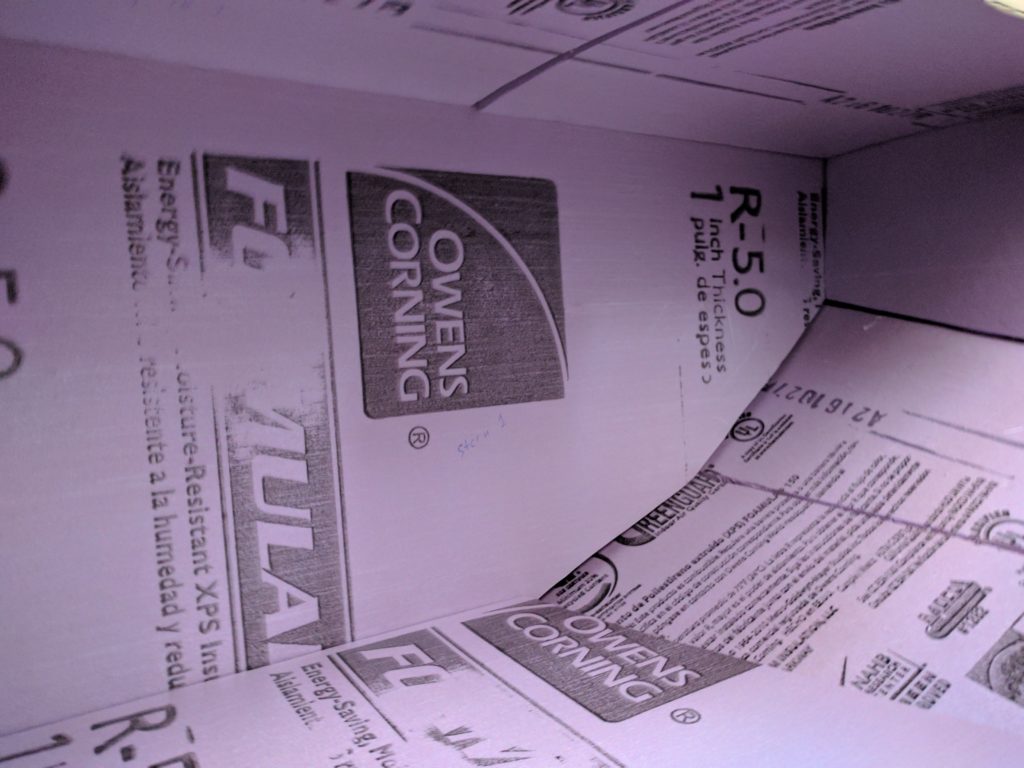
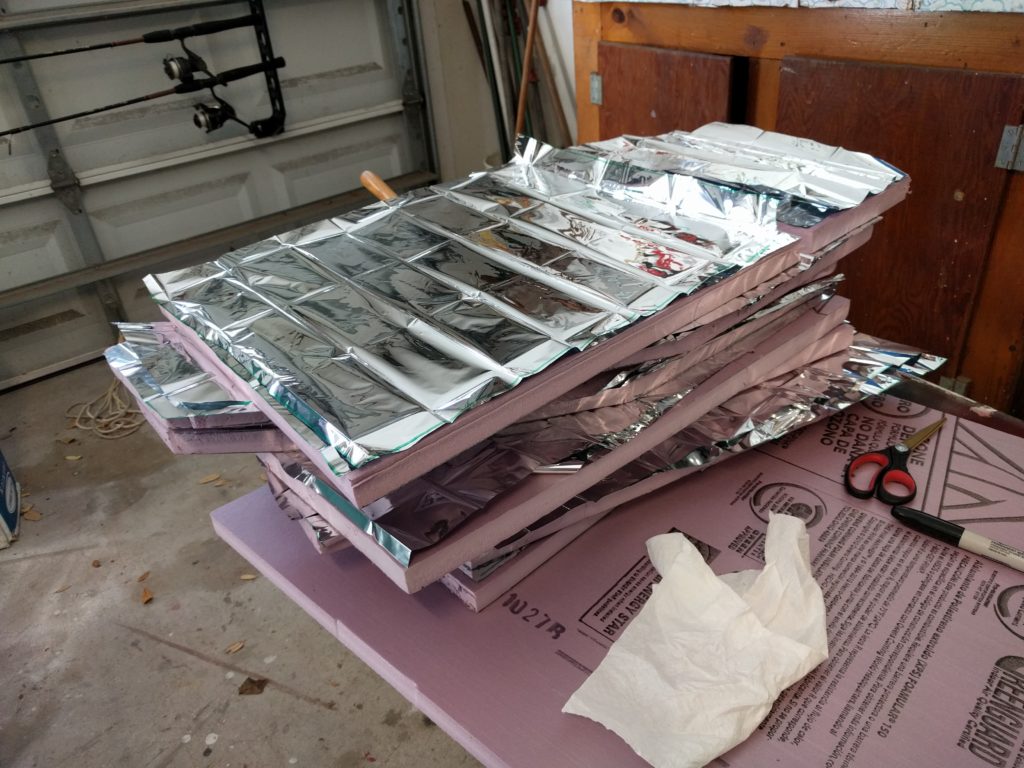
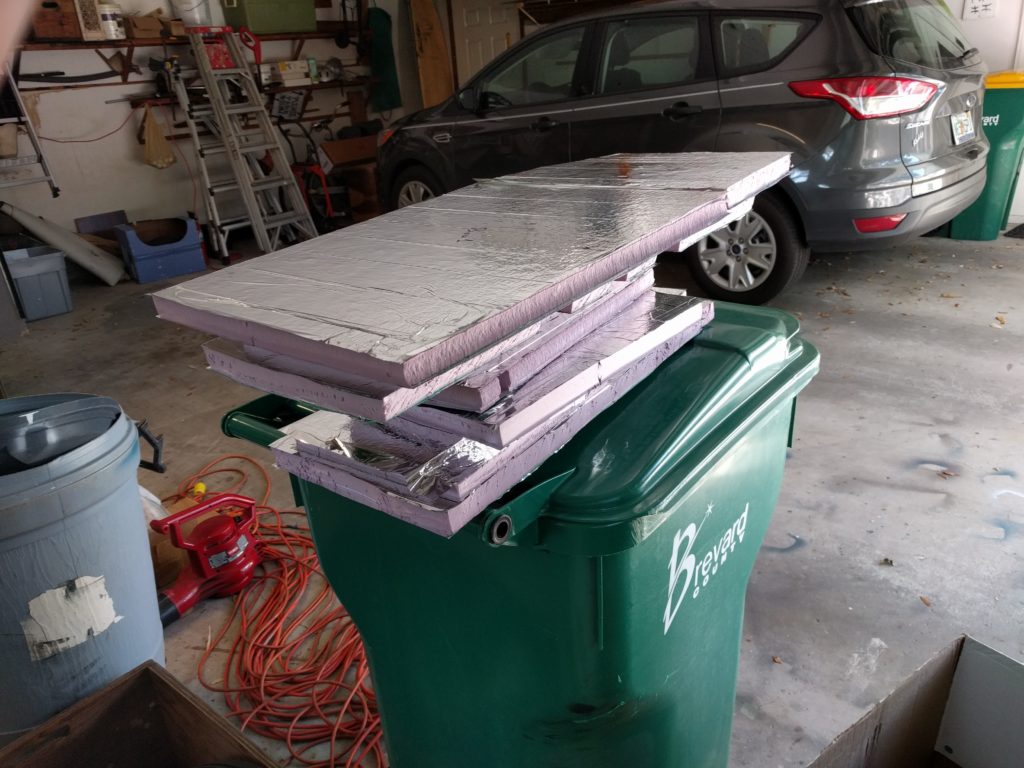
I have two layers of one inch thick R-5 XPS insulation covered in a watertight radiant barrier. This will give me R-10 for the box (hopefully the original foam will add something too since it’s still there.) The last piece to go in is the top of the icebox with resin covered plywood blocks stacked up to provide a solid mounting point for the holding plate.
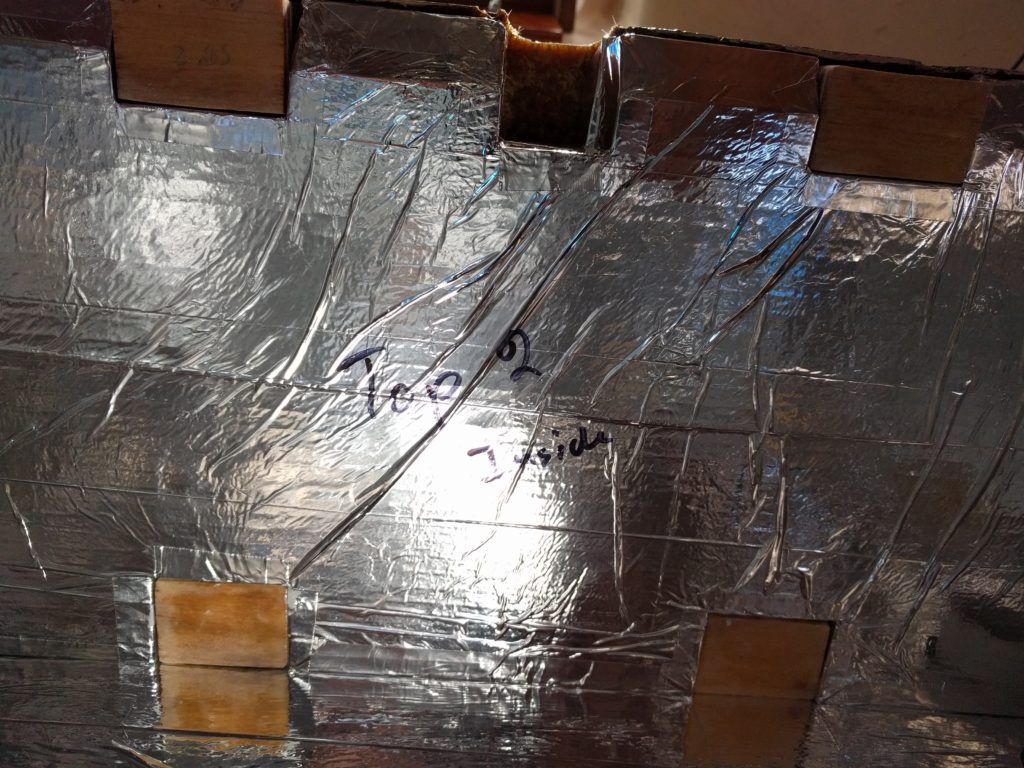
Top layer with mounts for the holding plate

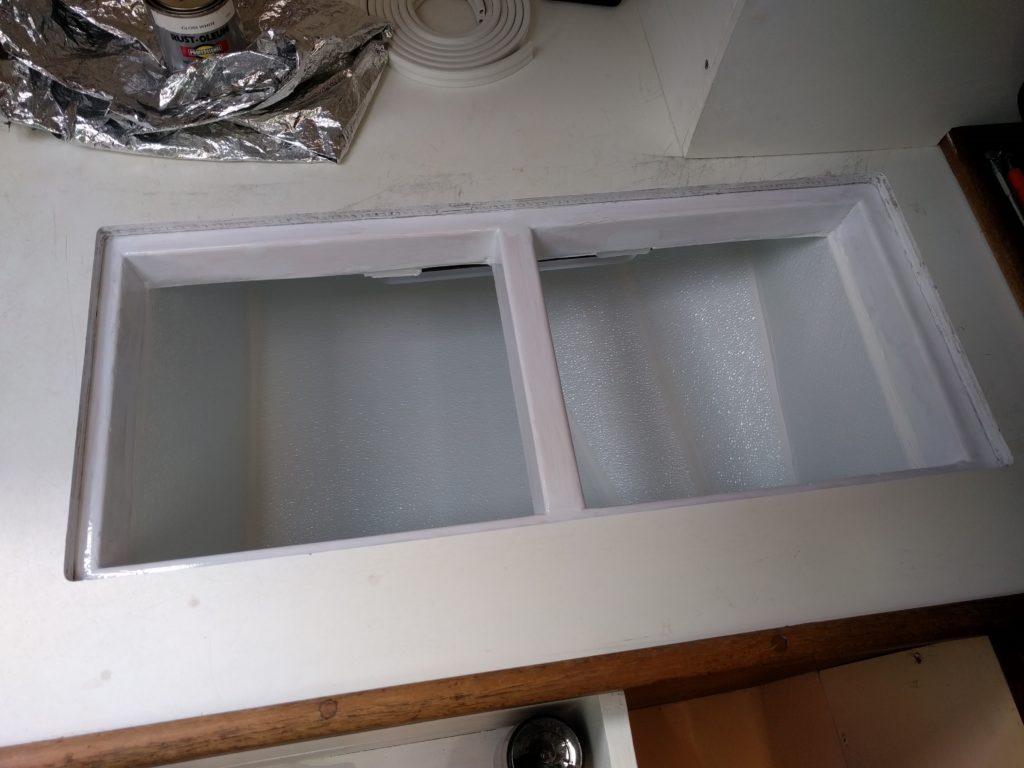
With all the insulation in place next I add the FRP liner.
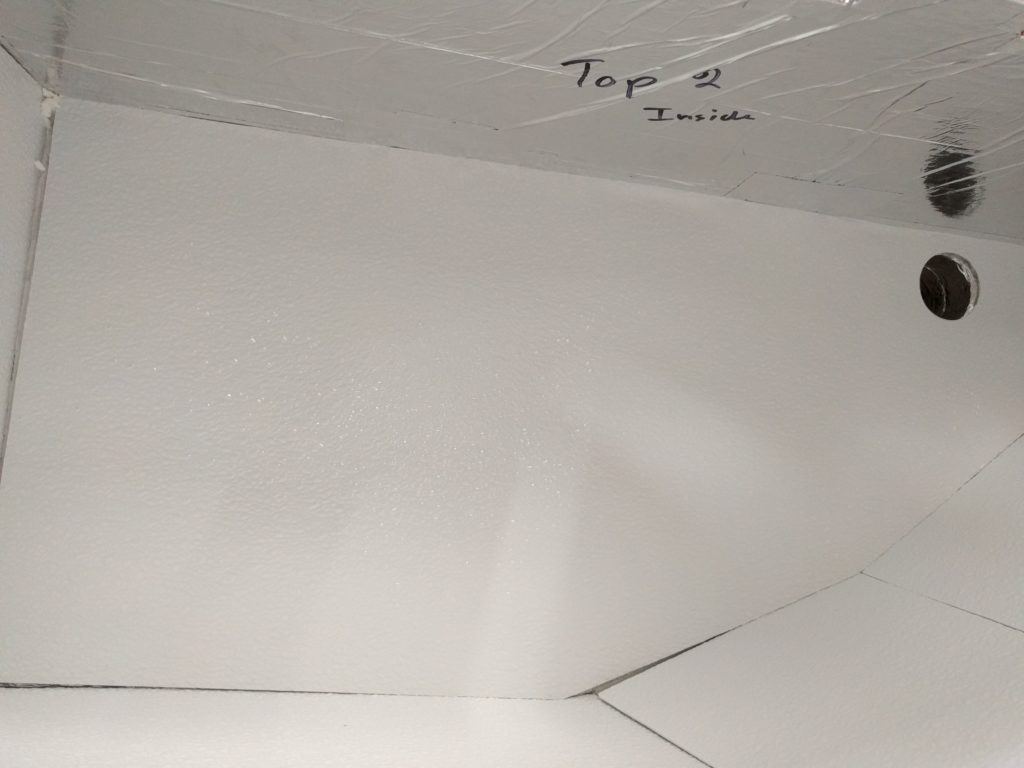
FRP liner to protect the insulation

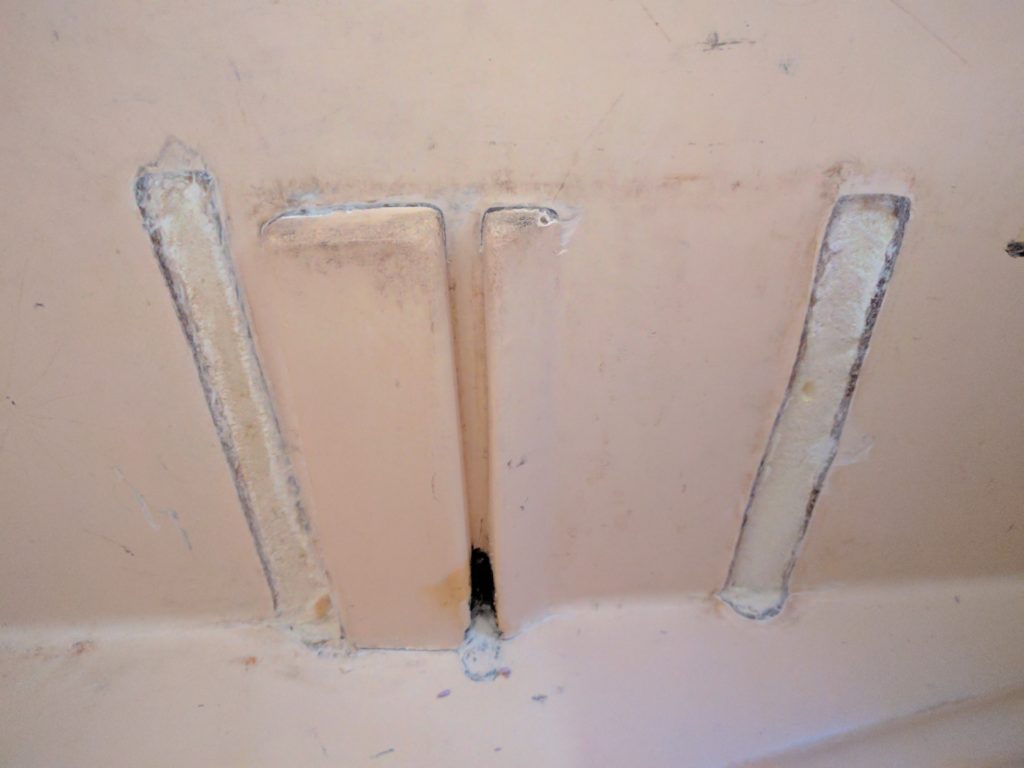
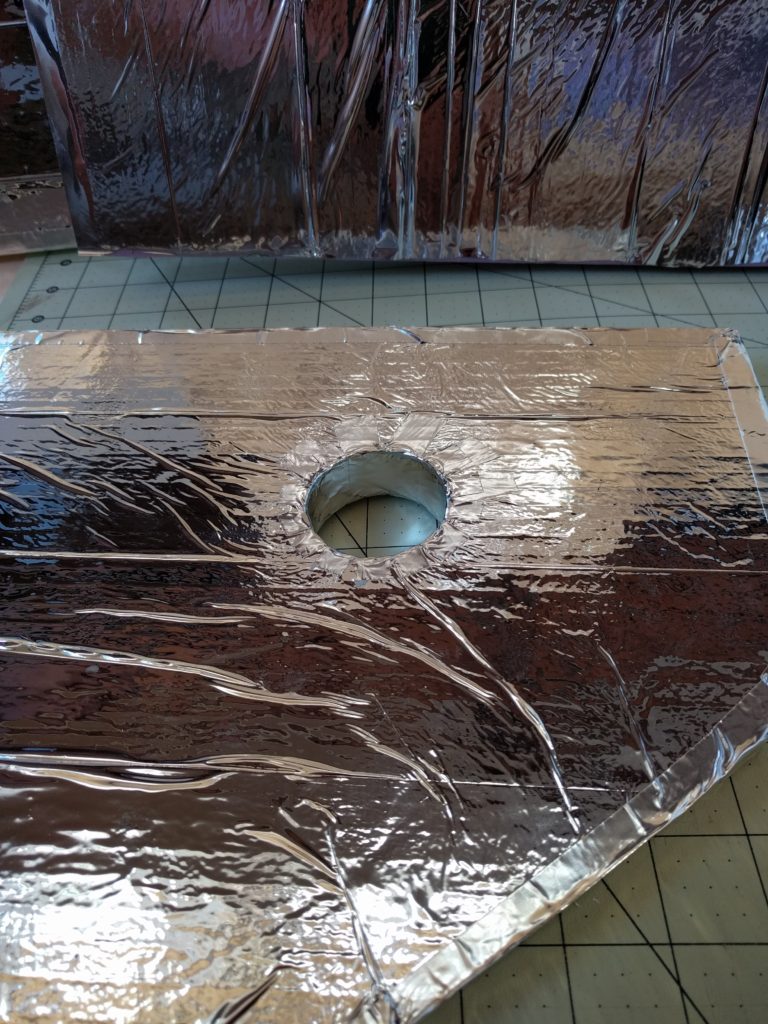
I put a PVC pipe through the hole for the coolant tubes and used Marine-Tex as a sealant around the seams.
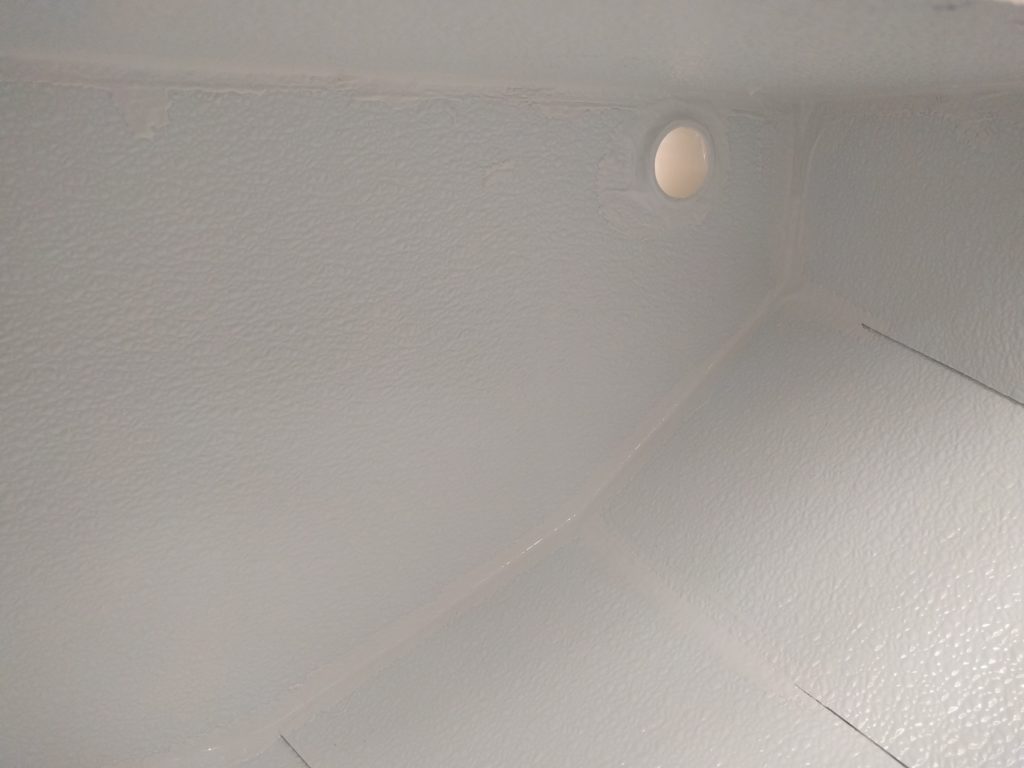
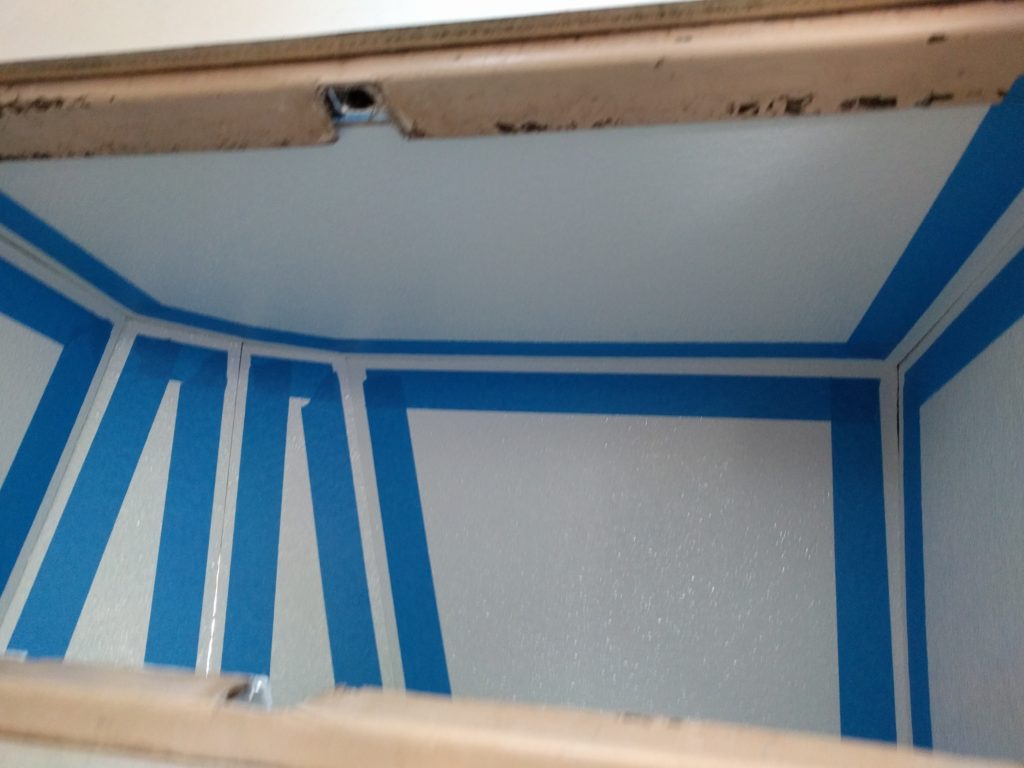
Marine-Tex and PVC pipe
The rest of the seams taped for easier sealing

Finally uncoil the tubes and slide the holding plate into place. I make it sound easy, it was anything but. After stripping heads of multiple screws and snapping off a drill bit inside the counter top I finally got the holding plate secured to the roof of the box.
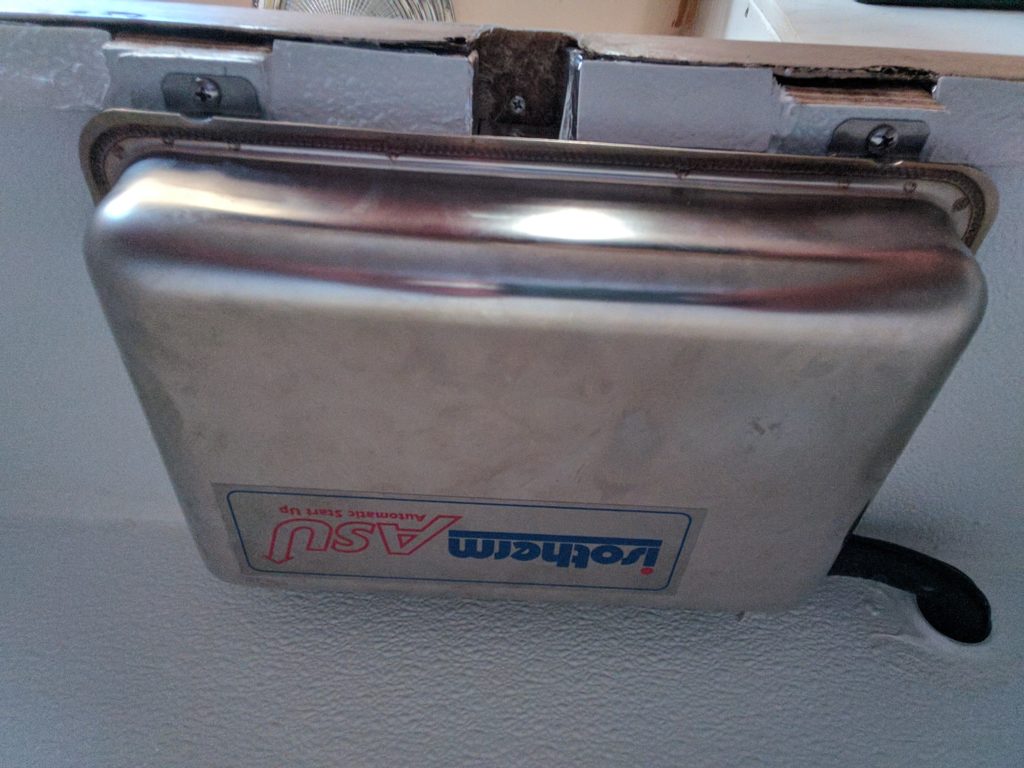
Holding plate secured

Next I installed the compressor in the cockpit locker and put the control panel in the bulkhead above the icebox.
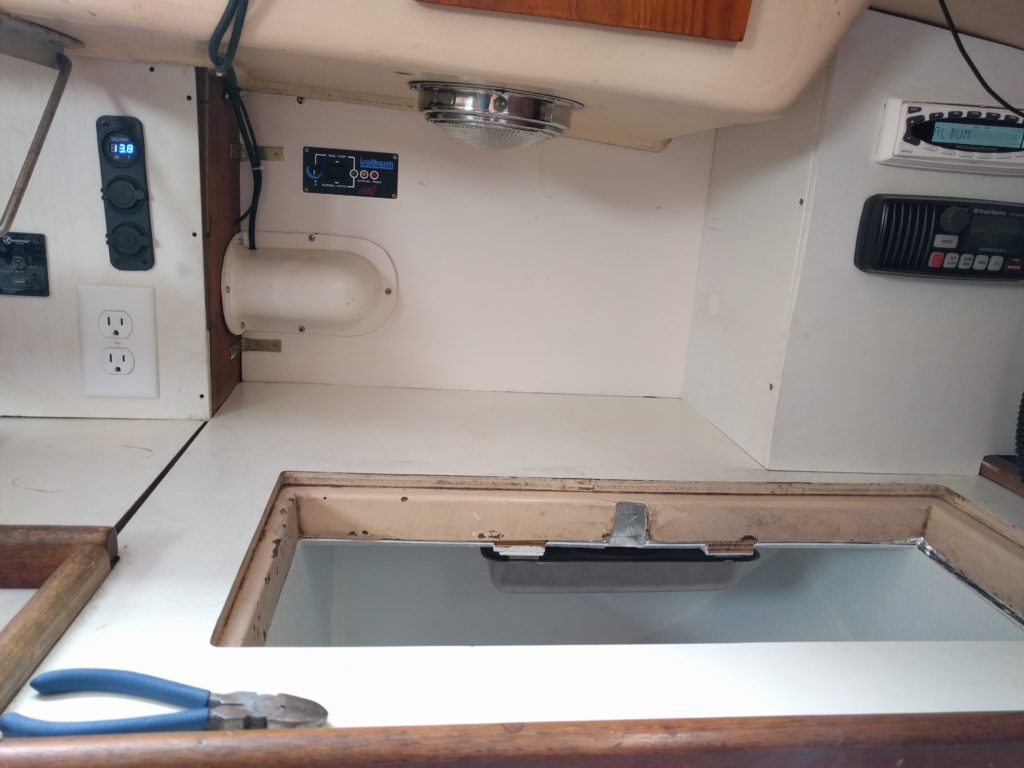
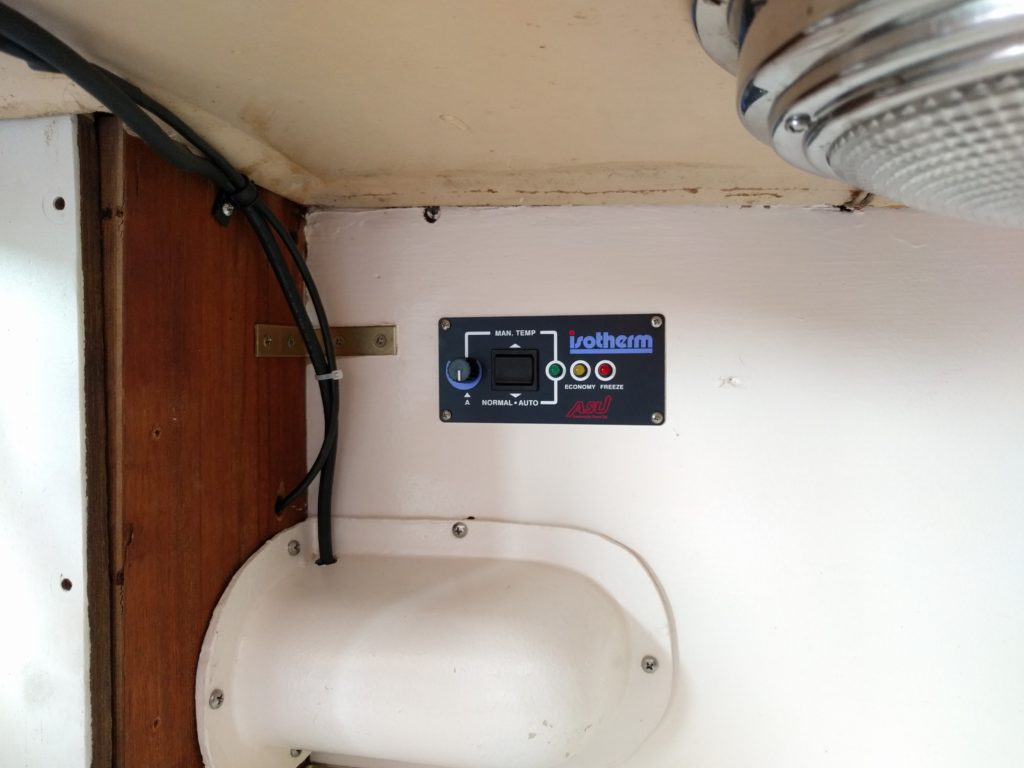
Control panel installed
Closer look at the control panel

Finally to test it out!

Compressor running and holding plate chilling!

Now what to do about the pitted and ugly fiberglass frame around the lid? Well I’ll keep going with the Marine-Tex.
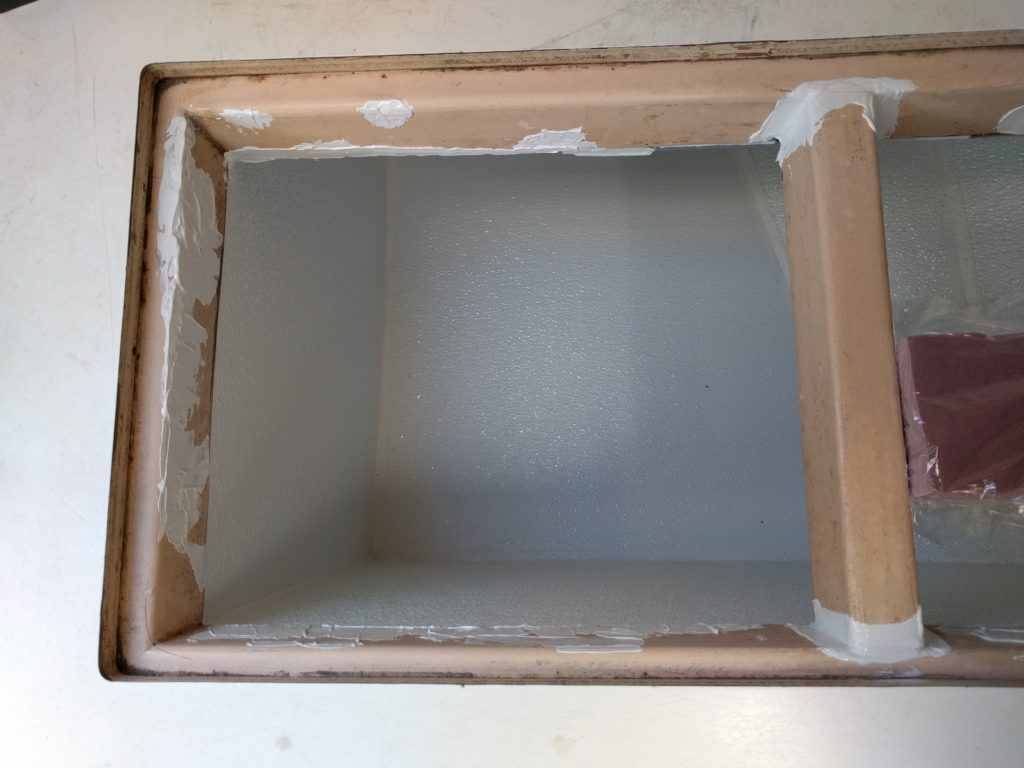
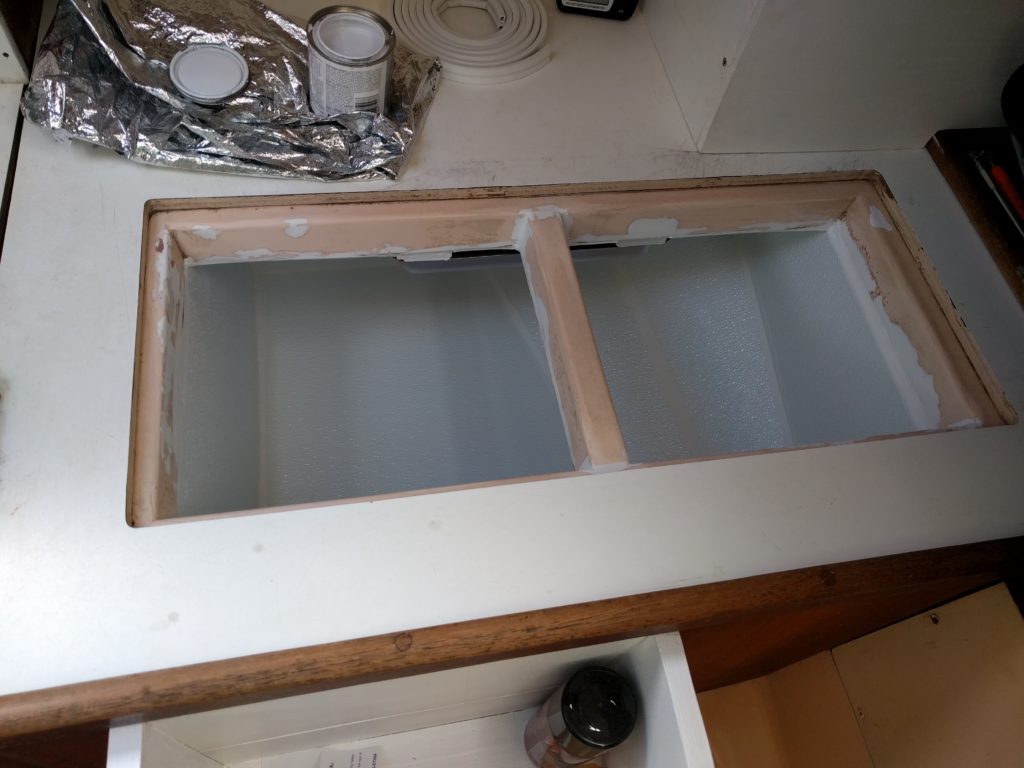
Cleaning up the frame for the lids
Sand it down
Sand it down
Finish with paint
Finish with paint

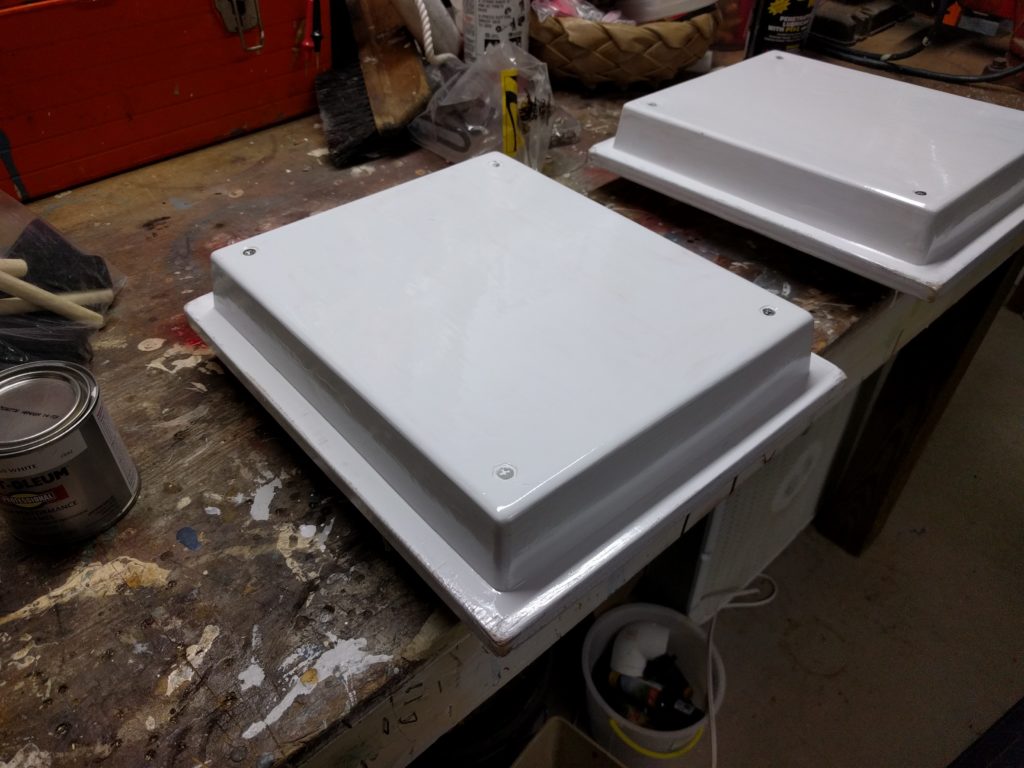
I replaced the insulation in the lids and painted them too.
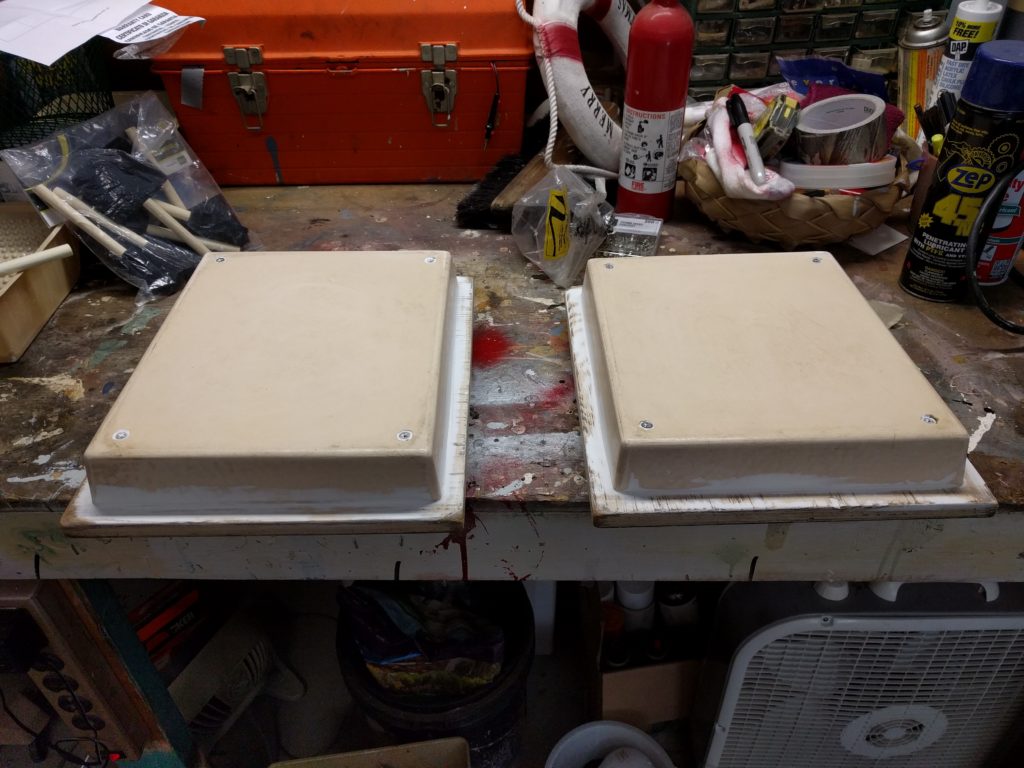
Before
Before
Lids insulated and painted
After

I’ve been running it for a couple days now and the results are good but not great. The system is very efficient. During the day the solar panel provides all the power it needs to run in freeze mode where the holding plate is charged up (or should I say down) to seven degrees Fahrenheit. At night the unit runs in economy mode where the holding plate is maintained between twenty and thirty degrees. However the temperature in the box doesn’t drop as low as I’d like it. It fluctuates between forty-three and forty-eight degrees.
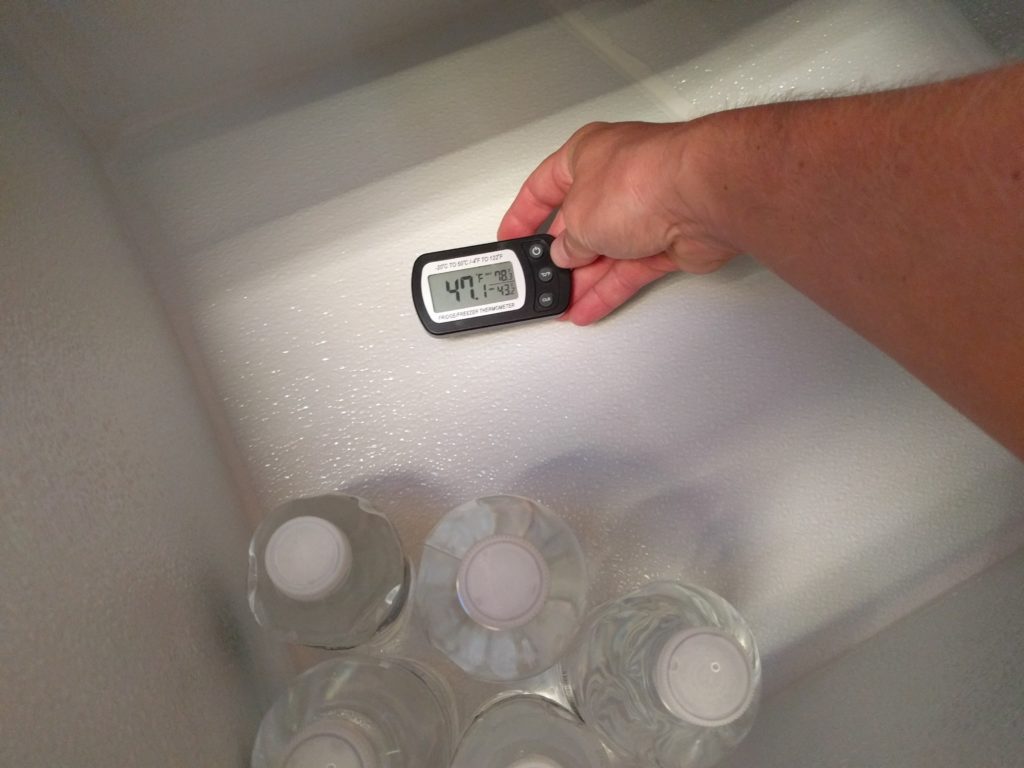
Icebox keeping cold!

I’ll have to run some more tests and see if I can get the temperature closer to freezing. The Isotherm unit has an automatic mode which is what I’ve been using to maintain the greatest efficiency. It also has a manual mode which I’ll try to use to see if I can lower the temperature of the box.

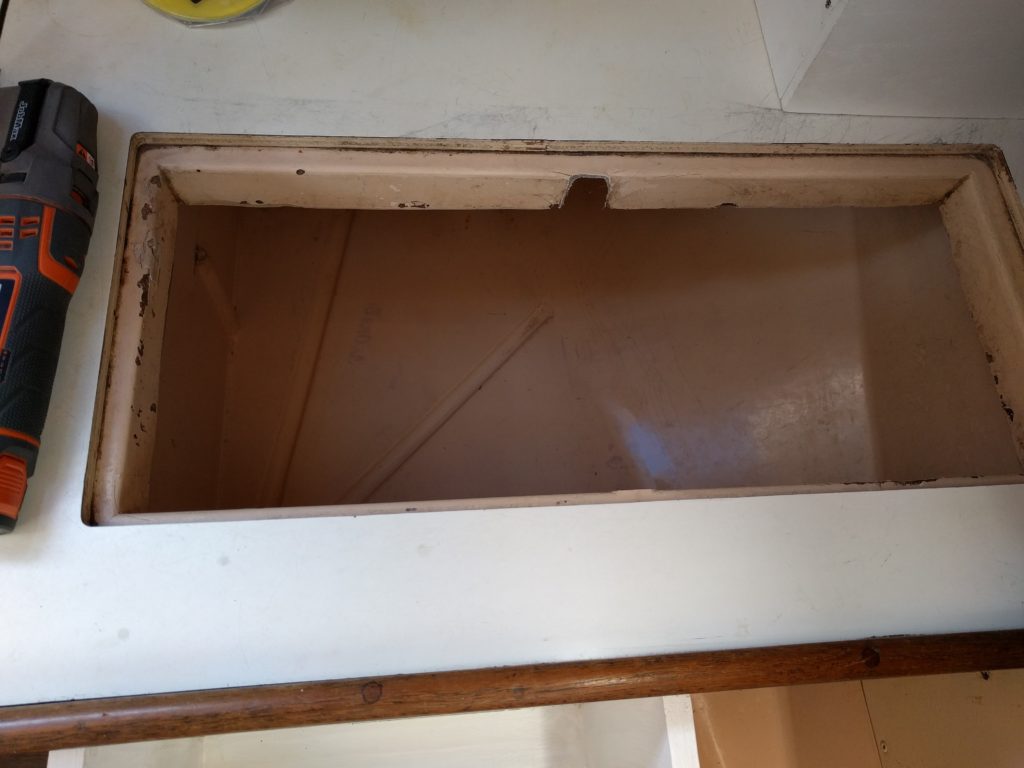
Icebox Upgrade!

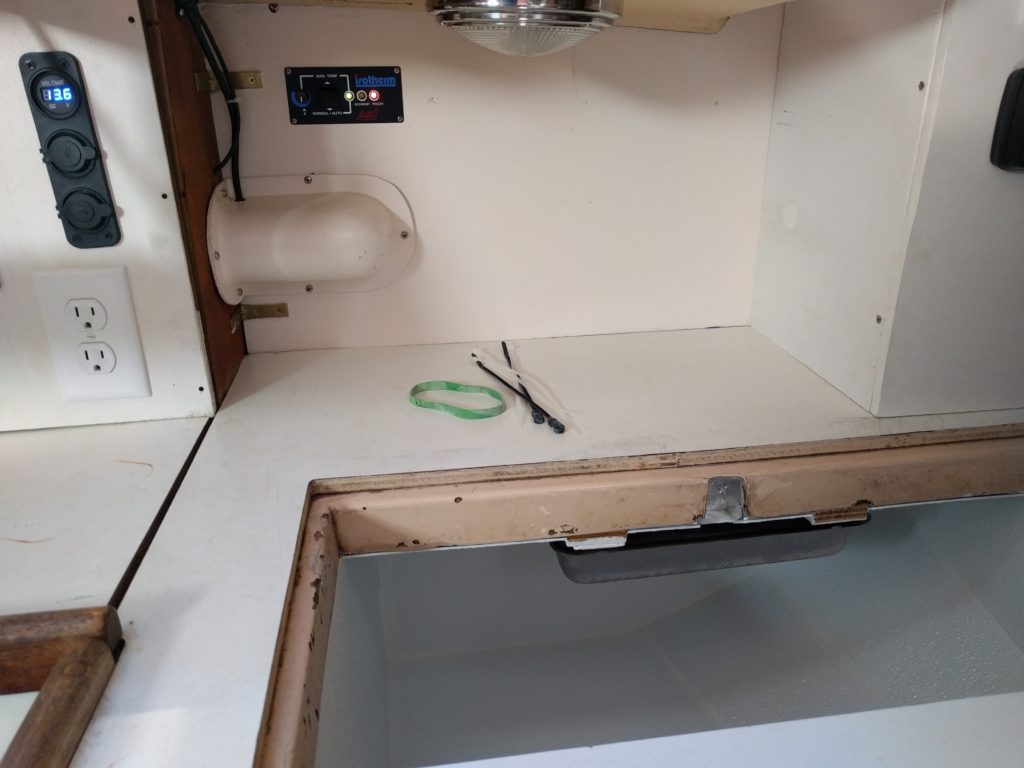
What have I been up to lately? Well, let’s see what it looks like…

Icebox with lid support cut out
Cutting out shelf supports in the box
Cutting out foam insulation and fitting it into the box
All the insulation with radiant barrier prepared for adhesion
Radiant barrier glued to the insulation
Hole in the insulation for holding plate tubes
Hole in the insulation for holding plate tubes (edges taped)
First layer of insulation glued into the box
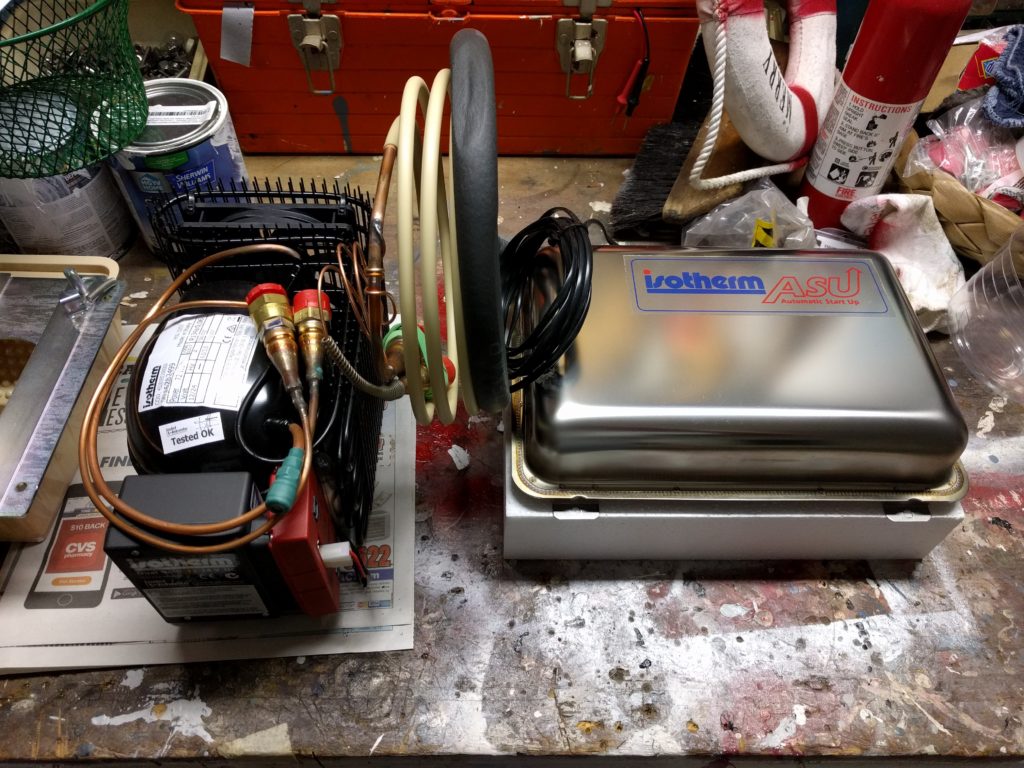
Isotherm holding plate and condensing unit

I’m pretty excited about getting this icebox upgraded to a refrigerator!

Warm Weather Projects

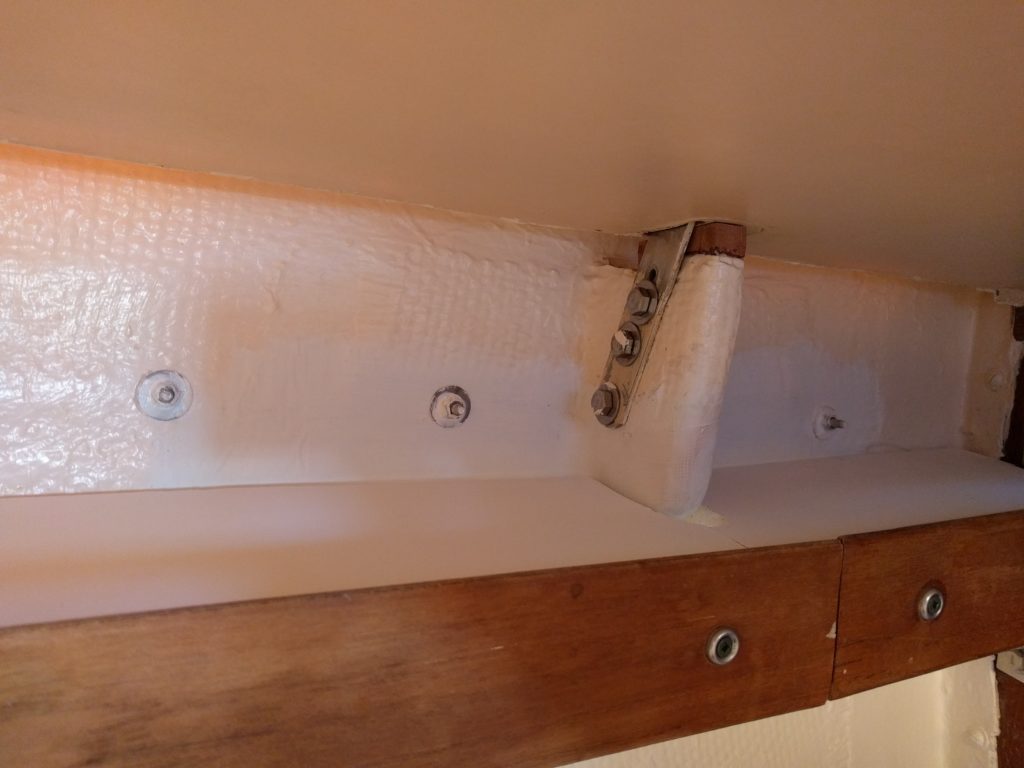
Well, since we’ve finally gotten to warmer weather south of Cape Canaveral, I’ve been working non-stop on various critical and non-critical projects. The starboard forward knee was obviously a critical project.

Knee fiberglassed and painted
Finished Knee

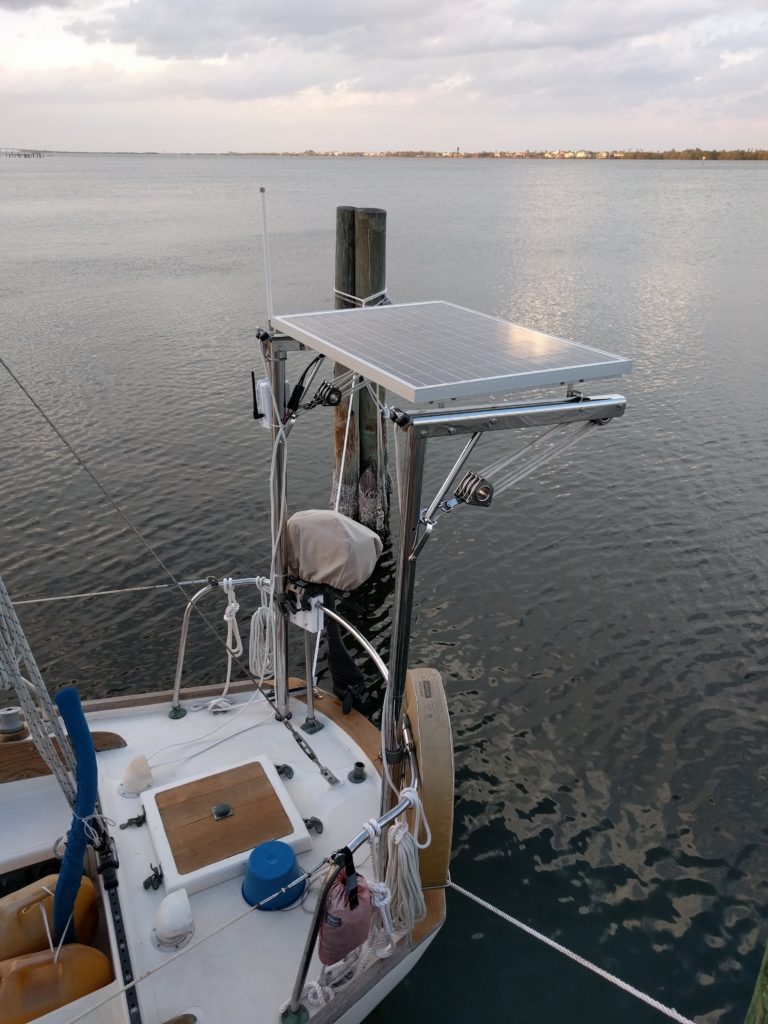
I permanently mounted the solar panel to our davits. (That’s to Totem for the solar panel!)

Solar Panel
Solar Panel

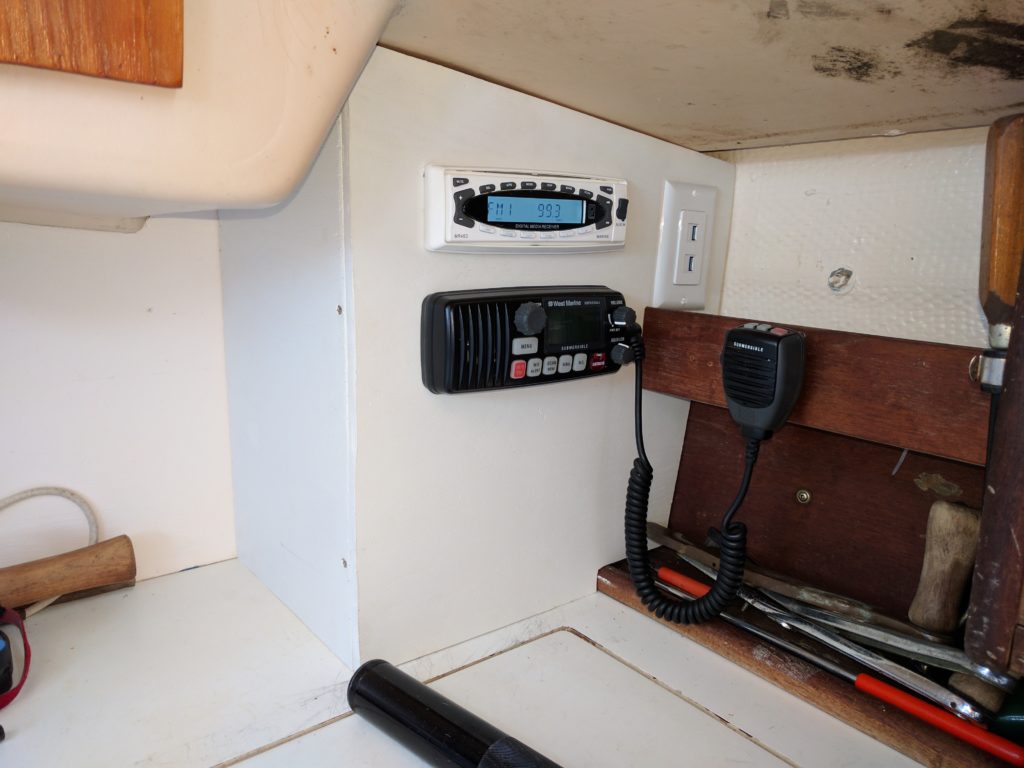
I made a little electronics locker for our VHF and a stereo receiver given to us by Ken and Bruce of S/V Integrity in Eastport, MD.

Electronics Locker Panel
Electronics Locker Finished

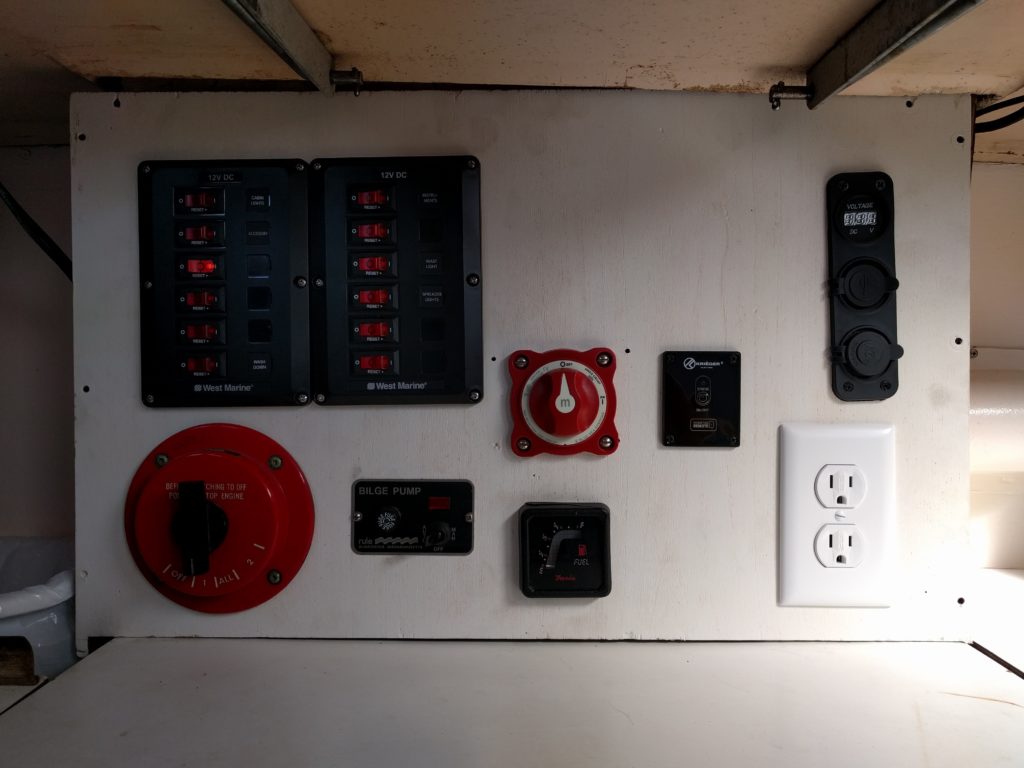
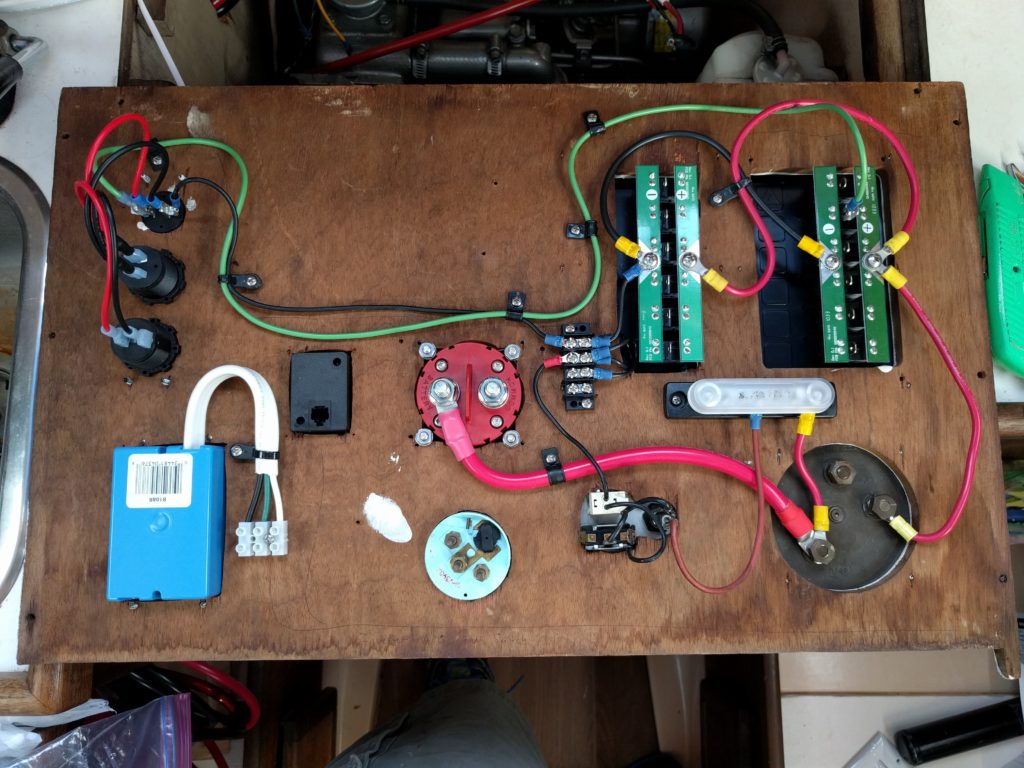
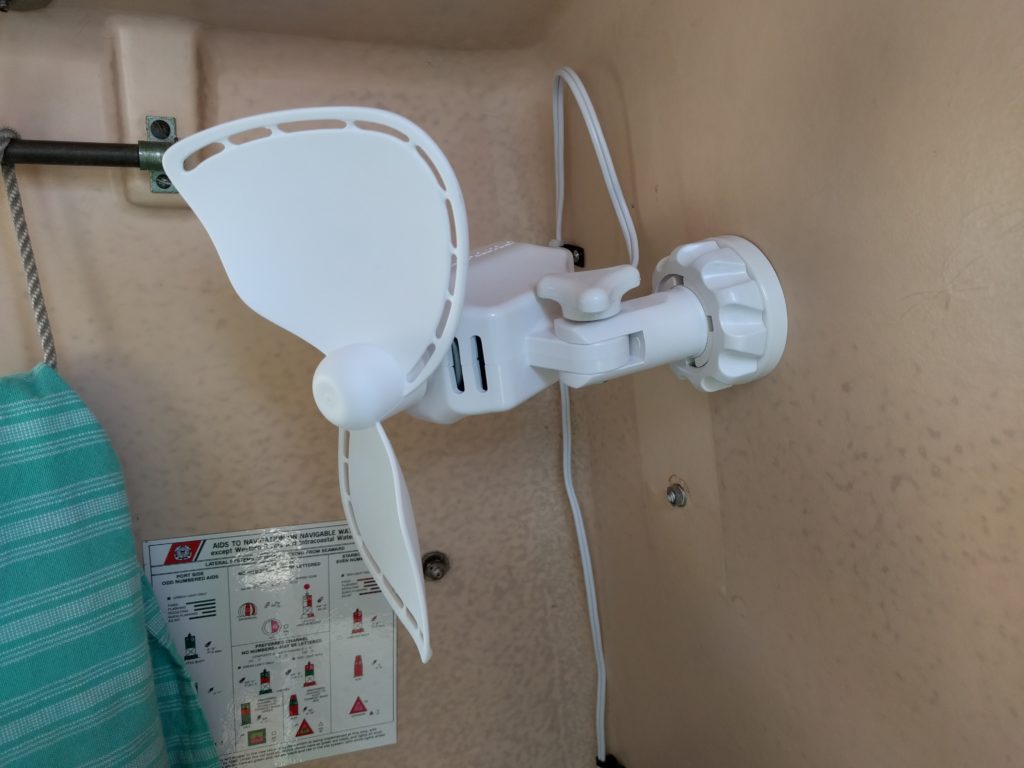
I installed another circuit panel, upgraded the ground bus and reorganized the wiring behind the panel. I added remote switches and duplex outlet for the inverter. Oh and I put a couple fans in too!

Electrical Panel
Electrical Panel
Organizing the Circuits
Cabin Fan
Cabin Fan

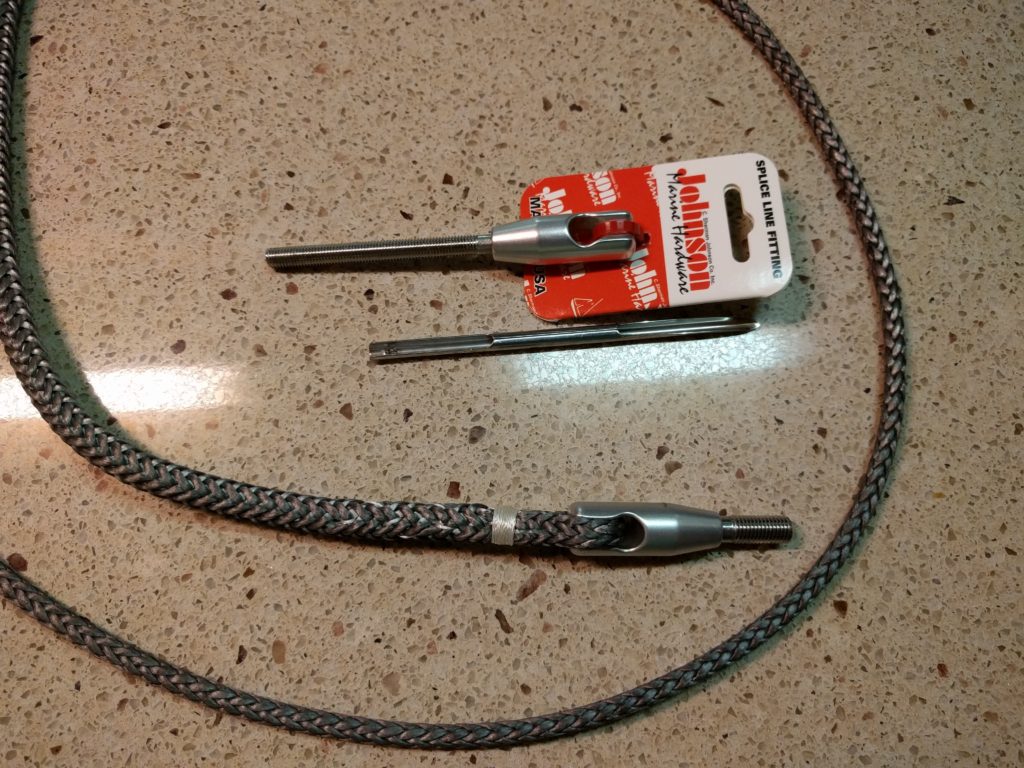
Finally, now I’m working on replacing the line lines with Dyneema line.

Dyneema Life Lines
Dyneema Life Lines

Learning to splice the lines is really easy. The first one I did ended up being three inches short on account of the splice so I’ll need to redo it and plan for extra length for each of the lines.

Ground Tackle Upgrade!

Sailors Exchange was on the map for us six weeks ago when our kindred A30 sailing friends Santa Mojo said it was a must-see! That being said, our unexpected week-long stay in Jacksonville had us chomping at the bit to continue South. What to do? What to do? As we debated whether or not to pull in to the lovely St. Augustine port, the allure of what treasure was awaiting us could not be silenced. We must have a look for ourselves. Maybe we will get lucky? And lucky we were!

IMG_2472[1]

We purchased 150 feet of Maggi 5/16″ Grade 43 galvanized chain. This chain will replace the 20 feet of 3/8″ Grade 30 galvanized chain we currently have that is attached to the 310 feet of 3-strand nylon rode.

THE WHY: Using chain over nylon rode will allow us to:

  1. Anchor in smaller anchorages by reducing our swing while simultaneously increasing our load capacity. The Maggi 5/6″ is rated to 3,900 working load. This is more than enough (!) for the 10,000 lbs. displacement of our vessel.
  2. Prevent chafe from rocks and coral.
  3. Save time. 30-60 mins to set and unset a Bahamian moor is time and time restrictions can impact the safety of our vessel.

It has been a steep learning curve migrating from the cushy mud and wide open spaces of the Chesapeake Bay. We have encountered strong currents, deep and narrow anchorages and small anchorages with limited space. As we continue on the ICW and prepare for the Bahamas and other tropical locations, we thought this was a prudent investment.

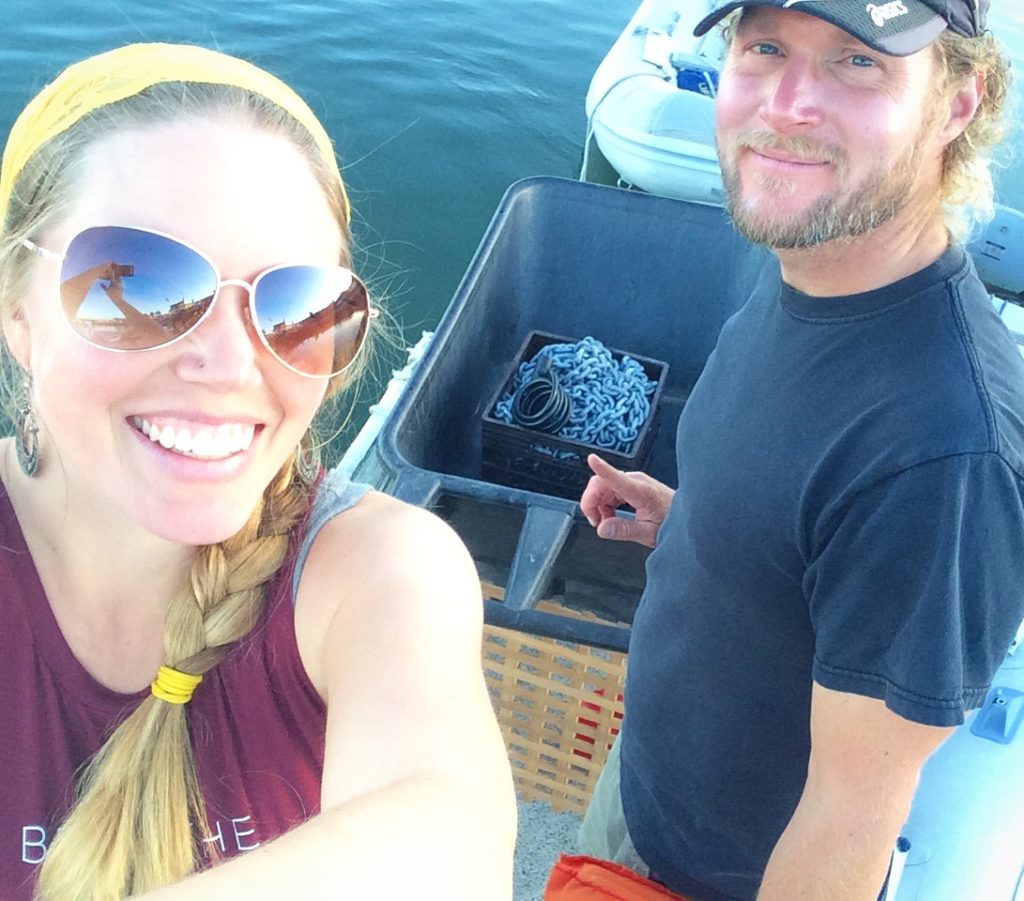
Now that I’ve explained all that, just how do to get that goodness to our boat?! We were fortunate that one of the owners of the Sailor’s Exchange gave us a lift to the marina.   Super helpful because I am not sure we would have been able to carry it the mile back and we did not want to have to snag an Uber. So, kind businessman+ Justin’s brute strength + rib inflatable dinghy and we have success! 180LBs of it!

Justin and Sara looking at 200LB of chain in marina cart at dinghy dock.

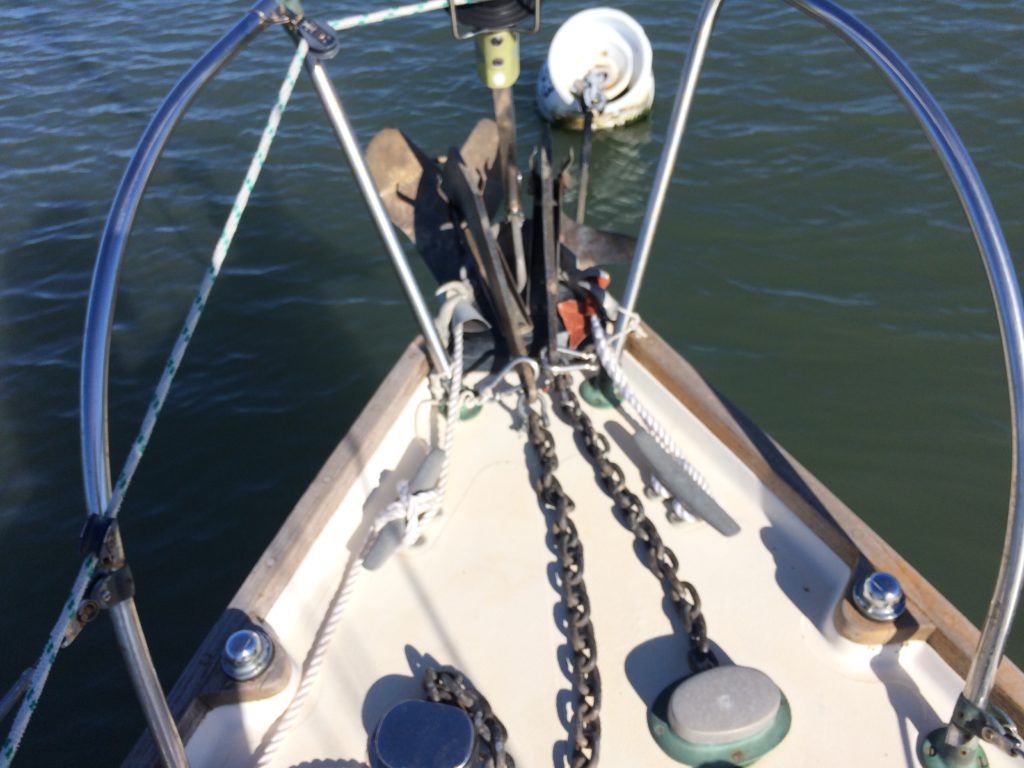
Bow of boat with current ground tackle
Existing ground tackle. New chain is for the plow anchor to port.
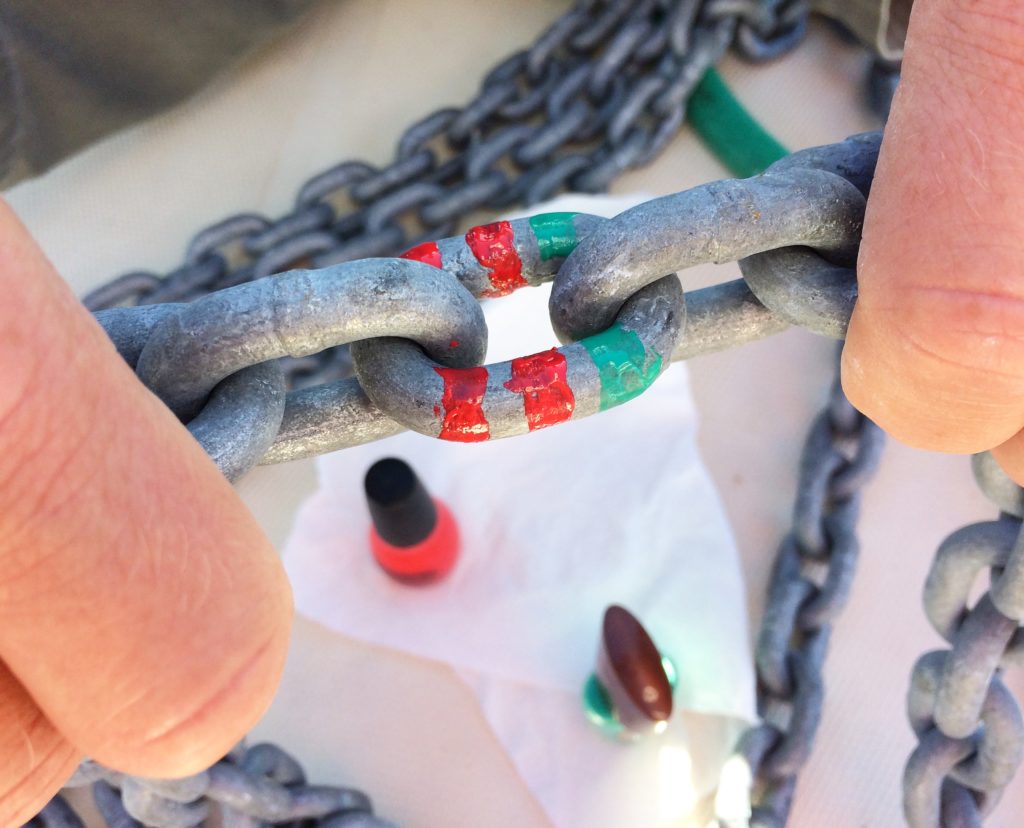
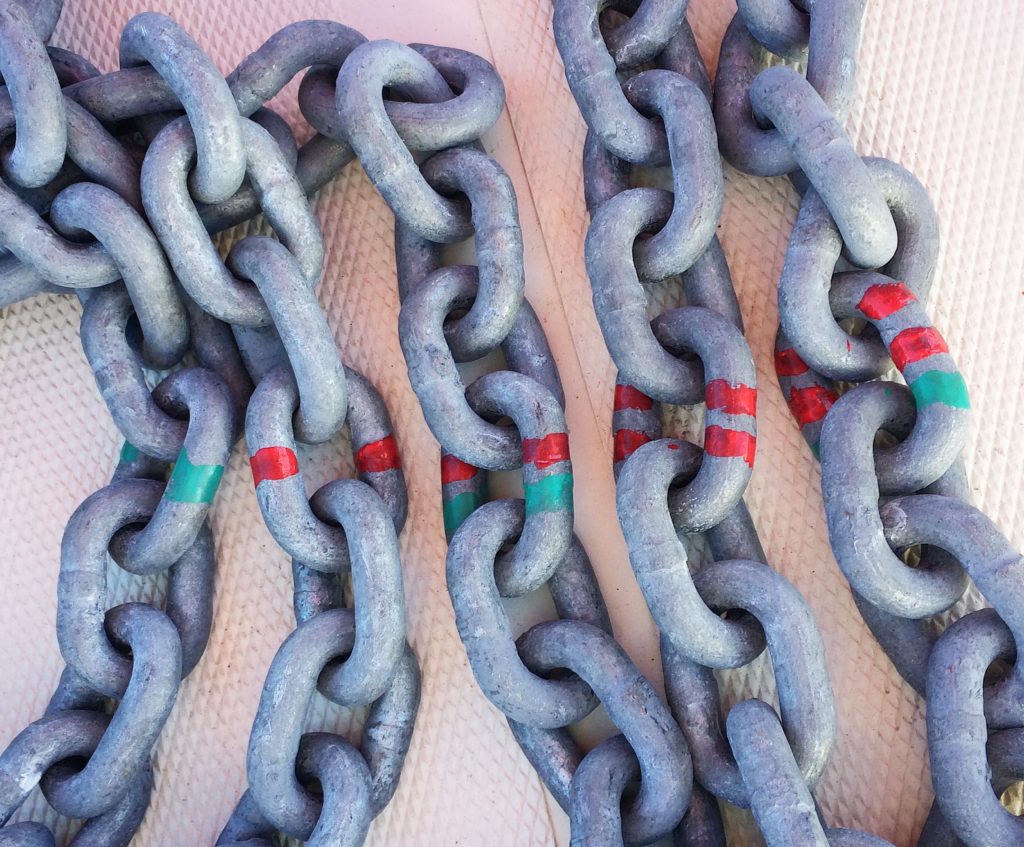
Anchor chain with two red lines of nail polish and one green line. This indicates 125 feet of chain
Who needs markers when you can use nail polish?! Hubs idea!
Anchor chain with colored markings indicating length of chain
We mark. Green = 25 feet. Red + 50 feet. And voila! It is ready for use!

We are so thankful for the success of this mission. We were able to find top-rate chain at a fair-market price. We were able to keep the local good-guys in business which is always a win-win. And! because we were already on a mooring, we could install it, sans problem. Two days well spent!

Next, we test it!