Head Repair

I think nearly every sailing blog has a post (or two) on the topic of head repair. When living on land I take for granted that when I flush the toilette my waste simply goes away. I only have to think about it when the water/sewer bill comes due (or when I have to dig up the tank to be pumped.) Aboard it’s probably a weekly issue and if the head is acting up… Ain’t nobody happy.

Anyway, my head had been leaking for a few months and it was finally time to sit down and see what the problem was. I have a Raritan PHII manual pump marine toilette and I’ve heard good things about it. It seemed pretty easy to disassemble. In preparation I also bought the rebuild kit. So I got started.
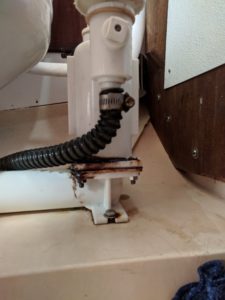
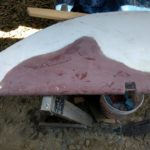
Pump Housing - Before
Pump Housing – Before

After completely disassembling the unit Sara and I cleaned all the parts and installed all the new o-rings and seals from the rebuild kit.
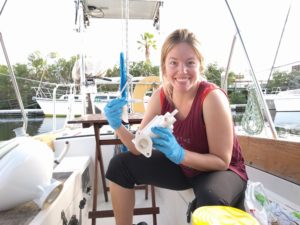
Cleaning the Pump
Cleaning the Pump

While cleaning the pump housing I discovered the crack which was the cause of the leak.
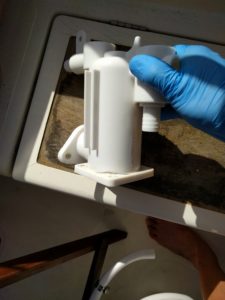
Cracked Pump Housing

I called around but no one carried the pump housing. Ordering one would take at least two days so I decided to use some 3M 4000 adhesive sealant that I had in my toolbox. I applied the sealant on the inside and outside of the pump.
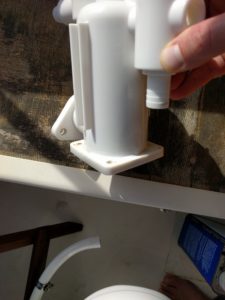
Sealed Pump Housing
Sealed Pump Housing

Finally I assembled everything and tested the pump.
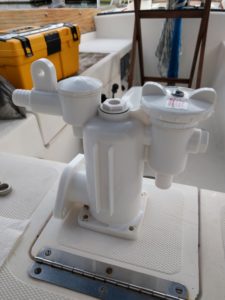
Reassembled Pump
Reassembled Pump

Sure enough it worked like a charm. Now we’ll wait to see how long my sealant hack works. I should probably order the pump housing now to have it if and when the sealant breaks down. Here’s hoping it lasts a good long time!
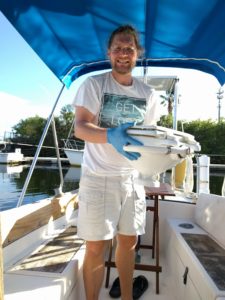
Head Repairs
Head Repairs

Knee Surgery!

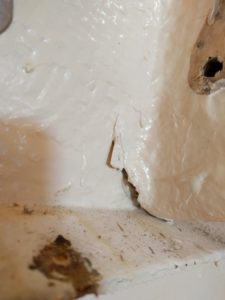
We’ve holed up on Banana River to take care of a knee problem. The bottom half of our starboard forward knee was pulling away from the hull!

Knee Before

I noticed it when I was pulling on the shrouds and found that the chainplate would move about a quarter inch out of the deck. This is no good so we immediately started planning how we would fix it.

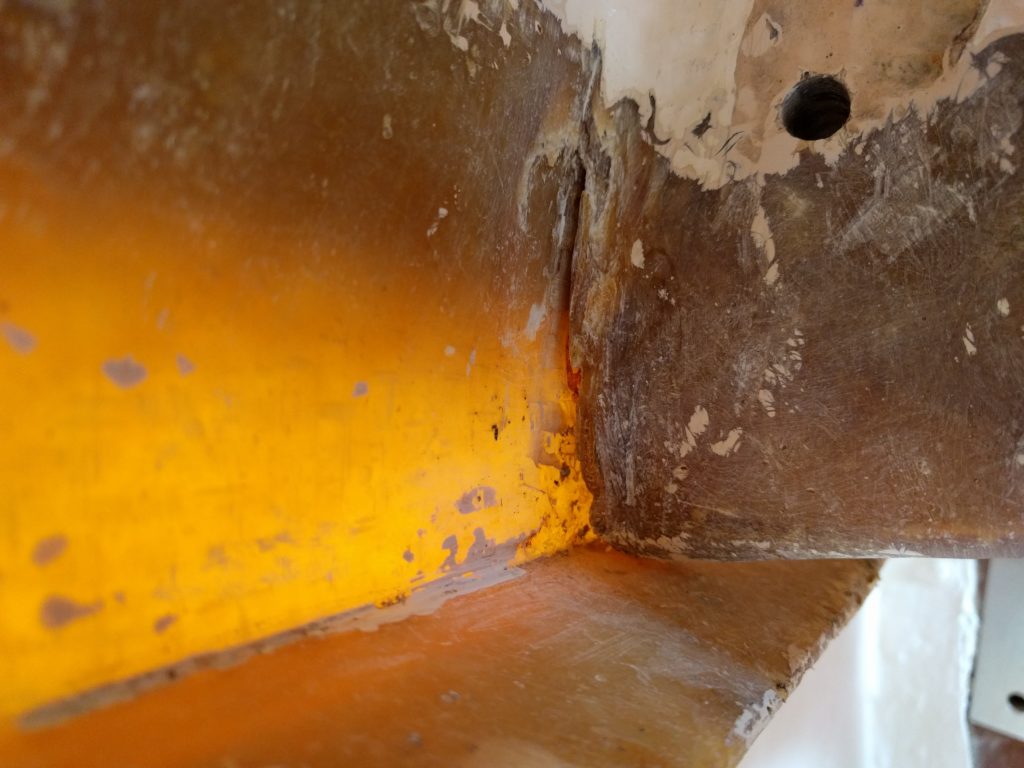
Crack between the knee and hull

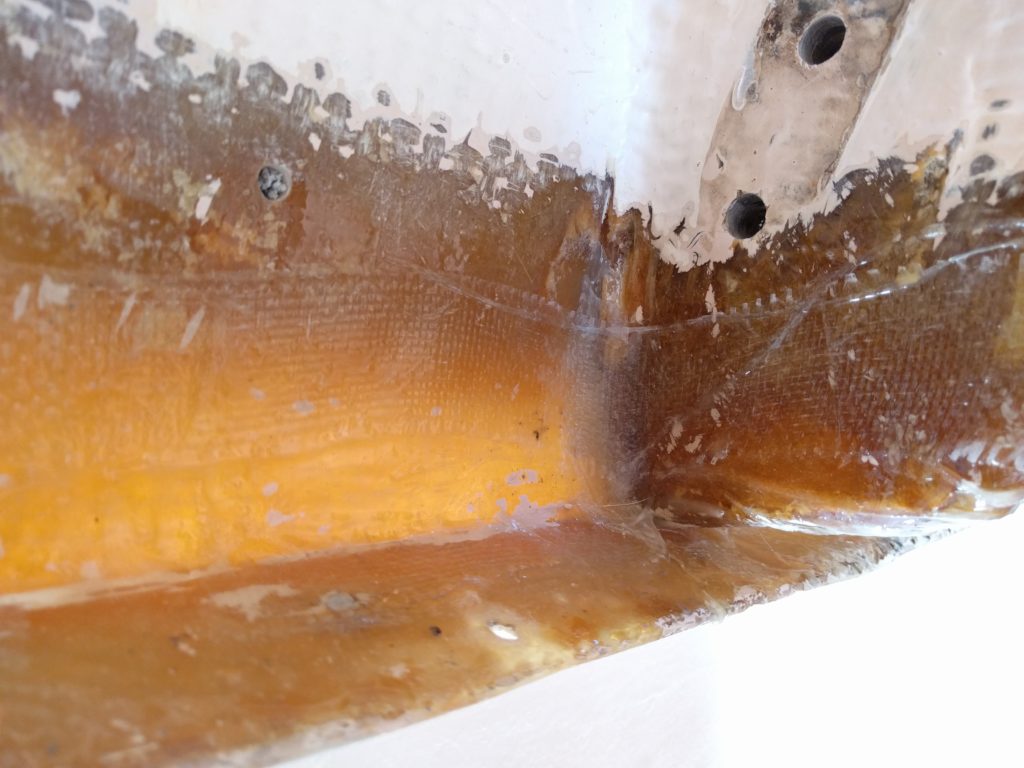
After I cleaned it out I filled the crack with thickened epoxy and then fiberglassed the knee back to the hull.

First Layers of Fiberglass
First layers of fiberglass

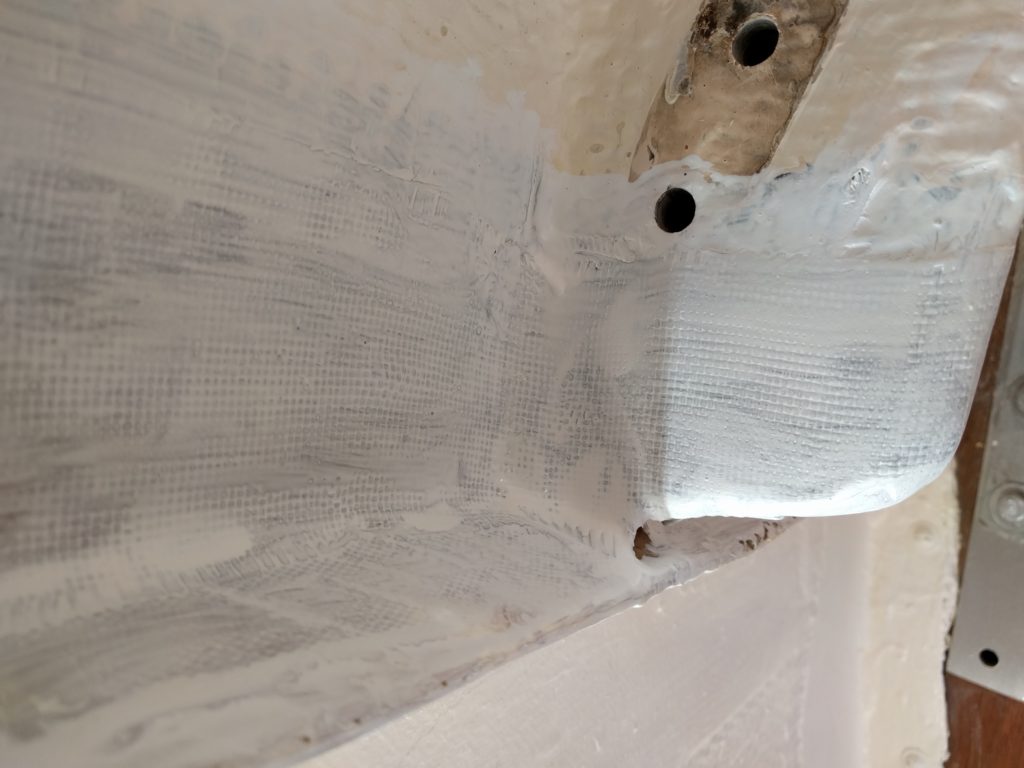
Today I sanded it down and put a layer of paint primer down. Next I’ll finish the paint job and put the chainplate back in. Looking forward to solid knees again!

Five layers of fiberglass and one coat of primer


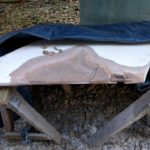
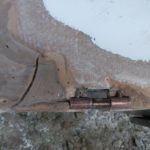
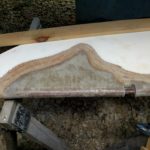
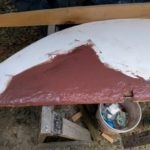
Rudder Repair

The last two weeks I’ve been working on the rudder. We took it off, opened it up to assess the damage and then slowly put it back together. This is my first time working with epoxy and fiberglass so it was an awesome learning experience.

After opening it up I discovered a void that was there from manufacture. The material inside appears to be some sort of epoxy filler. At some point the rudder cracked open and so the inside was filled with mud. The rudder post and pins are bronze and extend into the rudder via smaller pins for structural support.

Starting Work

Finally we are at the boat in Galena, MD. For the past five days we’ve really started the work. The boat needs some work on the rudder, we’re going to strip and repaint the bottom and I would like to remove a knot-meter and use the hole as a thru hull for a deck wash down pump. Our days have consisted of waking up, doing breakfast together, doing some morning devotions and then trying to figure out how to do the work that needs done.

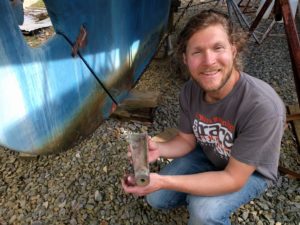
Rudder shoe
Rudder Shoe

I’ve pulled off the rudder shoe, started drilling a new hole which I’ll need to tap in order to screw in a new rudder pin. One of the guys here at the boat yard says that I should wait until I have the boat in the travel lift so it’ll be easier to do the work under the keel. I totally get that, it’s been a pain in the butt to be working under the keel up to this point.

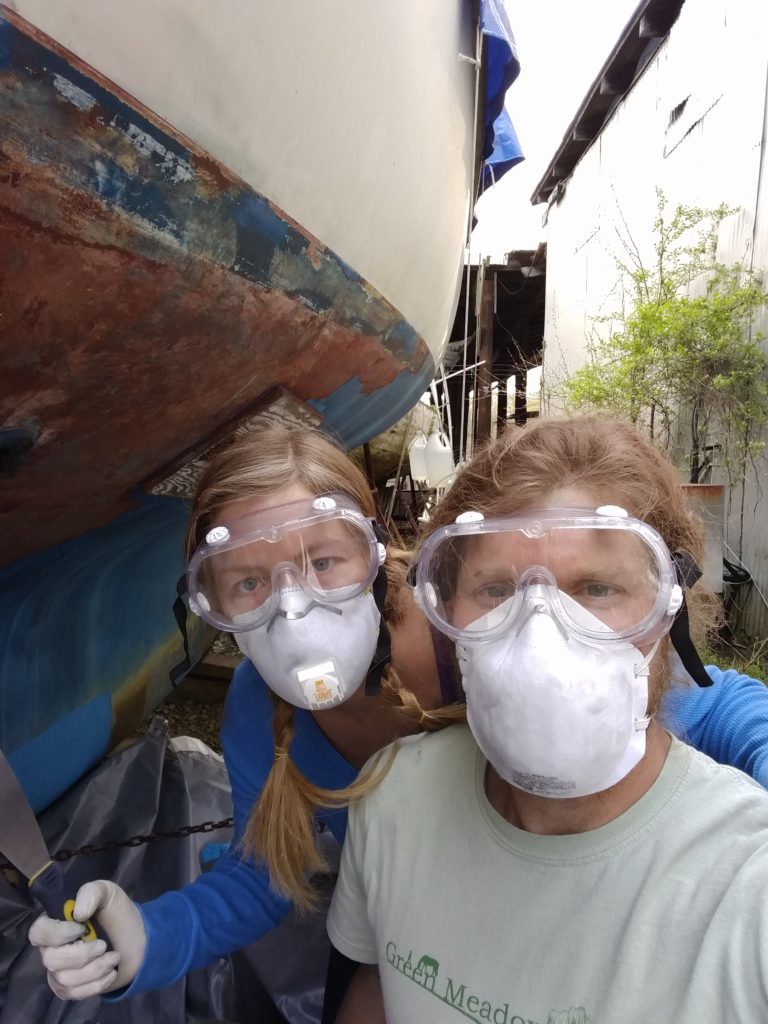
We’ve also started to strip the bottom paint from the hull.

Scraping the hull
Scraping the Hull

It’s kind of a tough sell as to what is the best method. We’ve tried sanding and scraping. Scraping so far seems to be better but it’s still slow going. Three days and we’re still only about a quarter done. After the scraping is done I’ll have to go over and sand anyway. Pretty messy no matter what anyone says.

Once we get all the paint off the bottom and sand it we’ll cover it with a barrier coat and then put on a couple coats of anti-fouling paint. Plus a boot stripe. Got to have a boot stripe.